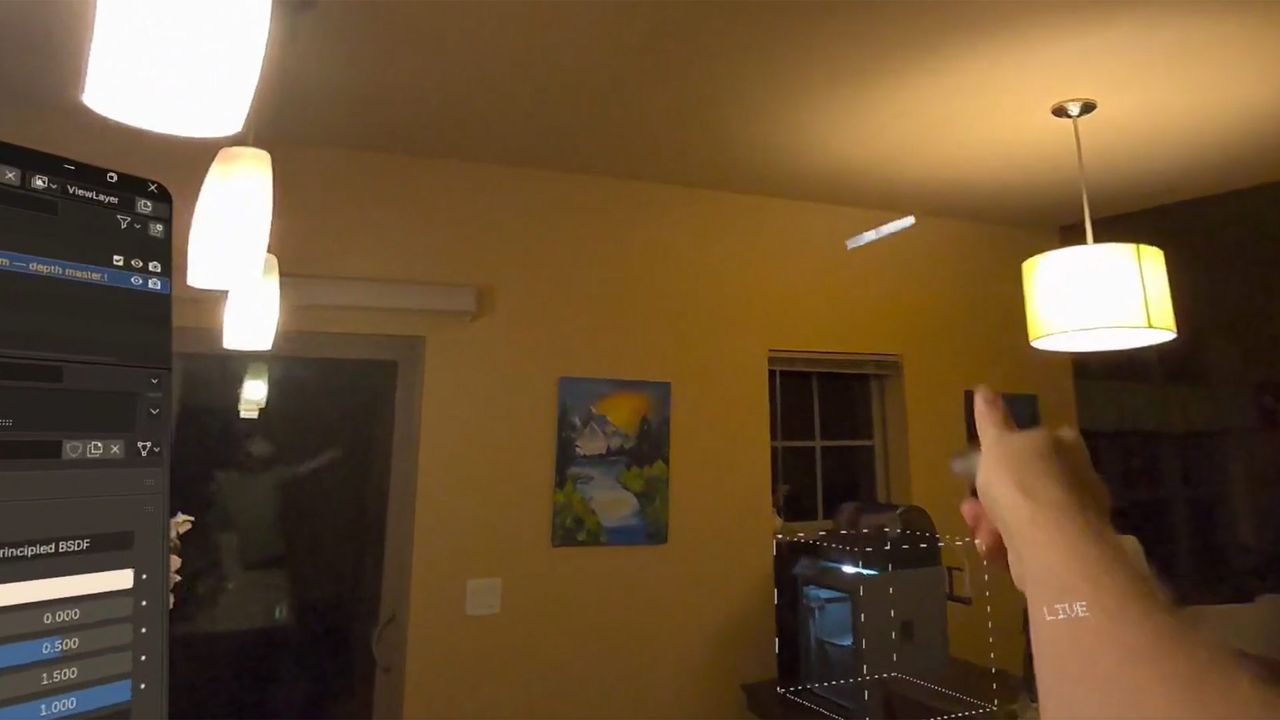
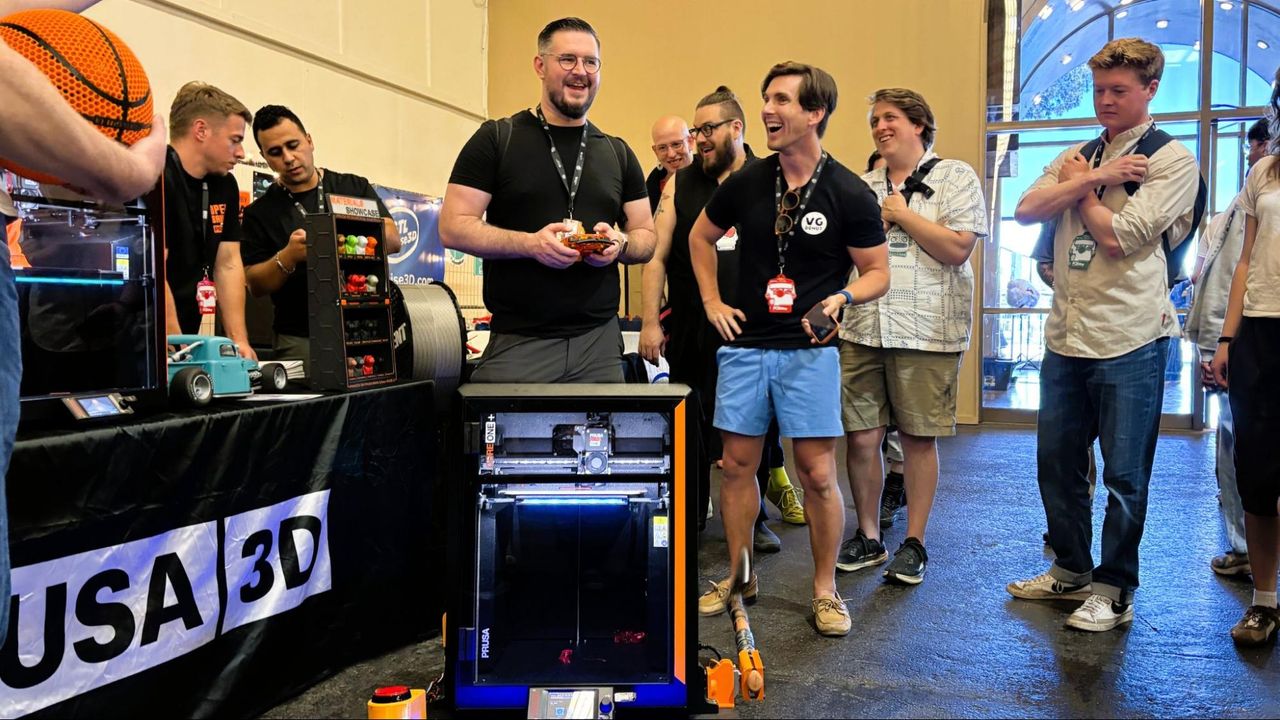
A software engineer and creative tinkerer has shown off a futuristic Meta Quest plus 3D printer workflow in a video shared on social media. Hank on X demonstrates modeling a 3D object on his computer, which he then picks up and throws to his 3D printing system across the room. “I've never felt more like Tony Stark,” joked the tech enthusiast.
I've never felt more like Tony Stark than I do now. Using my Meta Quest, I can just throw 3D models at my 3D printers to have them start printing it😂 pic.twitter.com/xNTe4KAVM2September 13, 2026
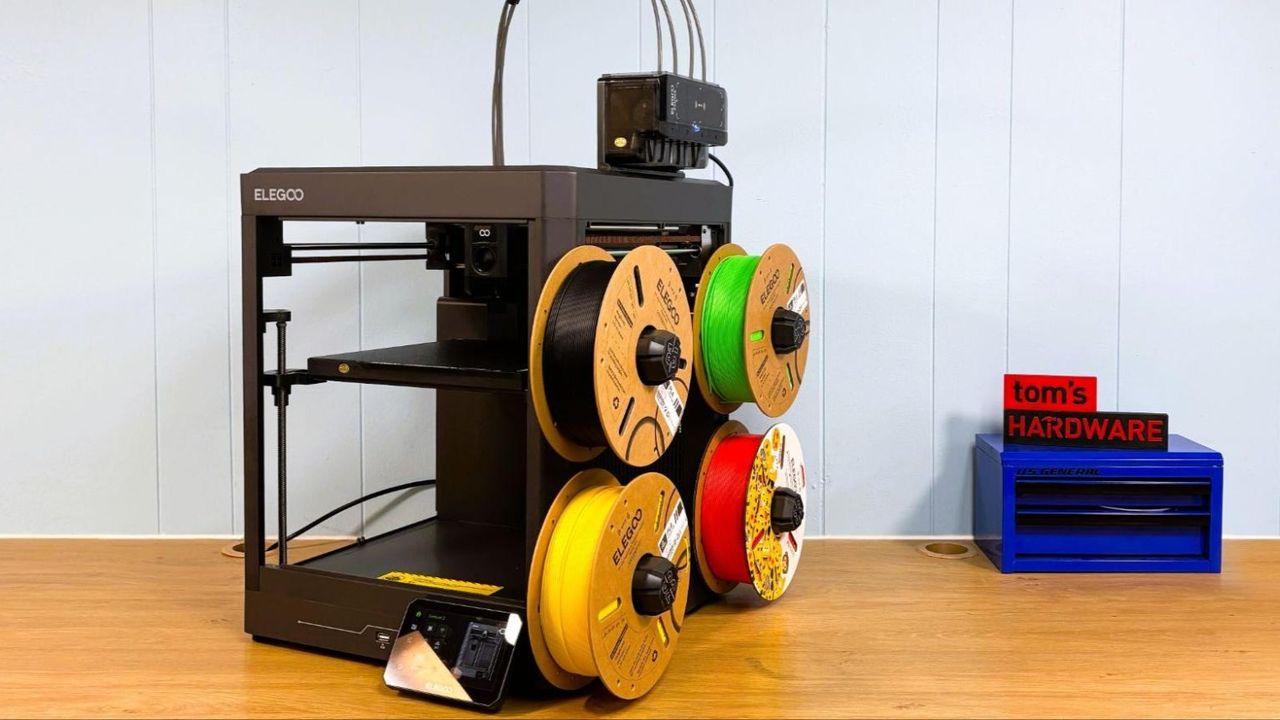
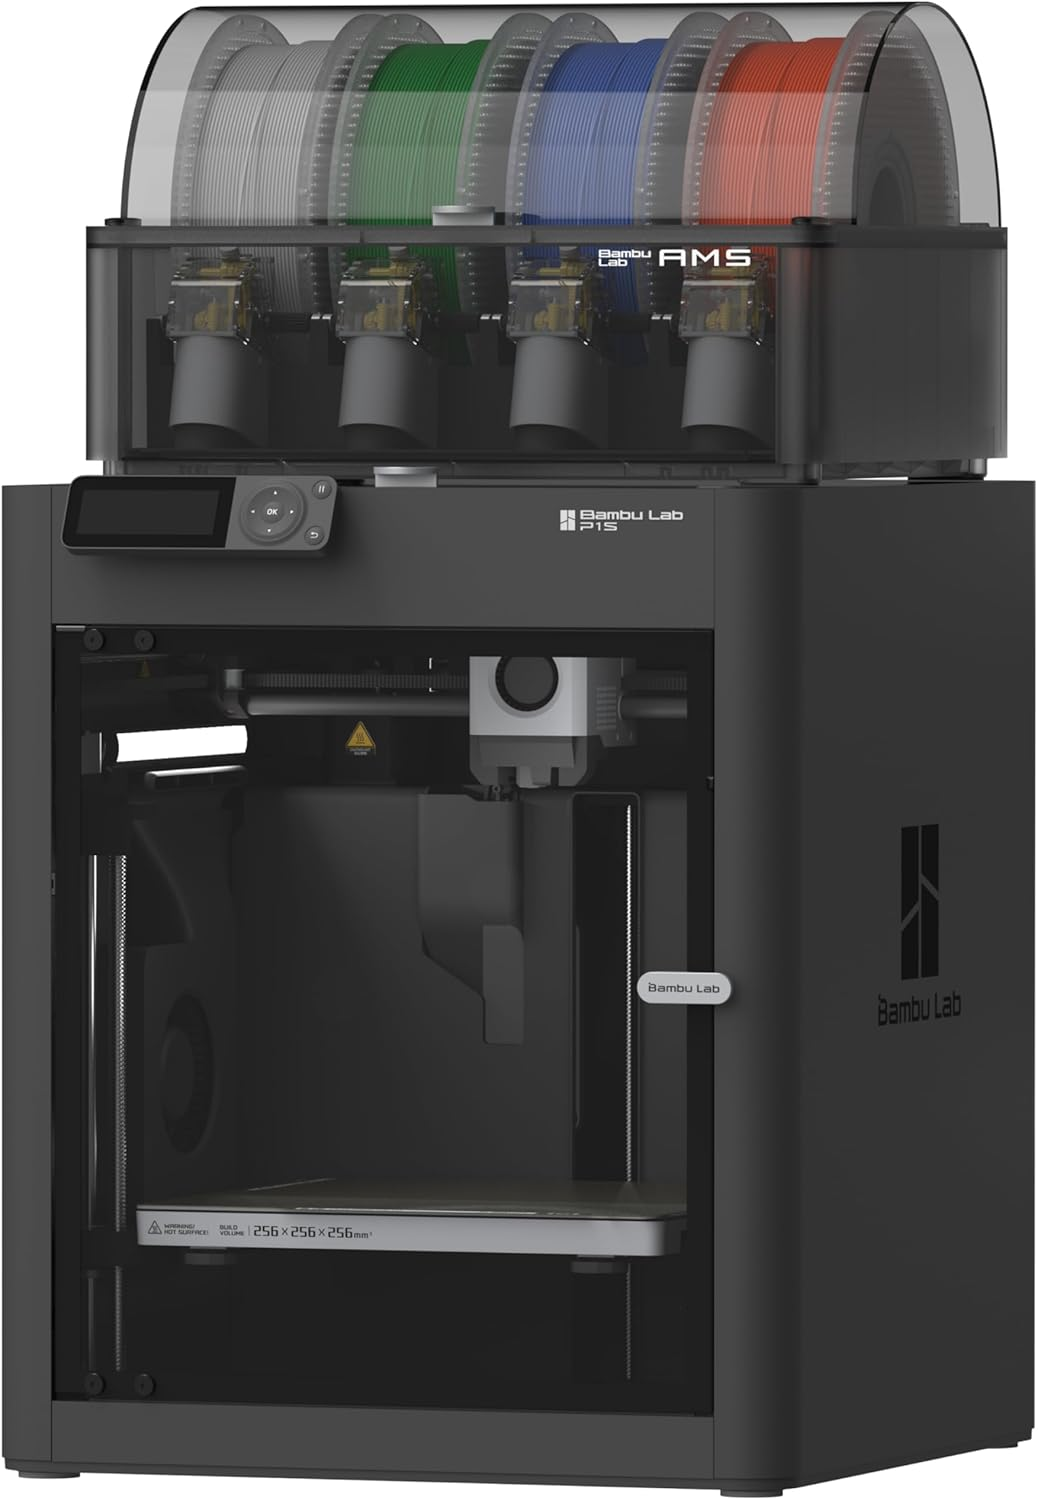
Let’s look more closely at the hardware in use before talking about the integration in play. The demonstration video clearly shows that Hank has a Bambu Lab P2S 3D printer with an AMS 2 multi-material system on top. We reviewed the Bambu Lab P2S with AMS2 last October, and gave it a pretty glowing 4.5/5 review score thanks to lots of features and factors in its favor. Hank has integrated this 3D printer with his Meta Quest 3 headset. We last reviewed one of these HMDs back in December 2024 when we tested the Quest 3S, and it was also a 4.5/5 star winner.
So, these two great pieces of hardware don’t usually work together, but that didn’t deter Hank. Not much anyway. Later in the tweet thread, Hank reveals that “The Bambu Lab printers have an API that you can use to control them locally! [So I] Spun up a quick web server on my PC that glued everything together! (Android app -> PC -> 3D printer).”
Of course, other Bambu Lab 3D printer users with Meta Quest headsets were interested in following in Hank’s footsteps. The software engineer said that the integration was finessed with the help of OpenAI’s GPT-6 Astra model (so, yes, it’s vibe coded), but wasn’t available on GitHub as yet. However, our 3D printing-in-VR hero indicated that they would be happy to share the code online if there was enough interest (and after a bit of code polishing).
We've entered the golden era of gaming. I had GPT-6 Astra reverse engineer Super Smash Bros Melee to work on my Meta Quest 3 with VR controls. I'll post my first real battle in the replies https://t.co/vDHsPTPOmM pic.twitter.com/abJvxHU5KfSeptember 9, 2026
Hank’s tweets are full of interesting projects mixing VR and vibe coding. In another noteworthy post (embedded above), he shows he used Astra to get the recently released Super Smash Bros Melee decompilation to work on the Meta Quest 3 with VR controls.
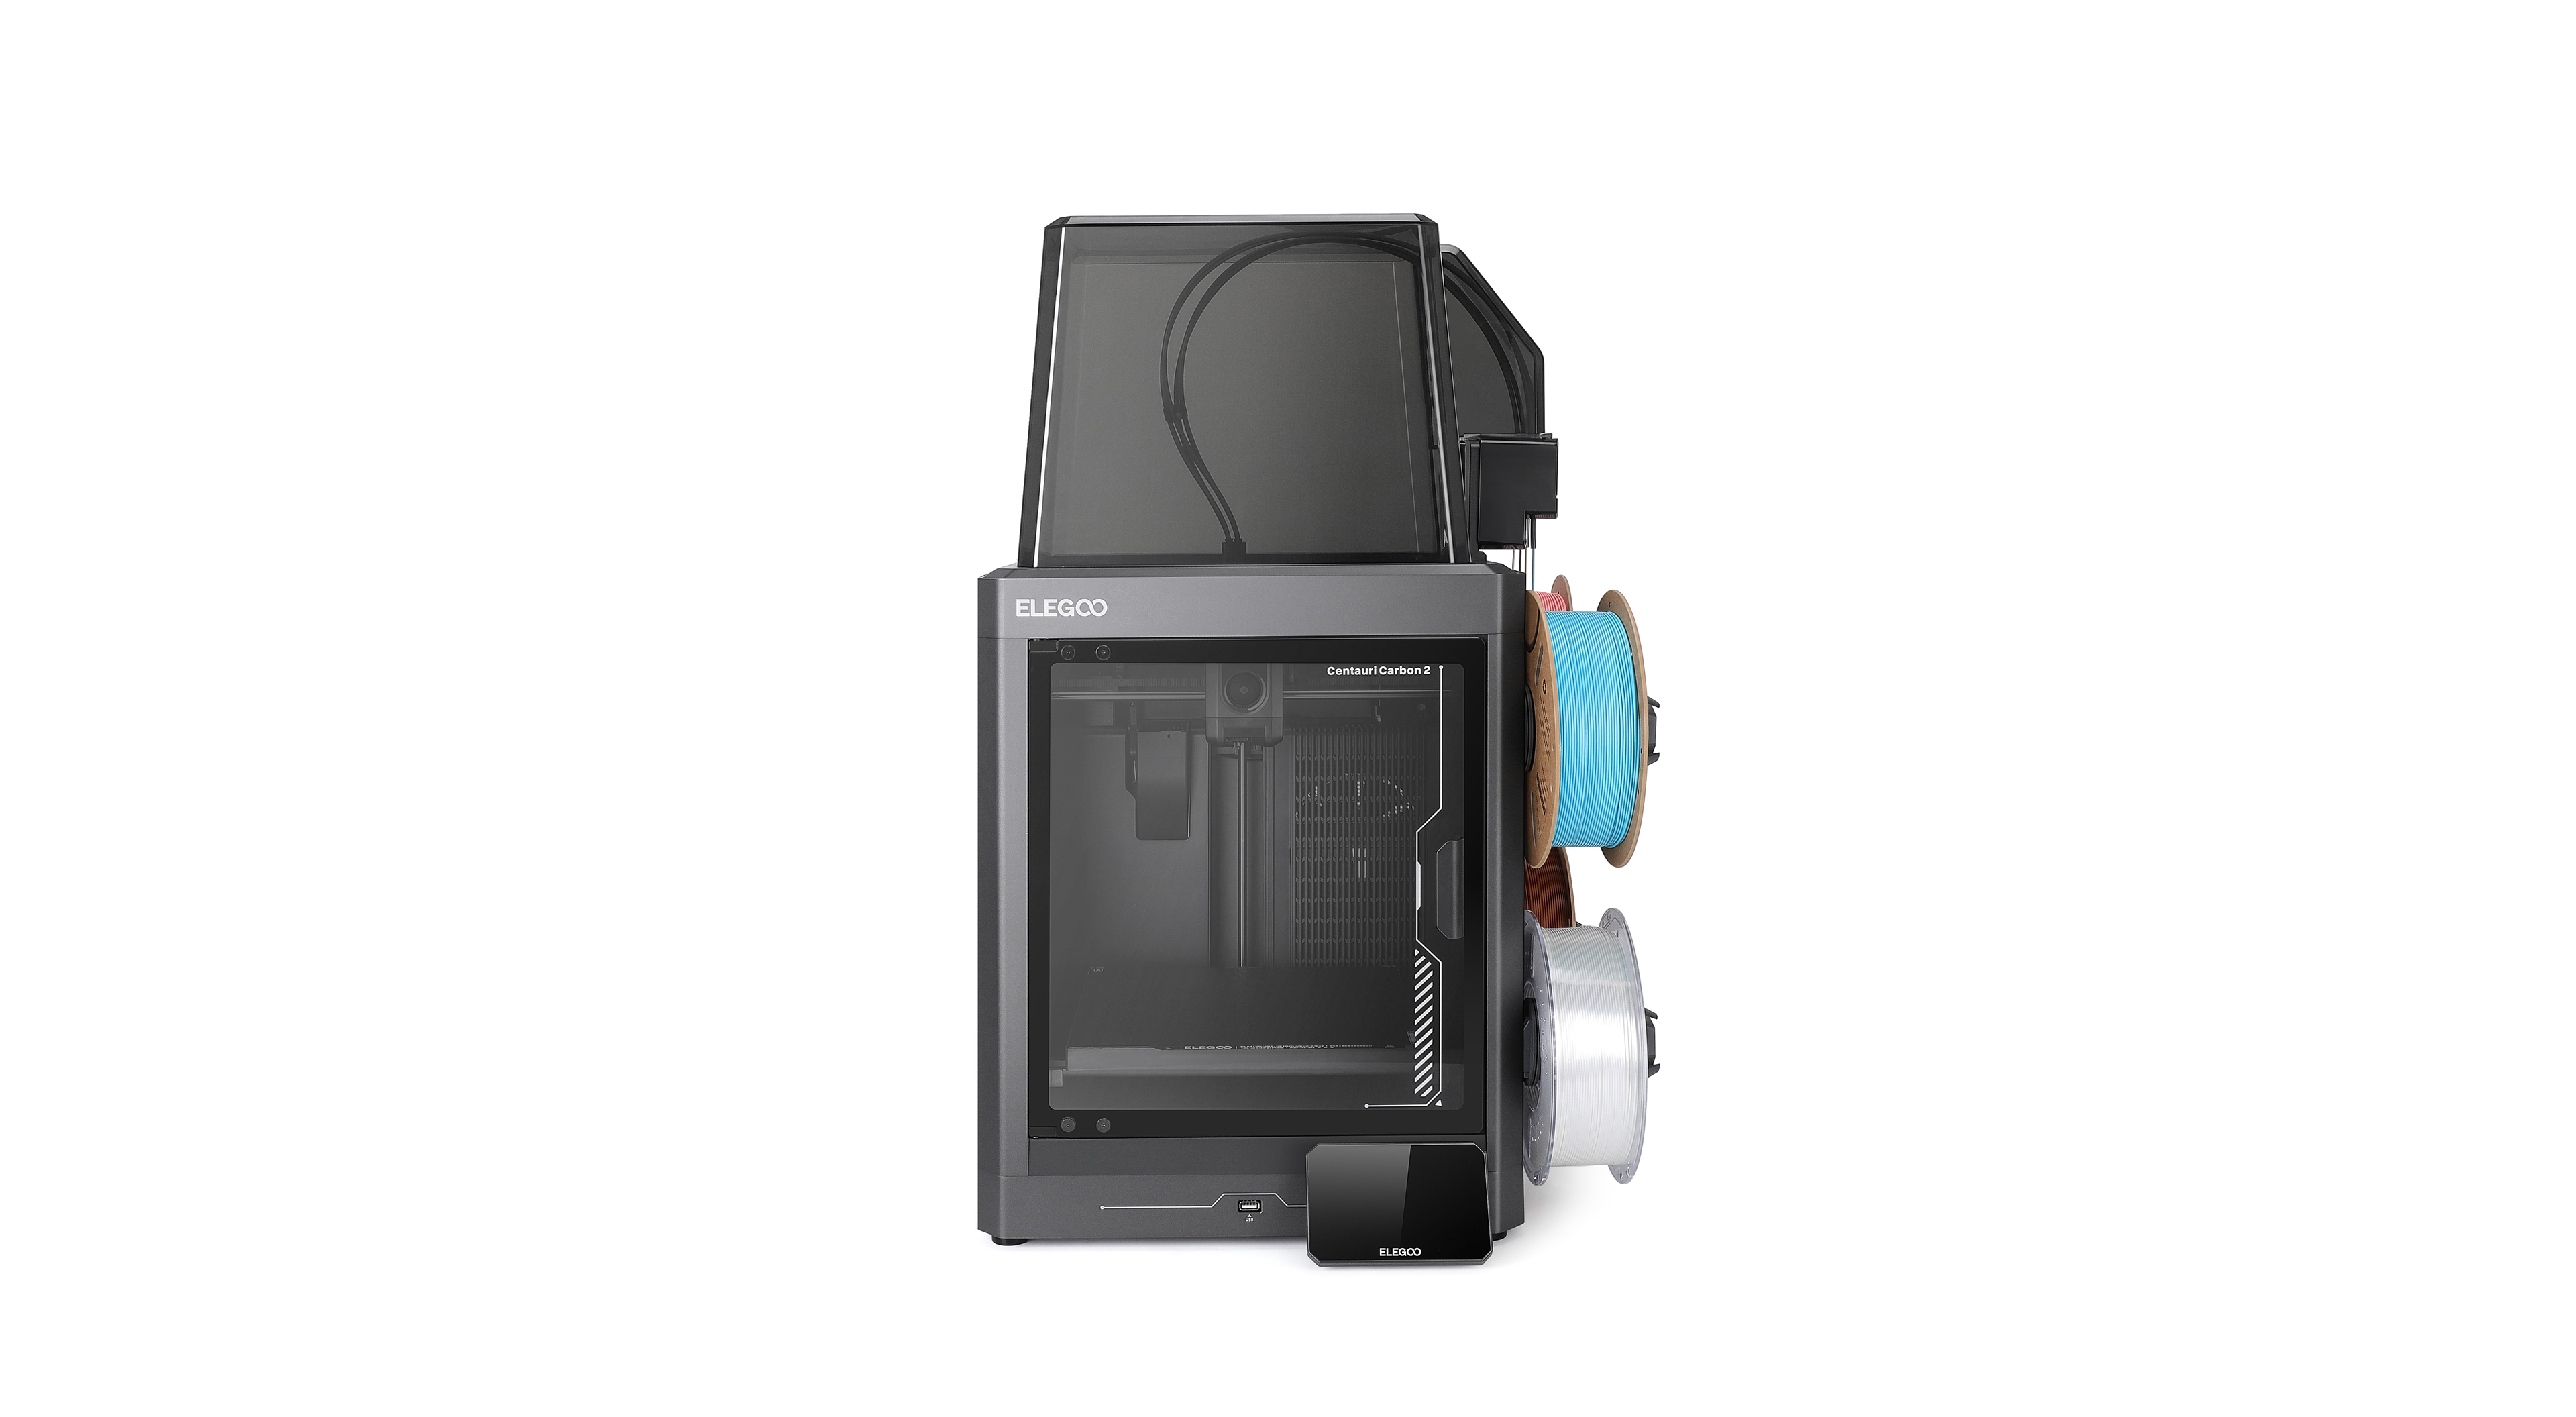
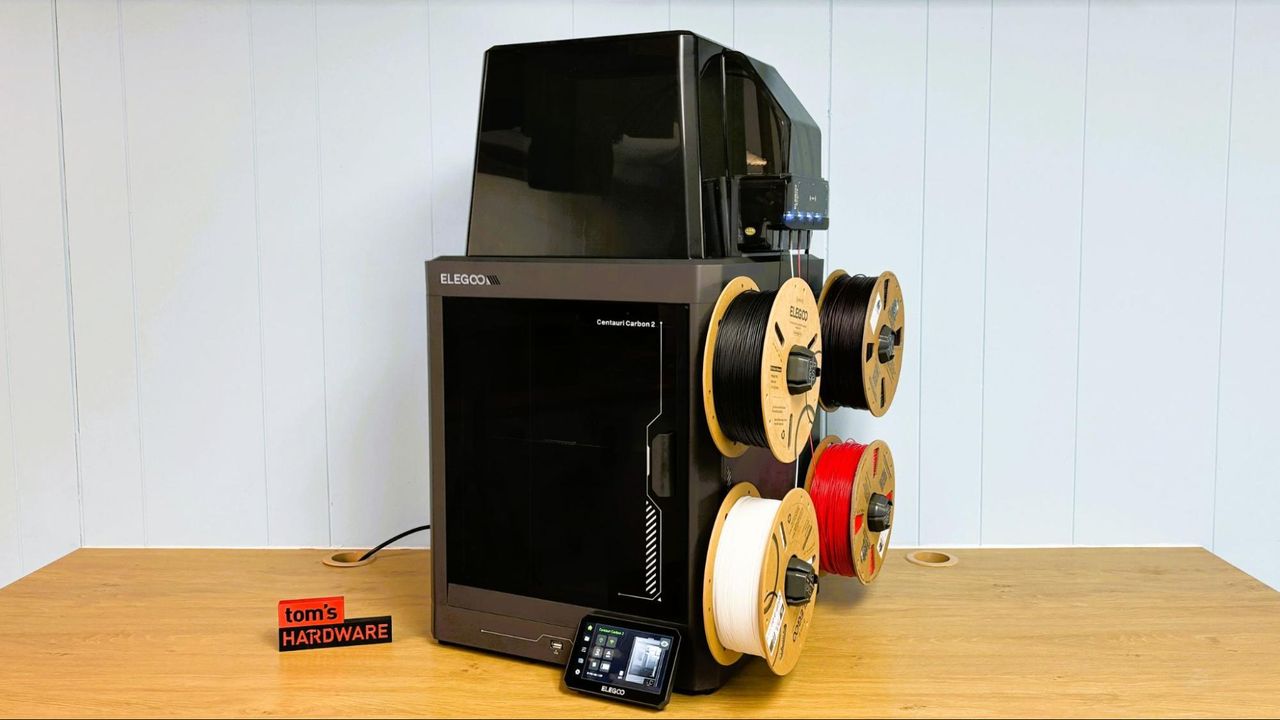
Elegoo is running a special sale on new 3D printers throughout September, in celebration of its community of makers. The Elegoo Day sale means that, right now, you can pick up an Elegoo Centuari Carbon 2 Combo, along with 1KG of filament, for just $400. You can actually secure it for $399, but the extra dollar nets you 1KG of PLA filament on top, which seems like a fair trade.
Introduced earlier in the year, this stripped-down version of the Centauri Carbon 2 scored 3.5 stars in our review. It's the cheaper model, with some missing features compared to its bigger sibling, but it's a worthy option for beginner makers, especially given its price.
In terms of specs, you're getting a Core XY 3D printer that uses the Canvas four-color system, with instant color switching and smart filament detection, and with a build volume of 256 x 256 x 256mm. You can expect to hit temperatures between 110C and 350C with this bed, which means you're able to print with some of the more problematic filament types like PET-GF and PCTG, although the printer offers support for a variety of materials, including PLA, PETG, TPU, and ABS.
Centauri Carbon 2 Combo with 1KG filament for $1: was $449 now $400 The Elegoo Centauri Carbon 2 combo offers a build volume of 256 x 256 x 256 mm and supports multi-material and multi-color 3D printing on a budget. Pay an extra $1 for 1KG of filament on top of your order.
You get a large touchscreen for controlling the printer, with features like calibration and auto bed leveling, and 31 intelligent sensors to help probe and level the print area, all designed to make the printer simple to use. The Carbon 2 Combo is easy to use, with great print quality that rivals Elegoo's pricier models.
The 3D printer market is filled with choice, but the Centauri Carbon 2 Combo is a good, budget-friendly option for makers to try for just $400 right now. The fairly large build volume, fast print speeds, four-color filament system, and wide support mean you're able to get started with complex prints with ease. The $370 sale price includes 1KG of PLA filament, one of the best filaments for 3D printers to start out with due to its forgiving nature. You can choose between white, black, and grey filaments, with further sale discounts available on additional spools.
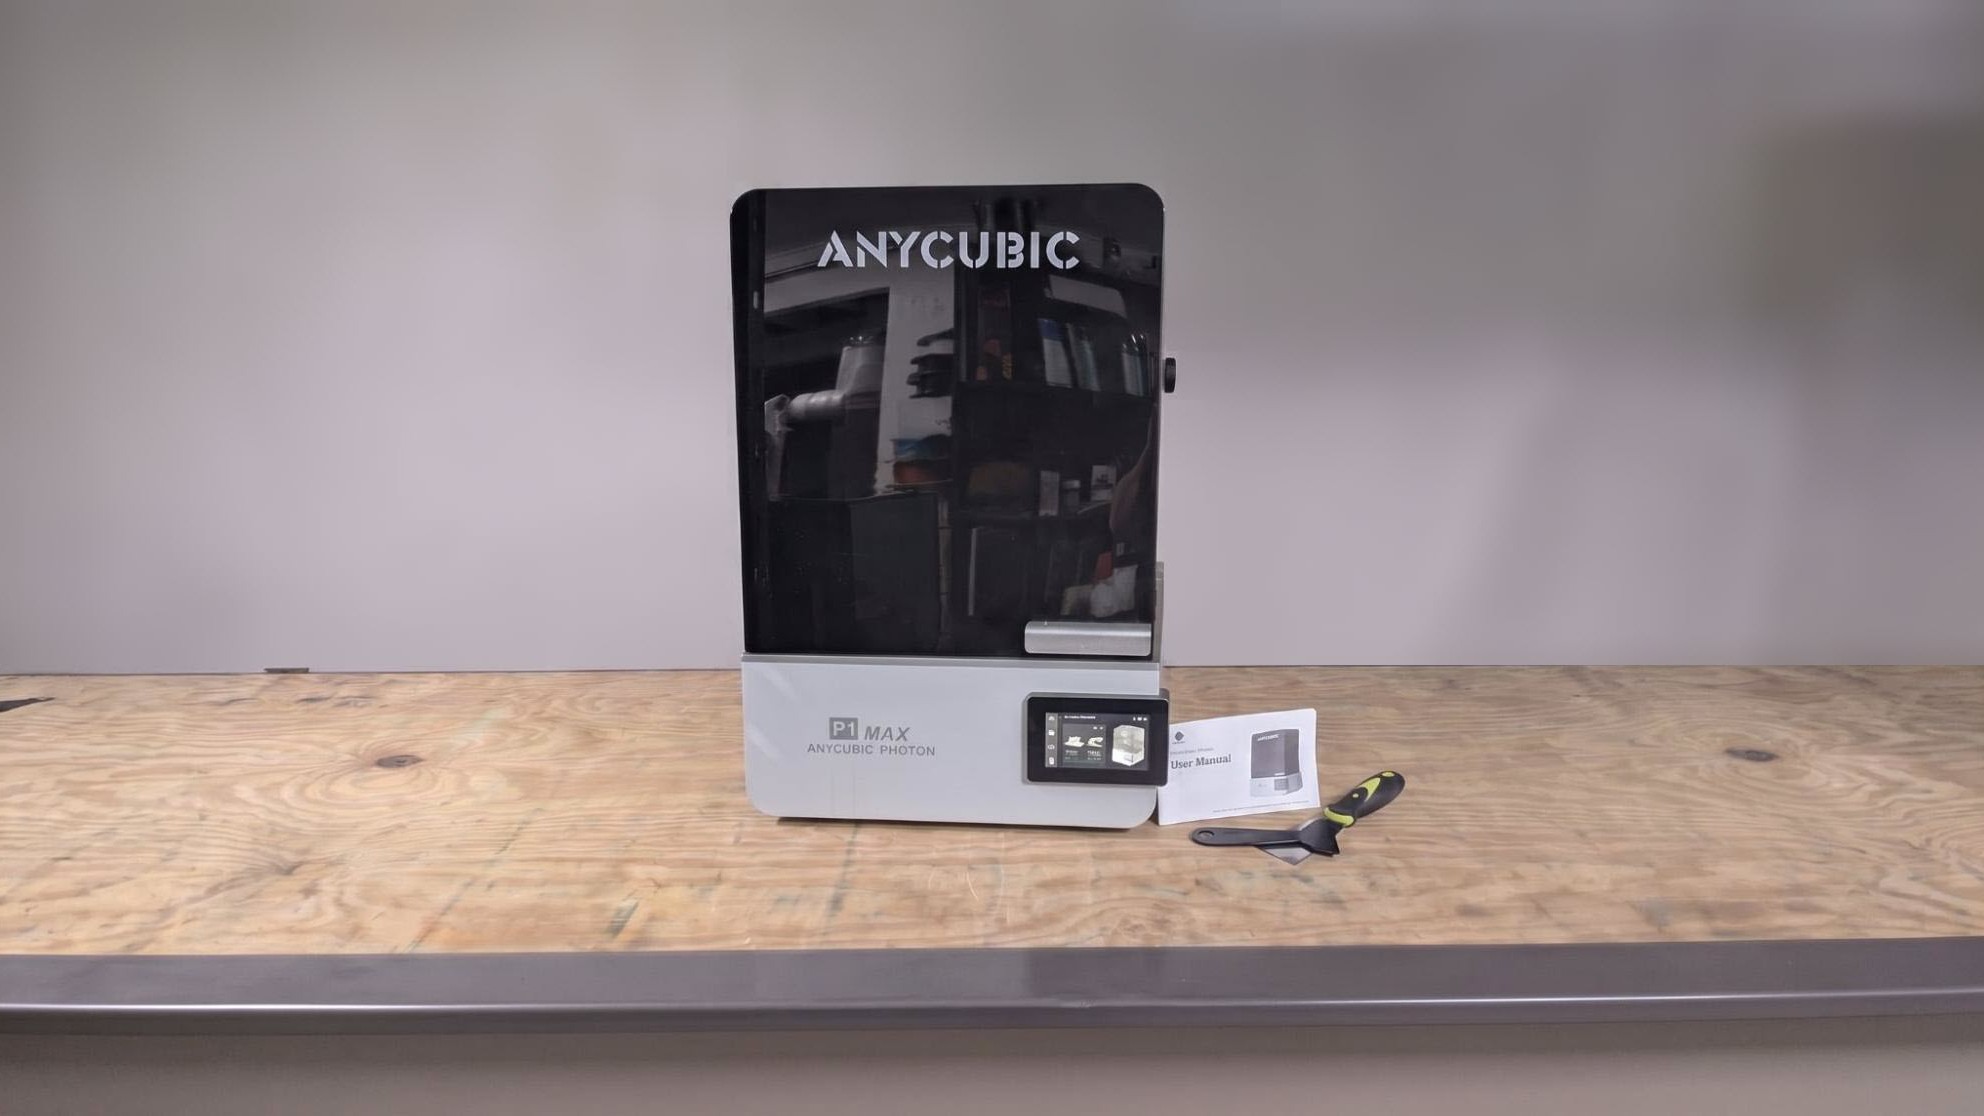
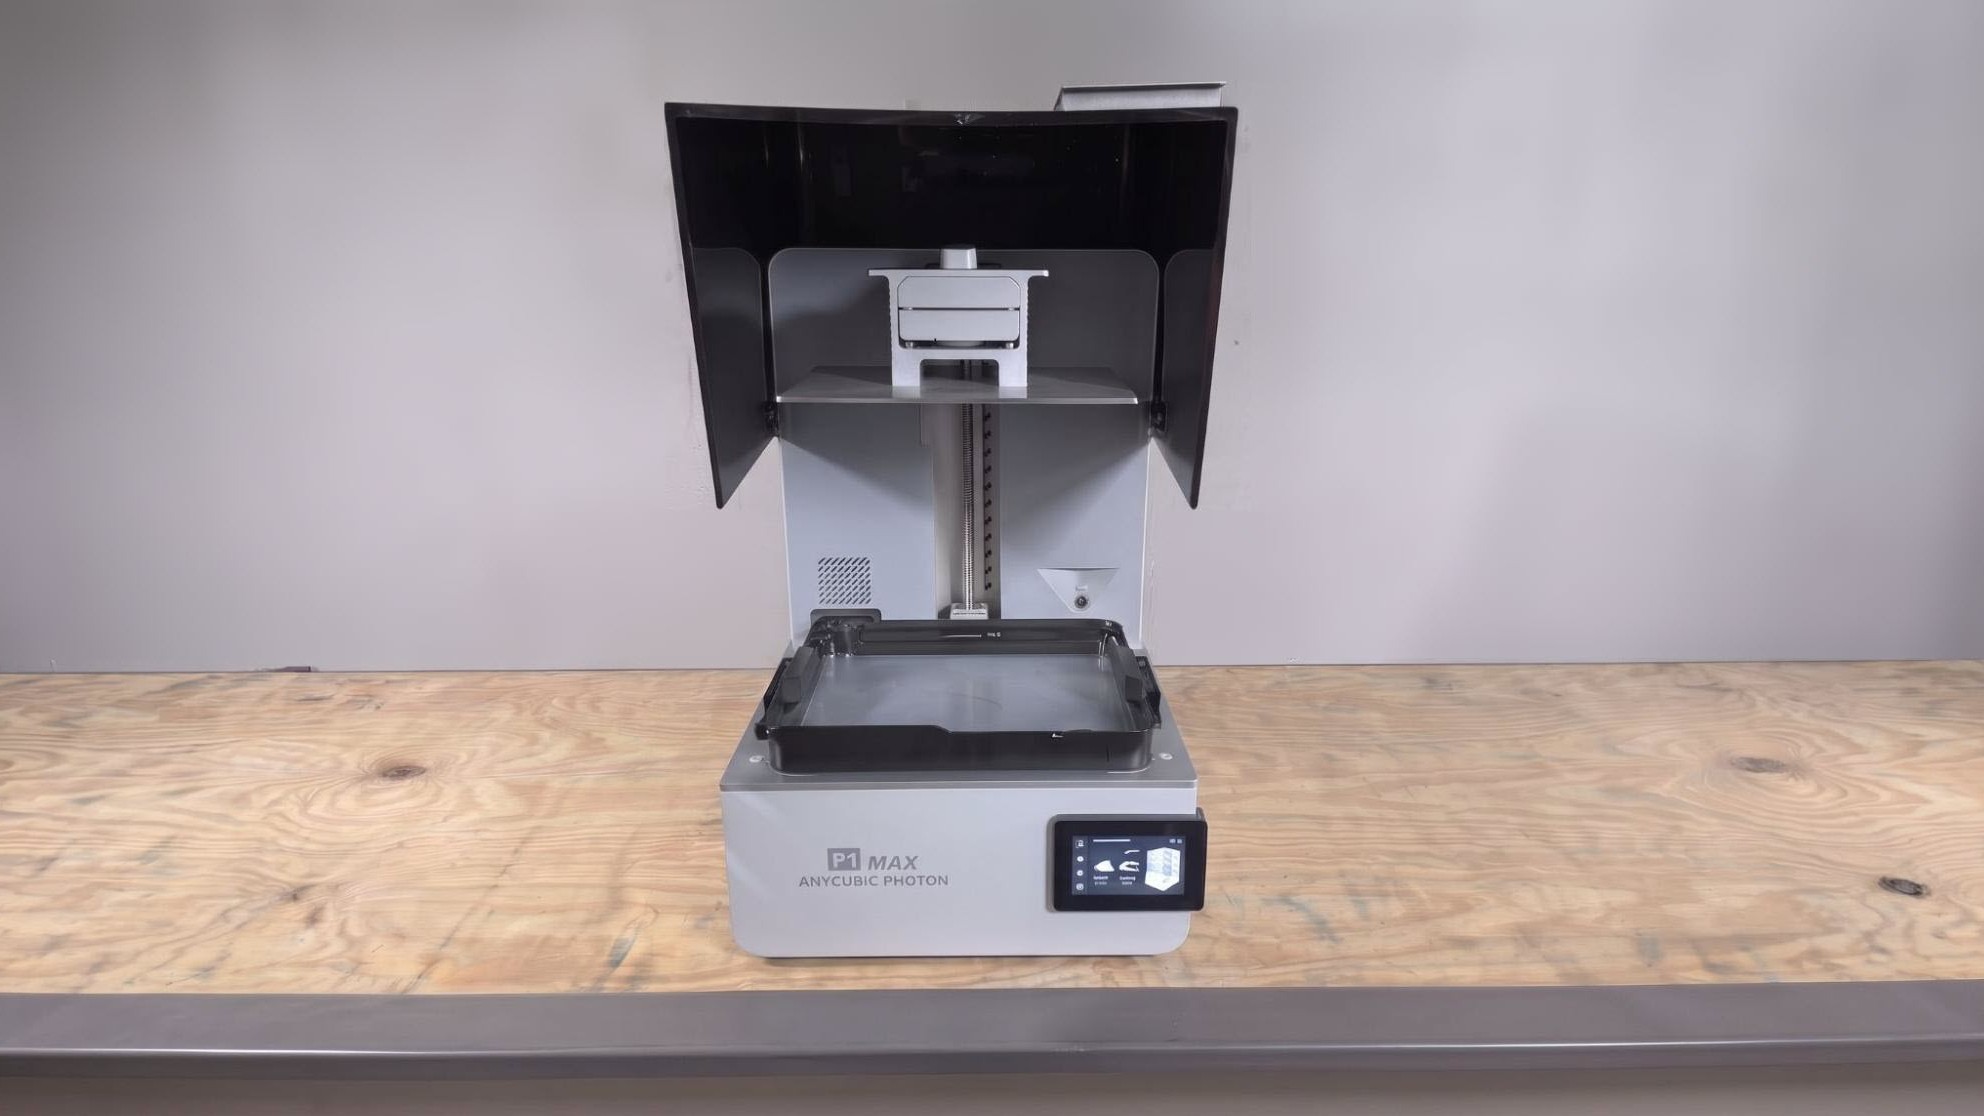
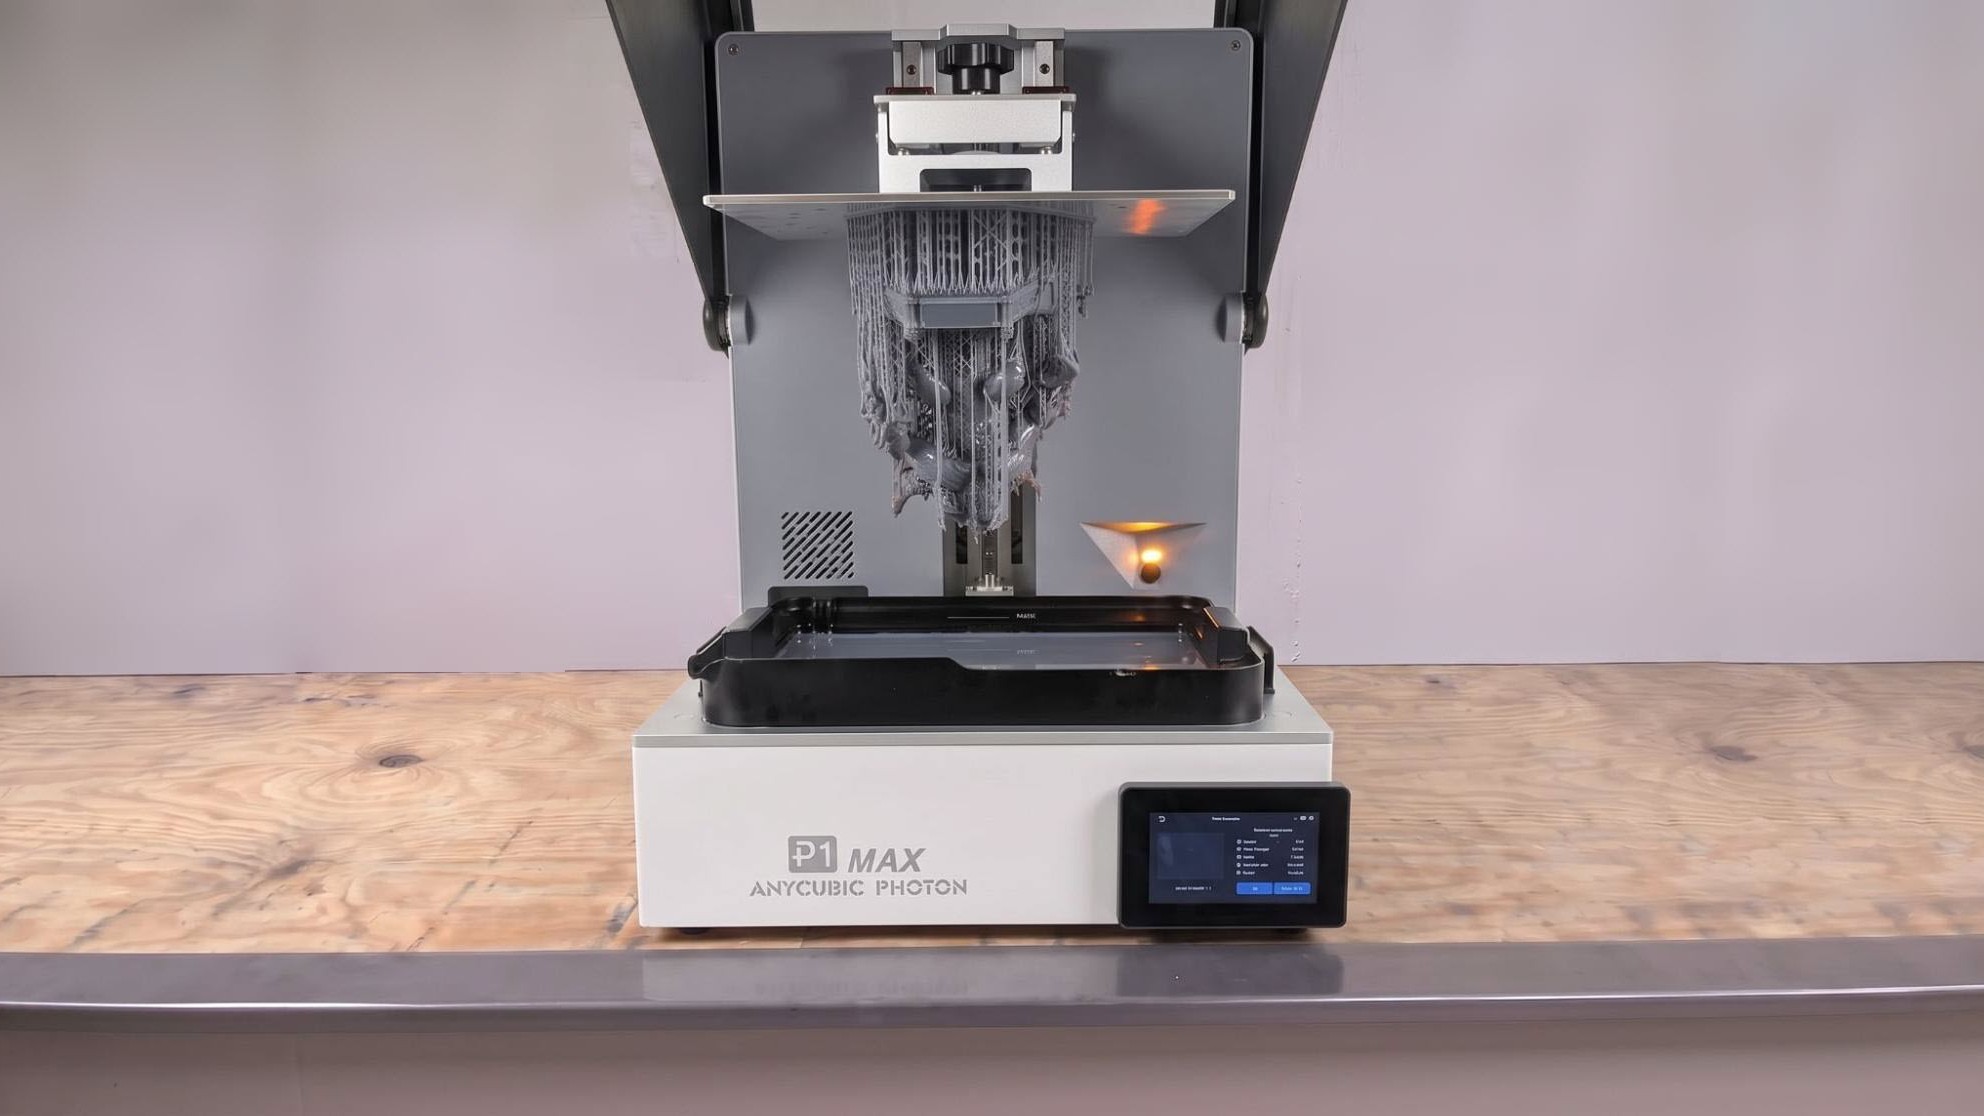
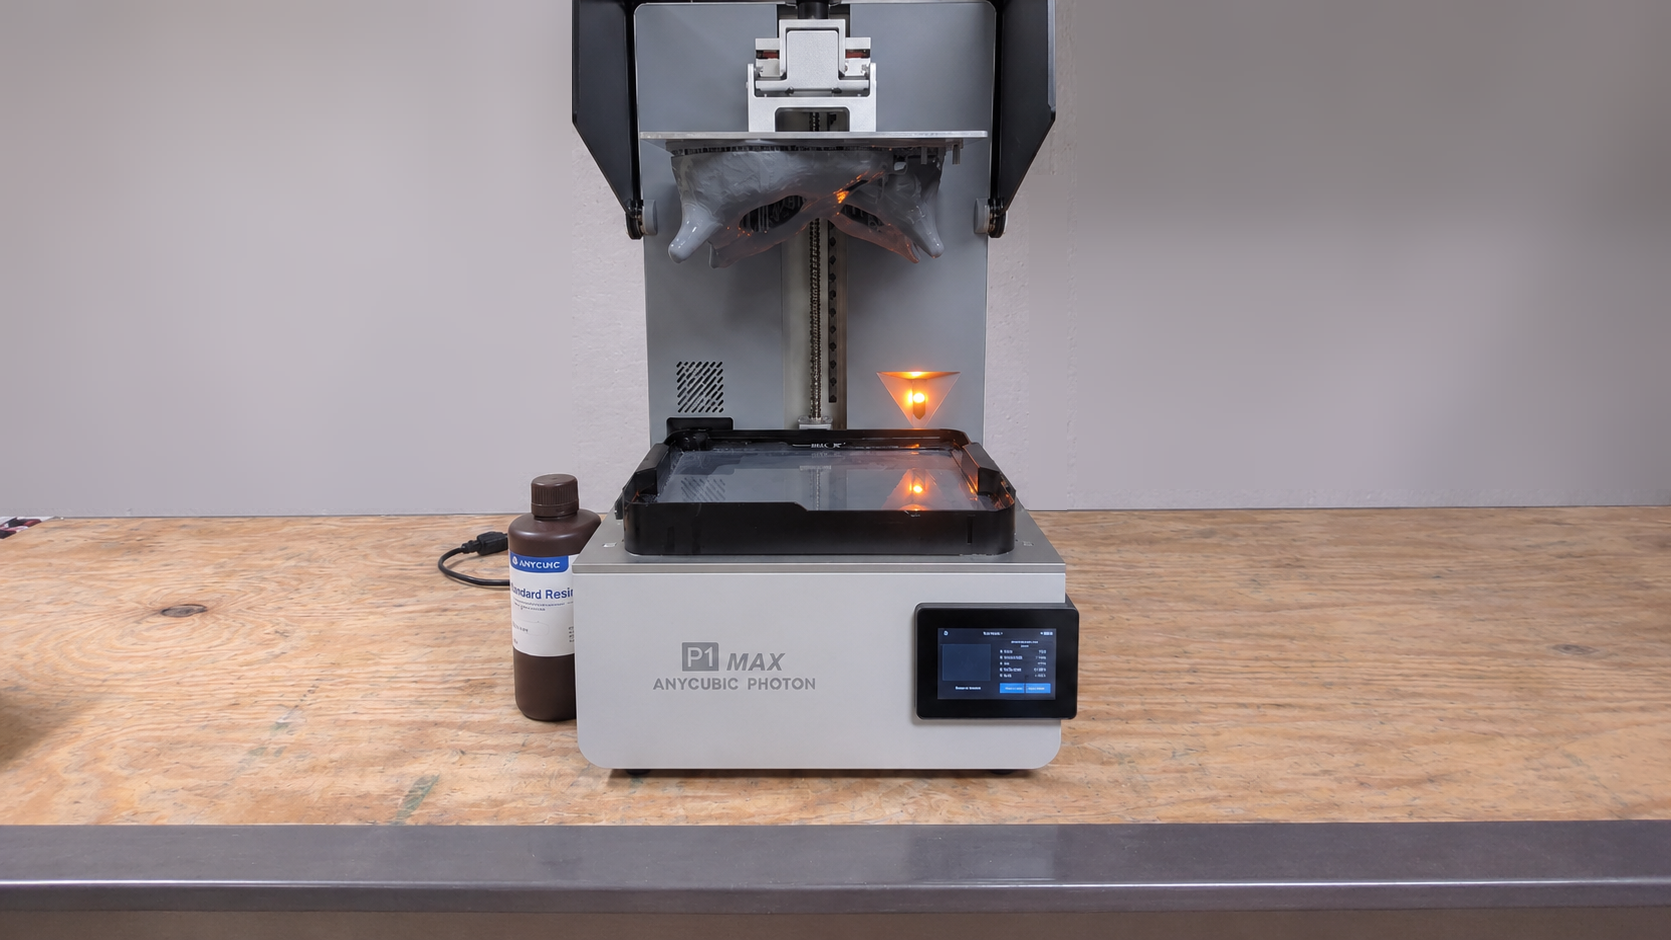
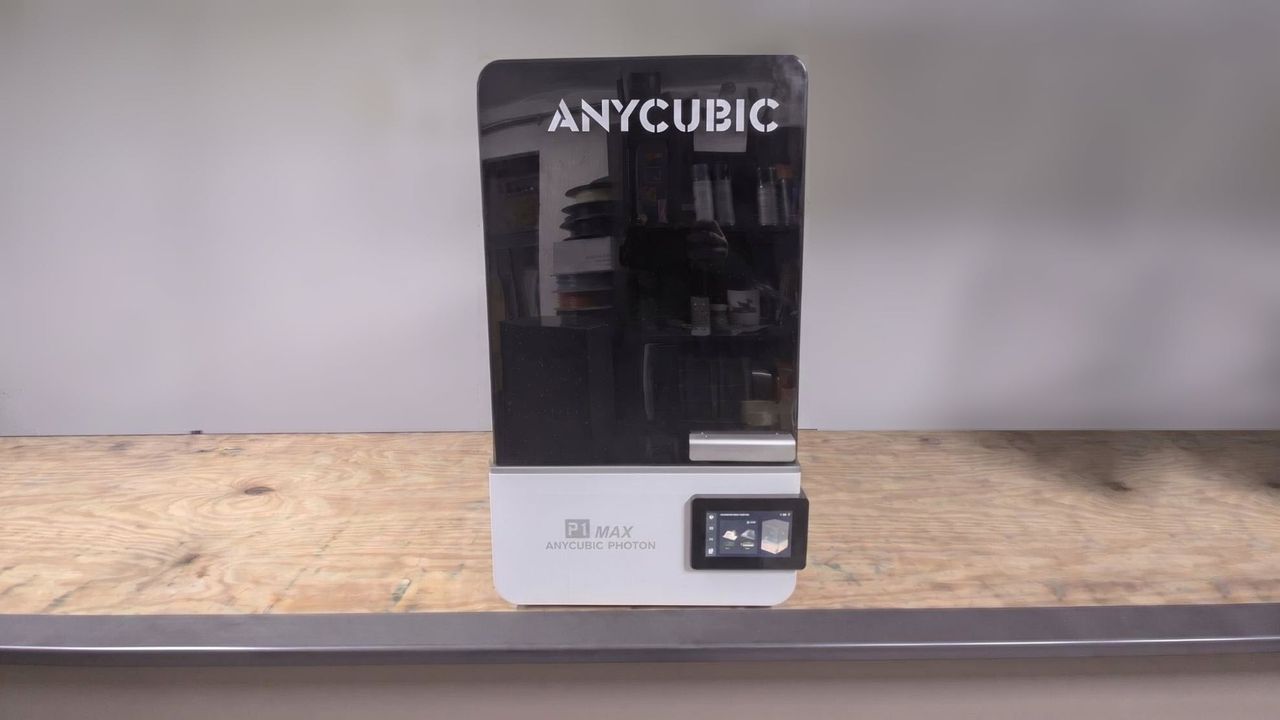
Anycubic’s newest Photon P1 was released a few months ago, and now it’s time for its bigger brother to step into the resin printing spotlight. Replacing the current Mono M7 Max, the Anycubic Photon P1 MAX packs in some new tech, along with a larger build volume.
Anycubic is showing off its new refined look for resin printing here – sleek, simple, and user- friendly. The Photon P1 Max has the same look and feel as the P1. However, the firmware on the machine we are testing was still in its early stages. With a few bugs, it still works as it should.
The Anycubic P1 MAX is currently on a presale on Anycubic's website for $1,103.00. After the presale, the P1 MAX will go up to $1,149, which isn’t a significant price increase. With all the tech packed into this printer and its simple, sleek design, it’s a great addition to any 3D printer’s workshop and lands a spot on our best resin printers list.
The Anycubic P1 Max ships with the standard resin printer starter accessories. This includes a Metal scraper, a set of Allen keys, a user manual, a USB drive, a power cord, plus a wipe for the inside of the hood and a plastic scraper.
The USB drive comes pre-loaded with Anycubic’s Photon Workshop Slicer, test files, and a digital manual.
(Image credit: Tom's Hardware)
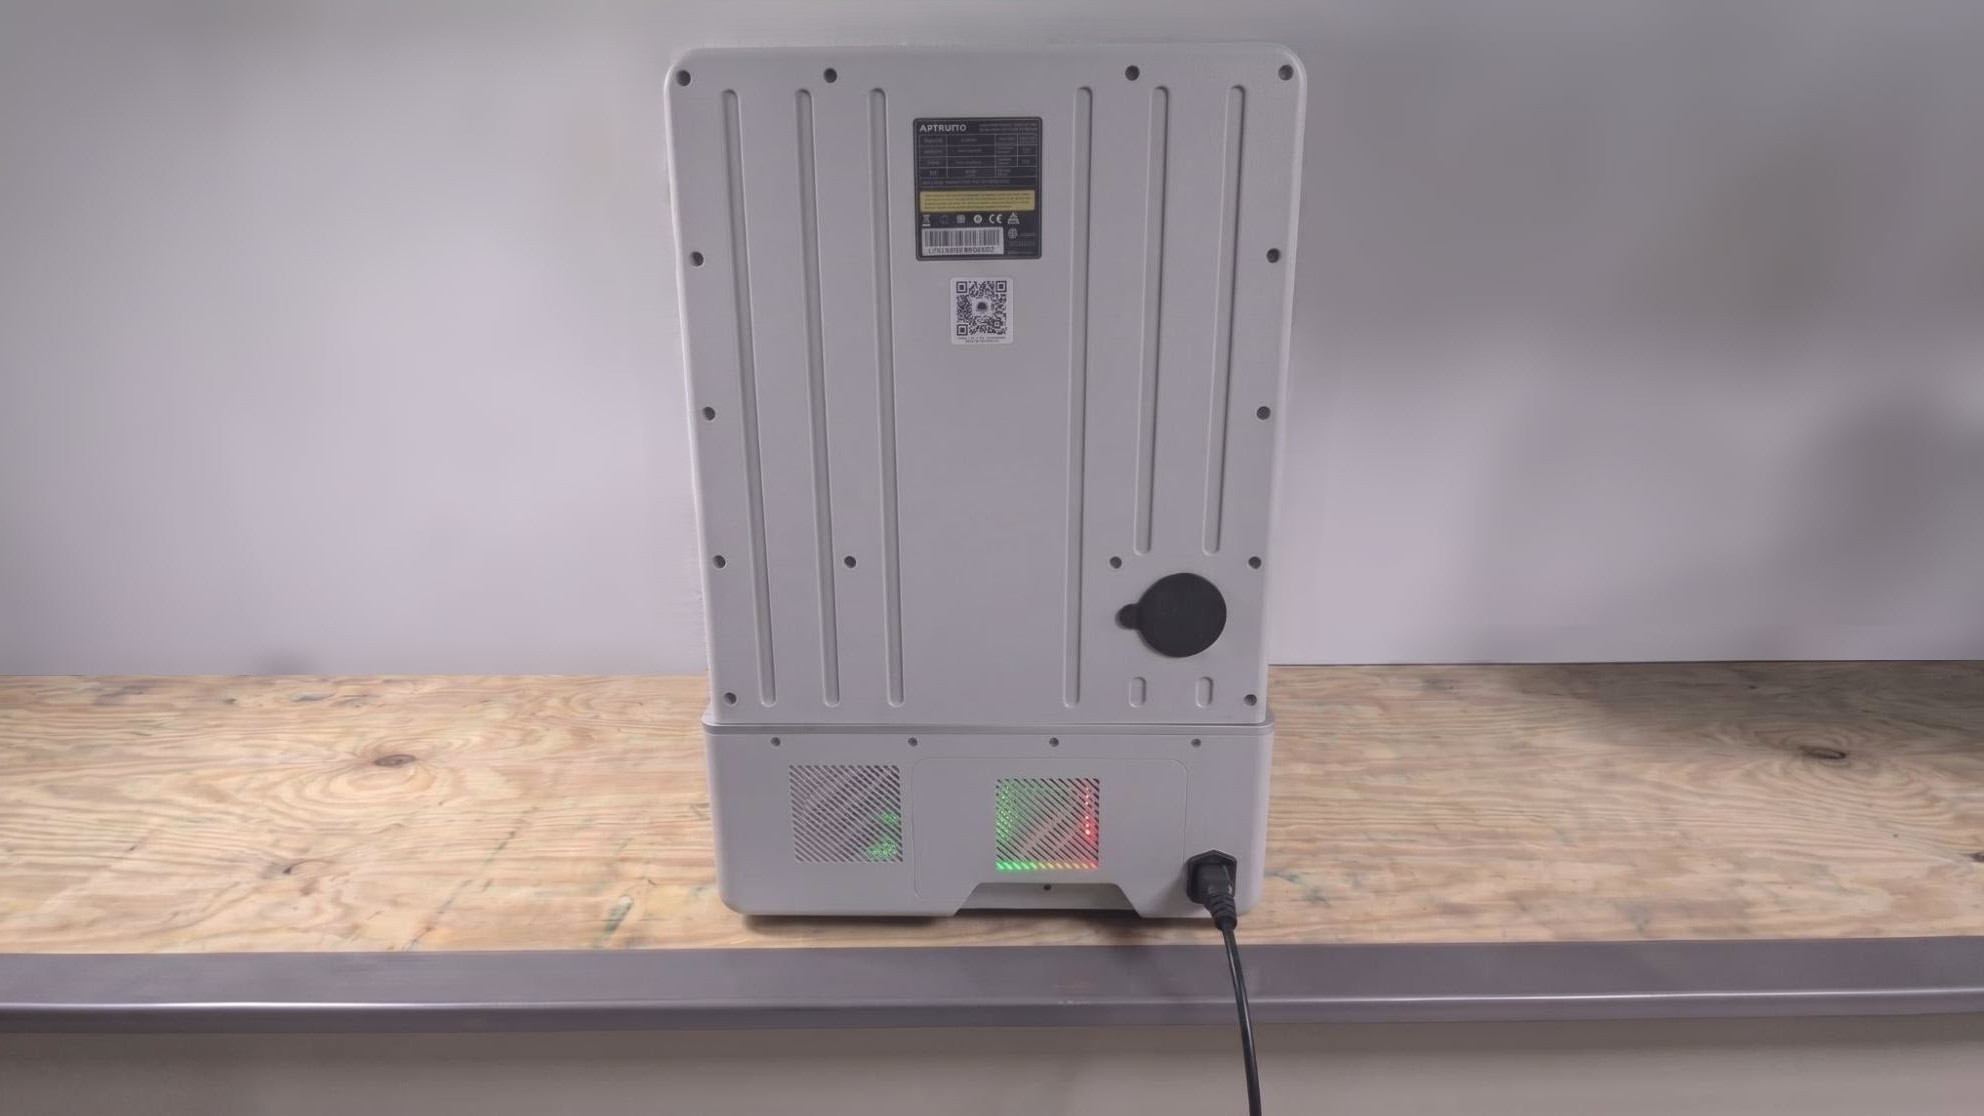
On the back of the printer is a rubber grommet for those who want to add a vent to the back of the printer for fume extraction. No hose is provided with this printer, so you will need to source one that fits to make it usable.
Printing Safety with Anycubic Photon P1 MAX
(Image credit: Tom's Hardware)
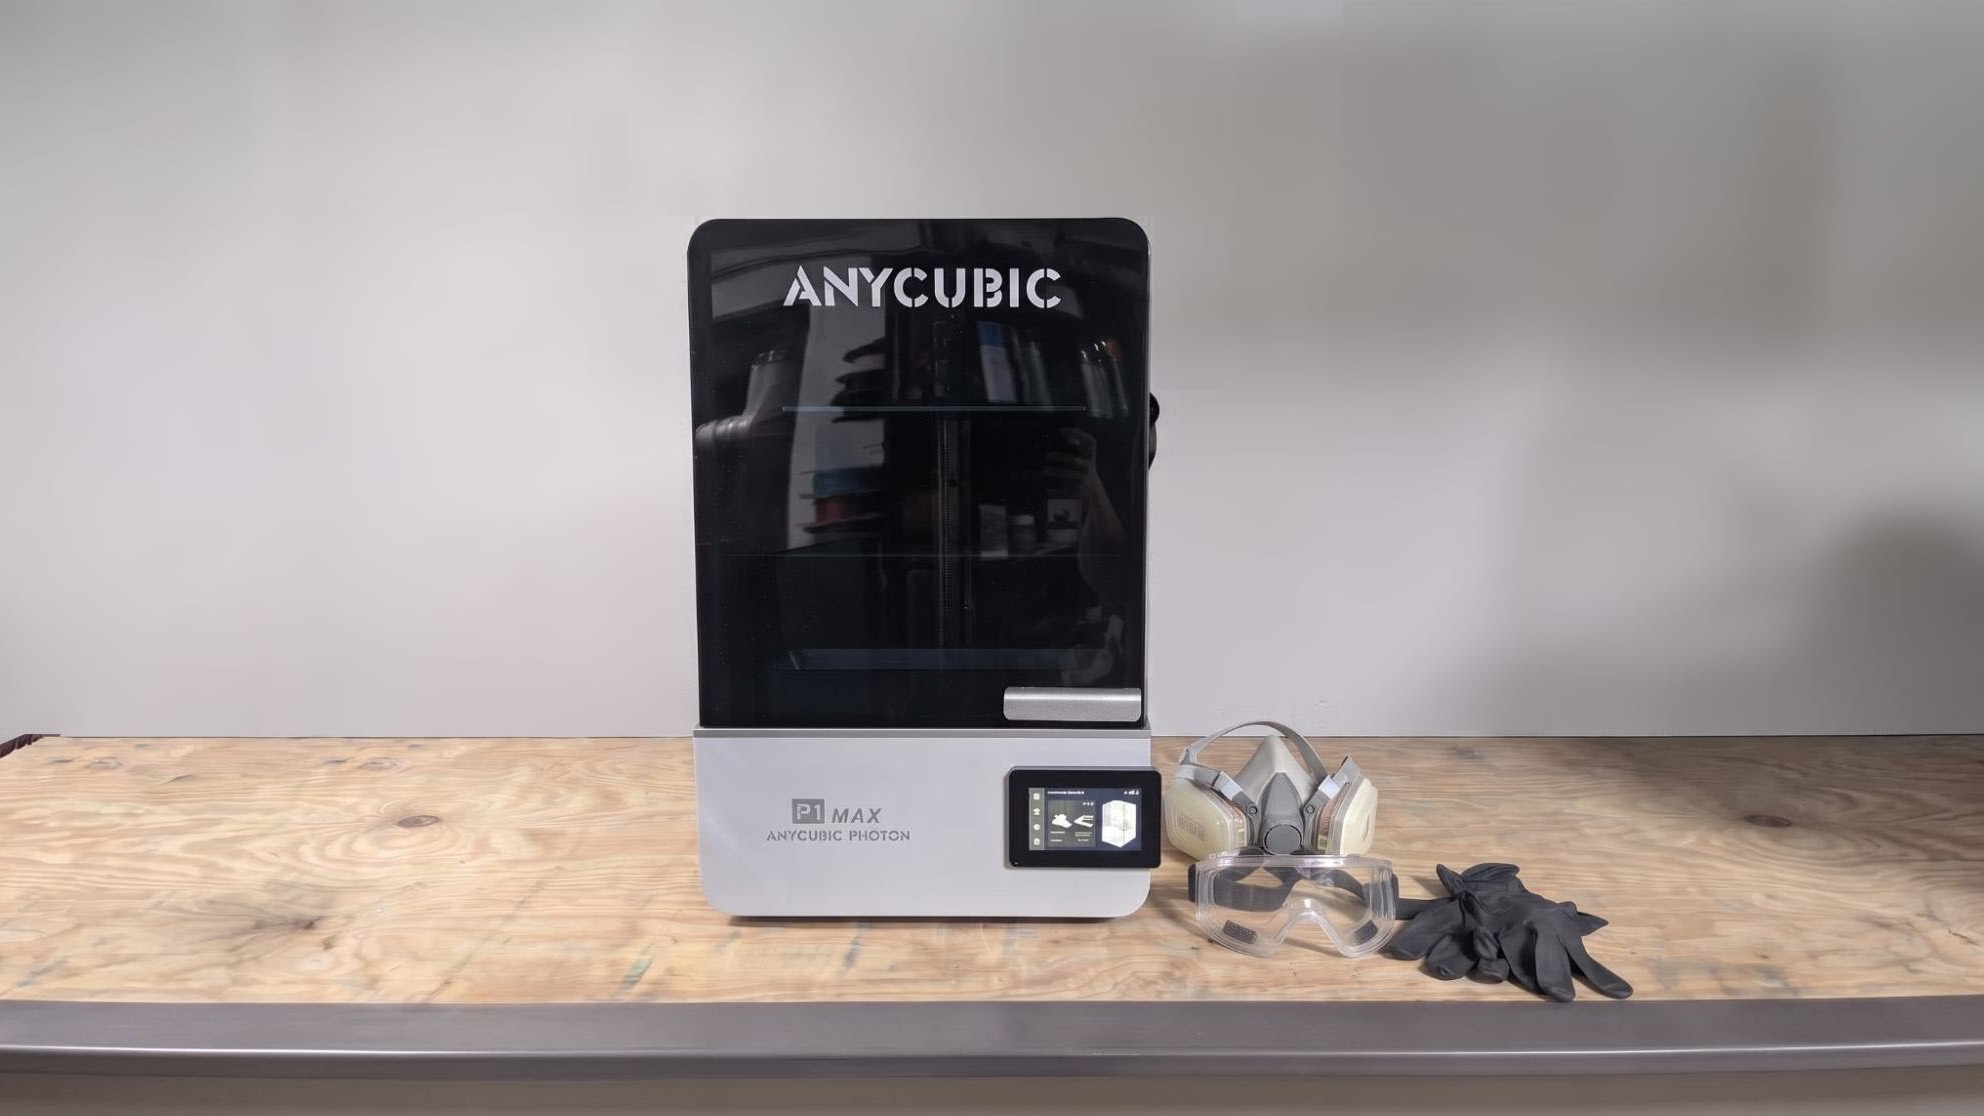
The Anycubic Photon P1 MAX requires the same safety precautions as any other resin printer. Uncured resin is dangerous, and the solvents used to clean your prints can be irritating to skin or cause sensitivity issues over time. Use gloves and safety glasses when pouring resin and handling uncured prints.
Make sure the room you use your resin printer in is well-ventilated to avoid inhaling fumes. Spilled resin should be immediately cleaned up with 99% isopropyl alcohol. After printing, make sure to wipe down your printer and bottles to remove smudges of uncured resin. Always keep your resin tightly sealed and safely stored out of reach of pets and children.
Assembling the Anycubic Photon P1 MAX
The Anycubic P1 MAX comes fully assembled out of the box. You’ll just need to remove the packing material from the build plate area and peel the screen protectors and labels off the printer and FEP Film.
If you choose any add-ons, such as the perforated build plate, they will be supplied in separate boxes.
Calibrating the Build Plate on the Anycubic Photon P1 MAX
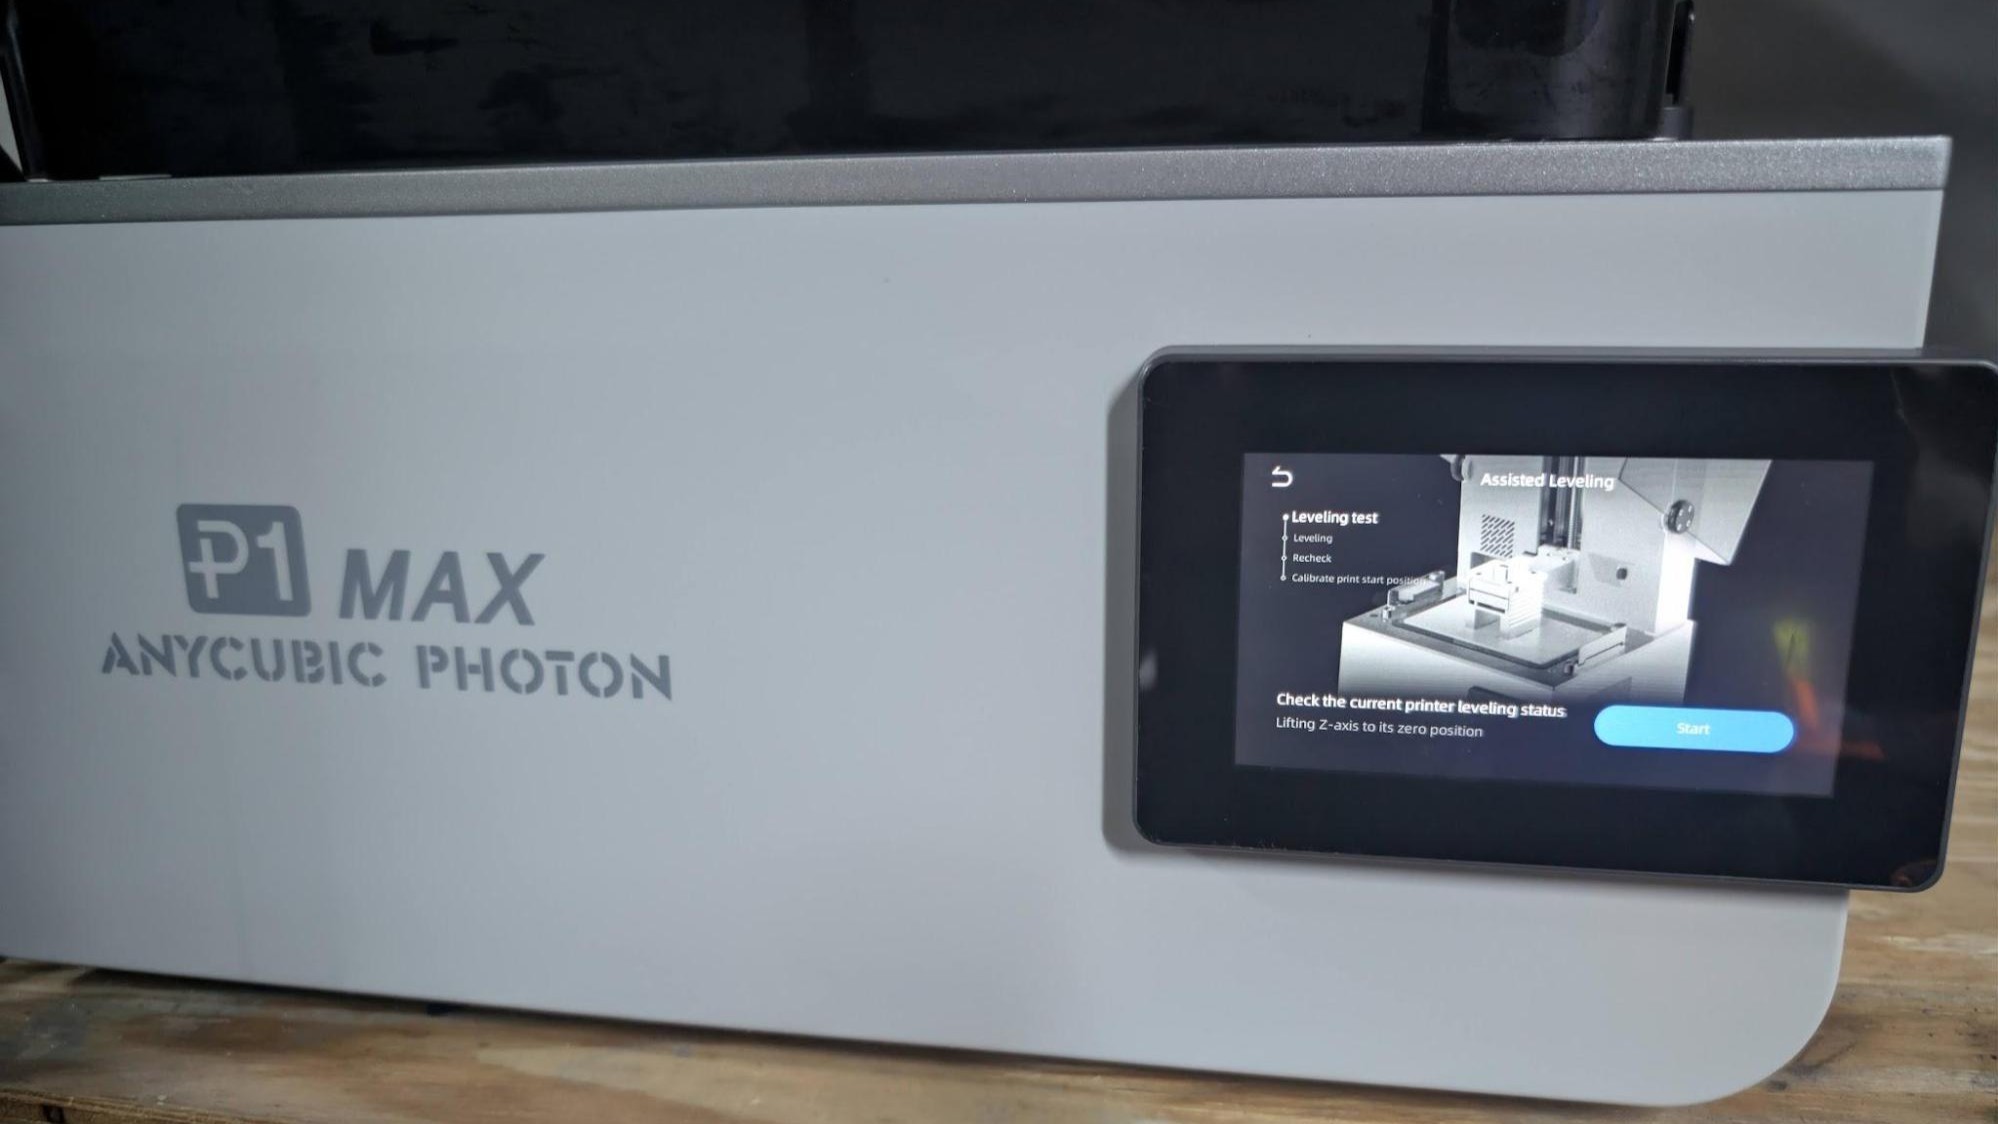
On the screen here, you can see two of our favorite features of the P1 MAX, the Intelligent Assistant 3.0 and the Smart Dynamic Balance system. (Image credit: Tom's Hardware)
The P1 MAX, just like the smaller P1, has the same assist features for leveling. You can choose to have the auto-leveling feature on at all times, which I do recommend, but there are times when it’s a good idea to check and make sure all is good after printing for a while. Personally, with these new printers, I tend to check the level right after the first test print to make sure everything is leveled properly.
I am still humbled by the fact that this printer has a pressure system to level the printer. It’s such a nice feature to have. That said, our review unit seems to have a firmware glitch. It levels the build plate, then raises the build plate off the screen about 100 mm. Then you adjust the screws and do it again to get the proper level. It’s not that bad, honestly. You just need to make sure you give it a little turn and go and adjust from there. Hopefully, Anycubic will patch this to make it work just like the smaller P1, where you adjust while the plate is against the screen, as it should be.
Design of the Anycubic Photon P1 MAX
(Image credit: Tom's Hardware)
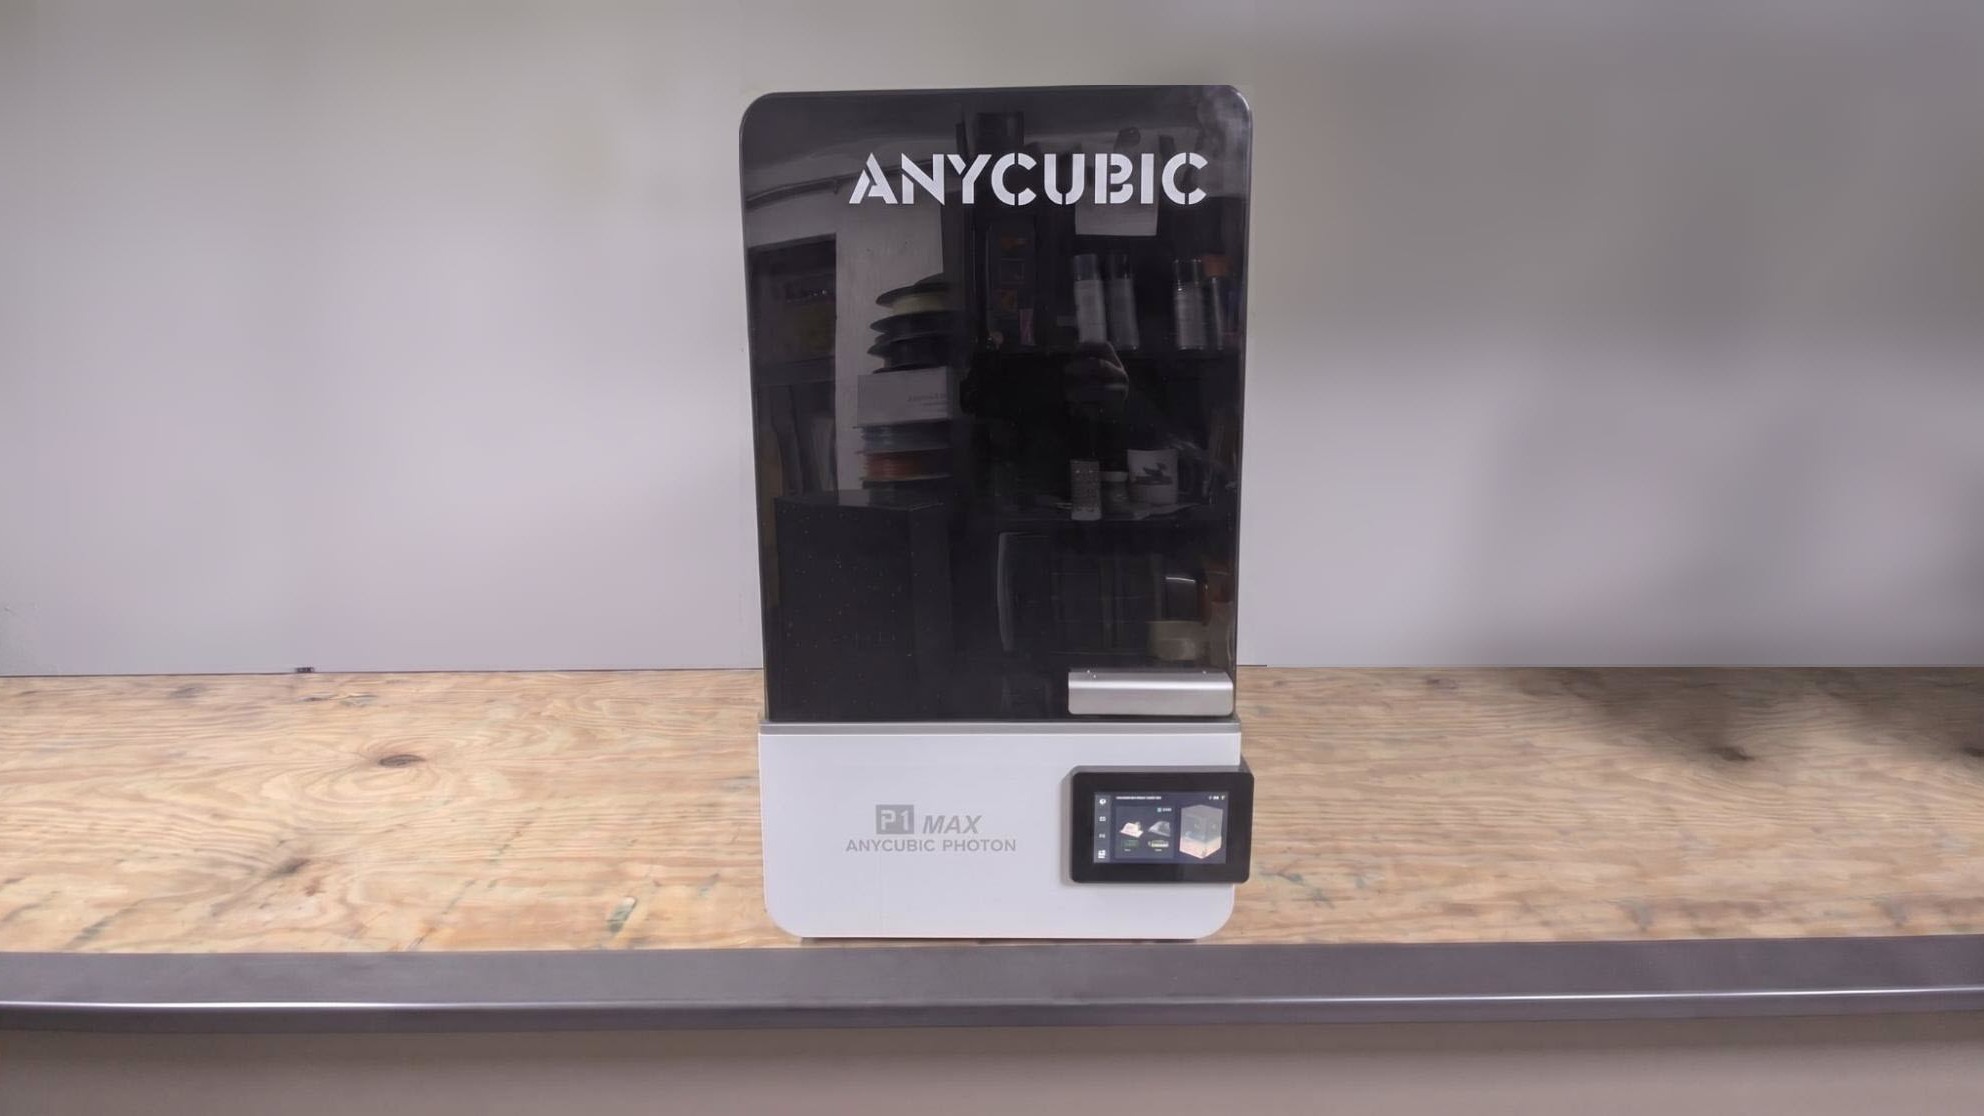
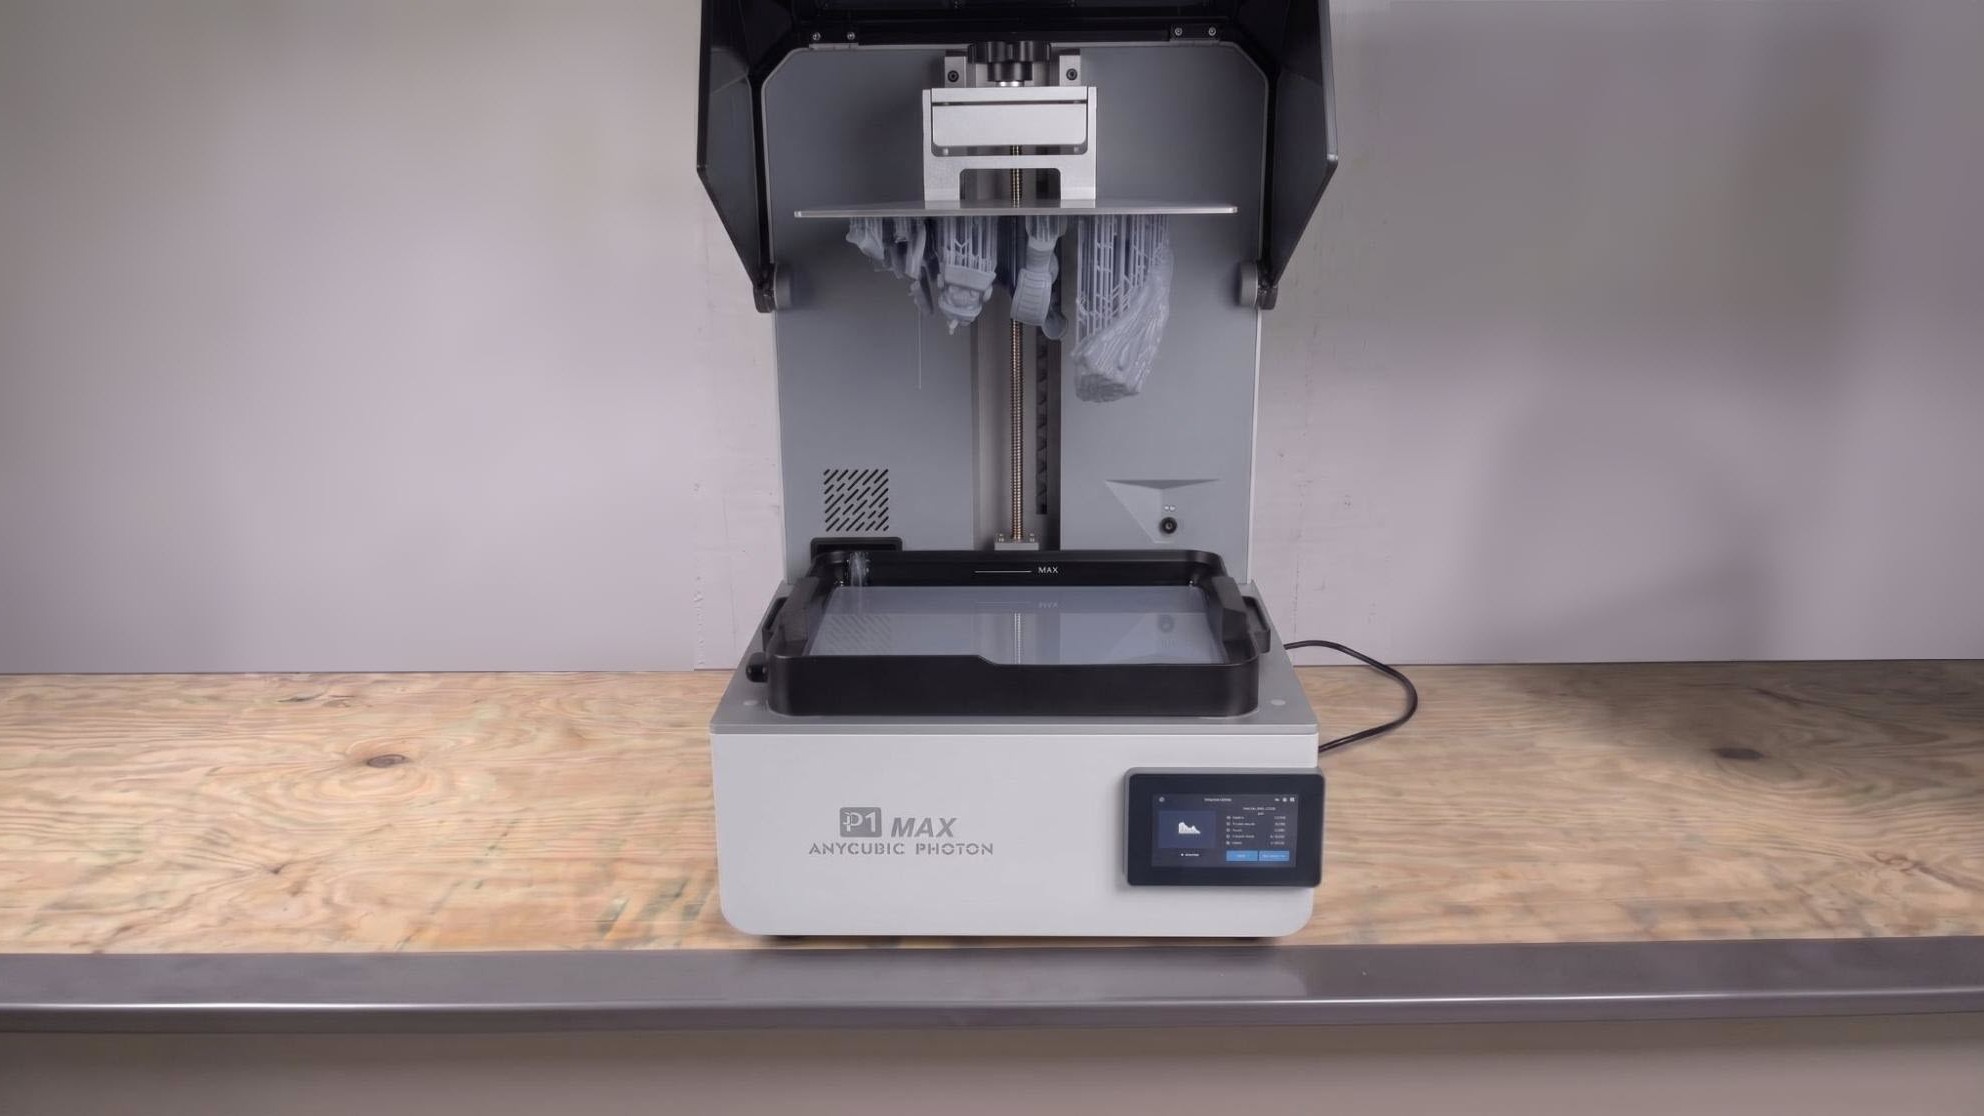
The Anycubic P1 MAX shares the same exterior and interior design as the smaller P1, which is polished and professional-looking. Anycubic has stepped up its game significantly on the design front, and I’m here for it. Normally, we see cutbacks on newer printers to make them more affordable for the end user, and that's all fine and dandy, but there is something about a nice, weighted printer that gives you that feel of quality over quantity.
(Image credit: Tom's Hardware)
The Locking System for the build plate is one of the better ones out there – no longer are you worrying about unscrewing the normal screw like in the past with resin printers. This has a flip-up / down locking system that is nice and chunky, a big plus. The same follows with the vat, which features a slide-in / out locking system that gets rid of the old screws. This is a nice upgrade, because you no longer have to worry about losing screws or getting resin spilled inside the screw holes when swapping vats.
The touch screen is just your standard 4.5-inch panel, but it was also nice and responsive in our testing. Handles on the sides of the printer make it easy to move around if needed, as well.
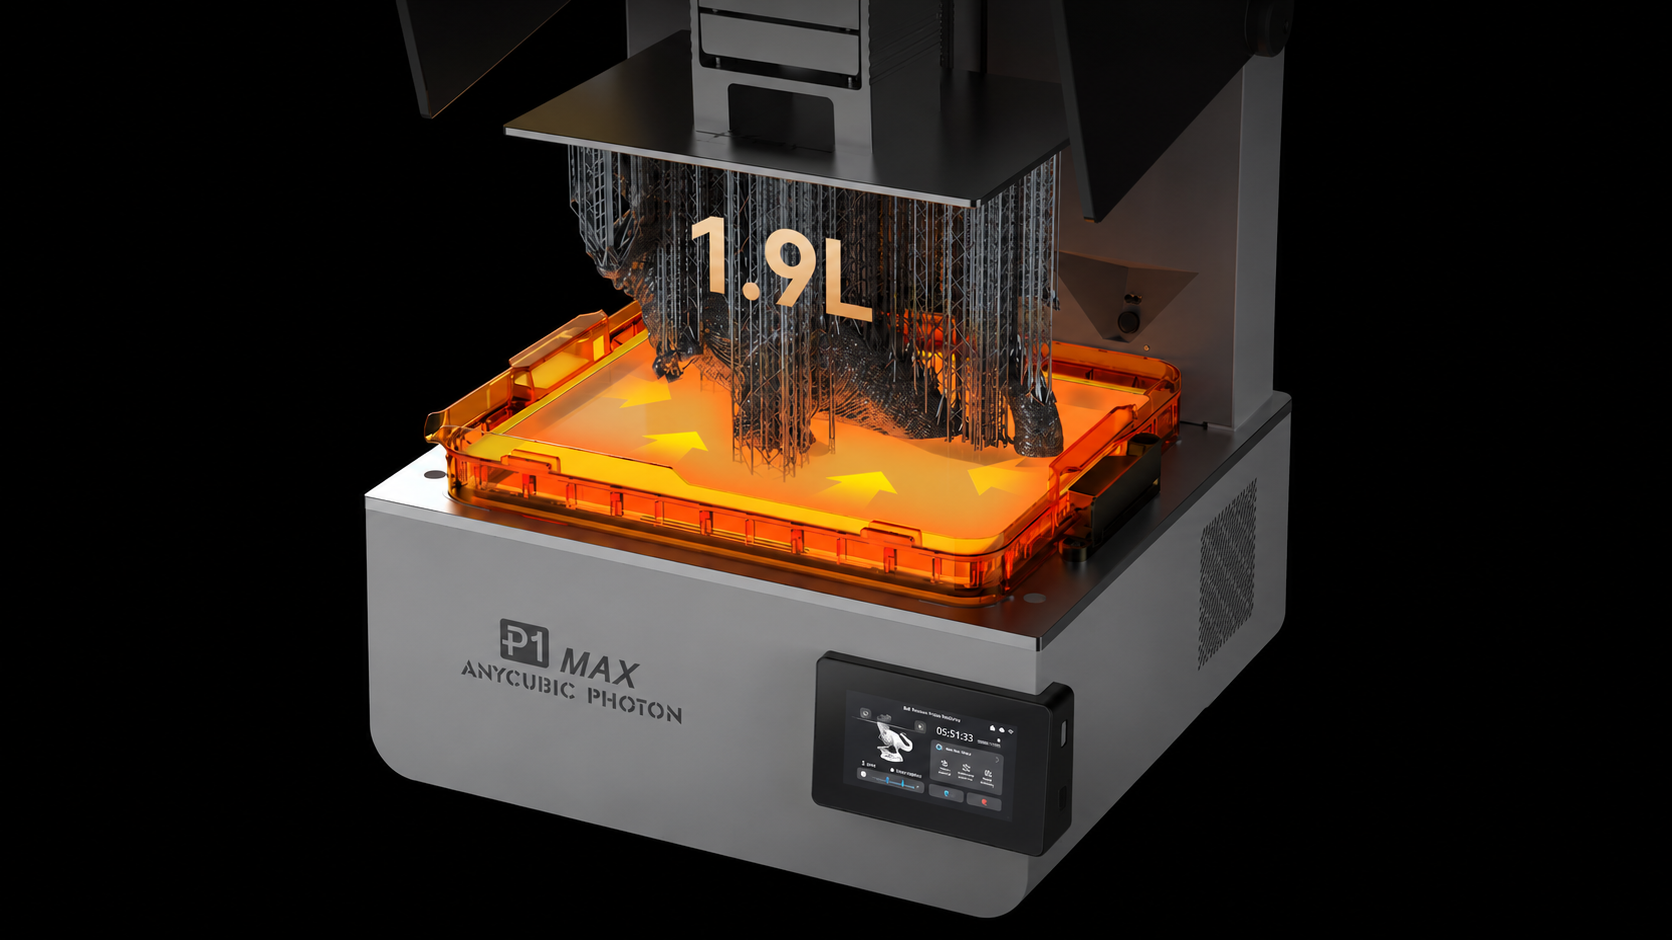
The P1 MAX has a heated vat that is constantly being maintained at a precise 35 degrees Celsius (95 F). Previous Anycubic resin owners have struggled with printers only initially heating up and then cutting off after that. That is no longer the case here.
The vat also features a drop tray for your build plate, which makes resin cleanup much easier. One thing you won't have to worry about much is the vat capacity: This Vat holds up to 1900ML(1.9L) of resin, which is plenty for any print task.
(Image credit: Anycubic)
The most unique feature on the P1 MAX is the Wave Release technology. Anycubic decided to put a special screen cover over the LCD to help ease the release of all prints, and it works wonderfully. This tech keeps air bubbles from being trapped between the FEP Film and the screen, making the peel force smooth like butter.
Slicer compatibility with the Anycubic Photon P1 MAX
(Image credit: Tom's Hardware)
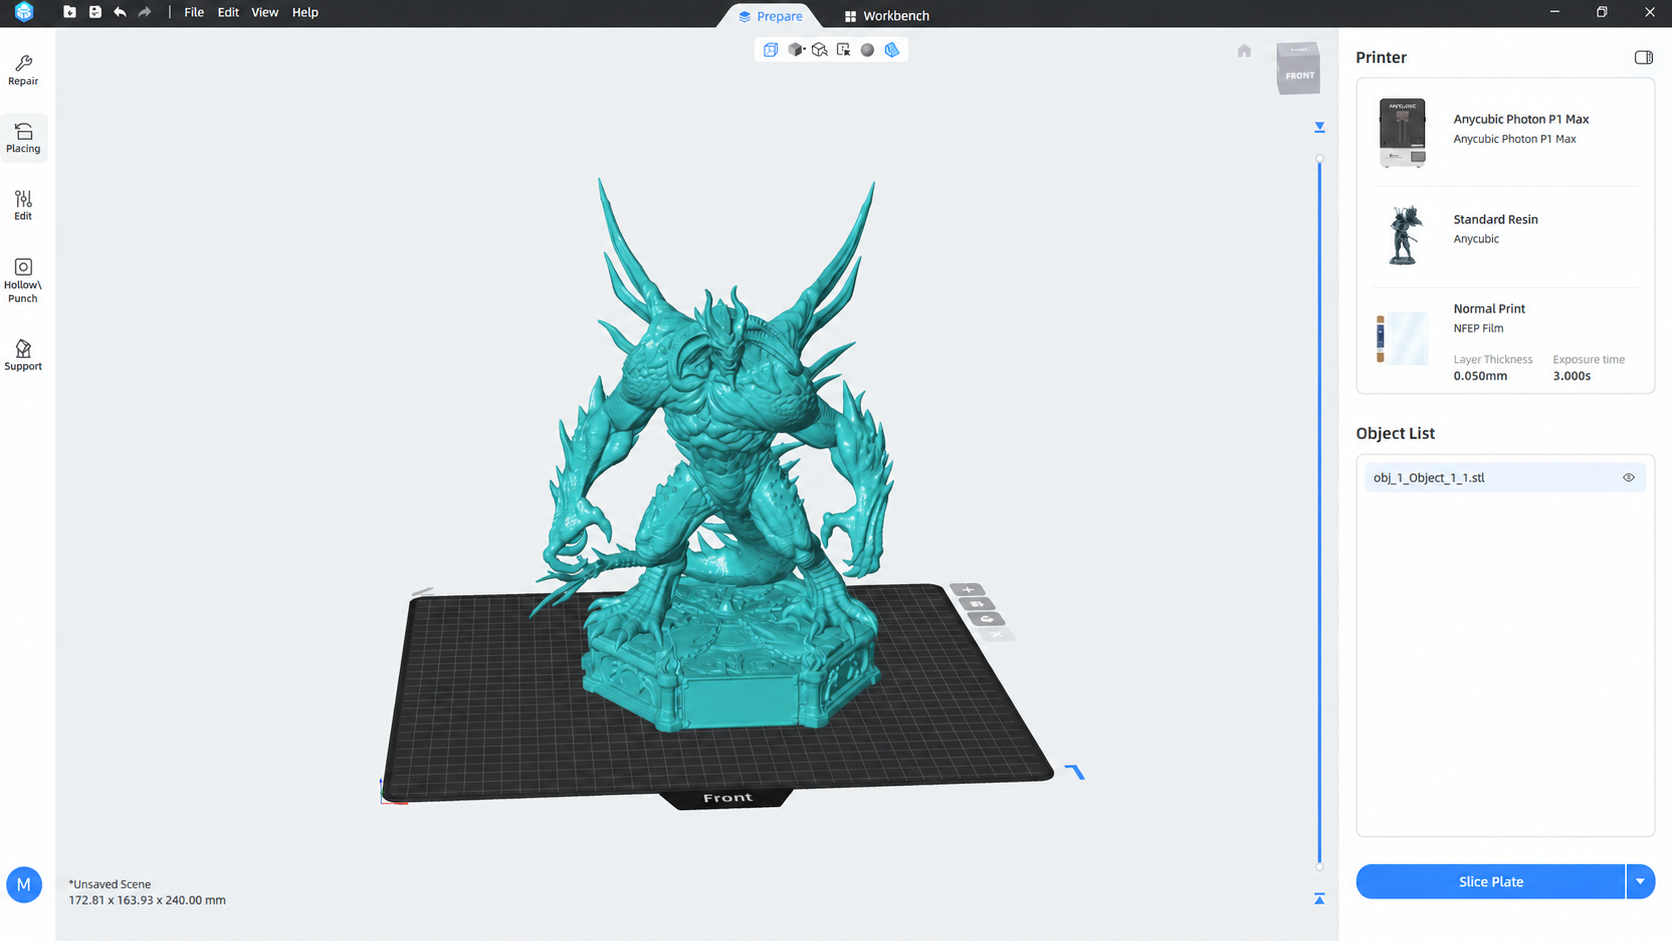
The Anycubic Photon P1 MAX comes with Anycubic’s Photon Workshop Slicer pre-loaded onto the USB drive. It’s generally very user-friendly and works very well with prints. You select your resin, add your supports, and slice. Send the file to your printer, and you're done. For those who are not fans of having multiple slicers on their system, the good news is that both Chitubox and Lychee support the Anycubic Photon P1 MAX.
Using Anycubic Standard Resin in Gray, I wanted to print out some models for a co-worker who is a big Diablo fan. Searching around Makerworld, I came across this figure of Tyrael, and this model by FotisMint was already split into pieces for easier printing. I brought it into the slicer, angled the print, added some automatic medium supports, hit slice, and sent it off to the printer via WIFI. This model printed in 7 hours and 24 minutes at 0.050mm layer height. Taking 254ml of resin, it cost a little over $5 to print. A normal figure like this would be roughly between $25-$80. That’s quite the savings, even adding in the cost of paint.
Adding another print from the Diablo series, I decided to print the Lord of Terror from Makerworld as well. This print I scaled up a bit to make it more boss-like.
This was printed with a mix of Anycubic’s standard gray and white. It printed in 14 hours and 15 minutes, using 1106ML(1.1kg) of resin.
For the last test print, I wanted to do something different. A few years ago, I saw a print for a Pokémon Cubone mask for a dog. So to MakerWorld I went, searching for one that I could print easily, and I found one. It was a two-part mask with little pegs to clip them together. This is nice in part, because if one side of the mask breaks, you can just reprint it. This was sized for a smaller dog right off the bat, so I supported the print and sent it to the printer.
It printed in six hours and five minutes and used 519 ml of resin. I printed this in standard Anycubic gray resin.
Completely dry the print with a hair dryer on cool – IPA left on the print will turn white. You can also let the print air dry in a place away from sunlight.
Supports are easier to remove before curing because they are softer. Clip the supports off with side cutters and use tweezers to remove stubborn supports. Remember to always wear gloves while handling uncured prints.
Then place the print in a UV curing station for 15 minutes, or outside in bright sunlight for a few hours.
Your IPA should never be flushed down the drain, especially after being contaminated with uncured resin. Instead, keep using the resin until it’s too dirty, then leave the container open to evaporate. The remaining sludge can be cured with UV light or the sun before being thrown away.
Supports should also be cured before being thrown away.
Bottom Line
The Anycubic Photon P1 MAX is packed with tech and features that are handy for novices and experienced printers alike. It’s easy to use and straightforward to set up. The touchscreen walks you through every aspect to get it started. Anycubic really took user suggestions on this printer and implemented them with precision. If you're new to resin printing and looking for a simple, easy-to-use, and helpful resin printer with a larger volume, this one should be on your short list.
At its current price of $1,103, it’s also a great value. And if you miss the presale window, the $1,149 standard price isn’t a big jump. You can also buy it at Amazon for only $899, if you avail of the $230 coupon. It has features to make sure your print comes out as expected, a heated vat for those who print in cold climates, and the build plate size is a home run in this price range. If you're not looking to print large-size models, the P1 is a great alternative and is currently on sale for only $499.
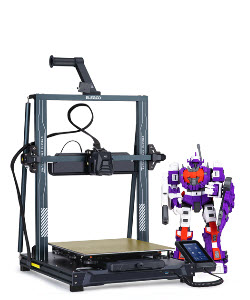
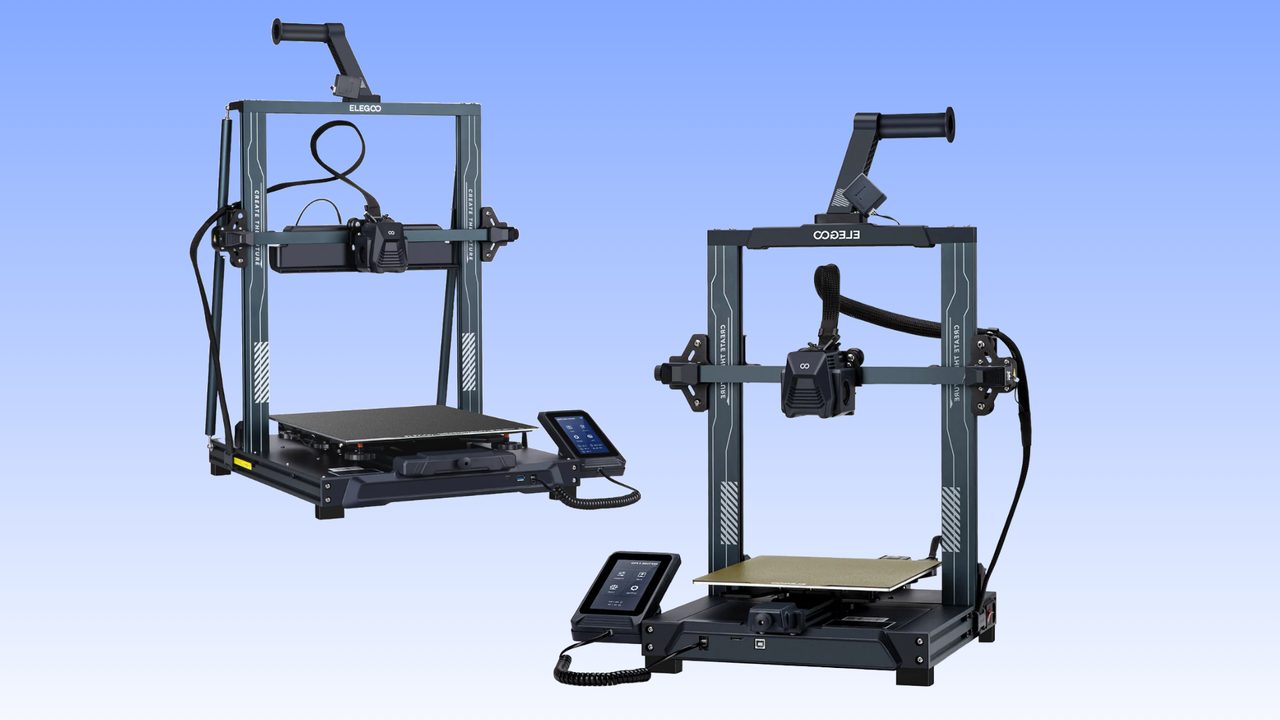
The Labor Day tech deals are nearly finished, but there are still a few discounts on 3D printers that a budding hobbyist won't want to miss. The price of two popular Elegoo Neptune printers has dropped, with a discount of up to 35% available for buyers who are quick. You've got less than a day to grab these discounts before these beginner-friendly 3D printers shoot back up in price, however.
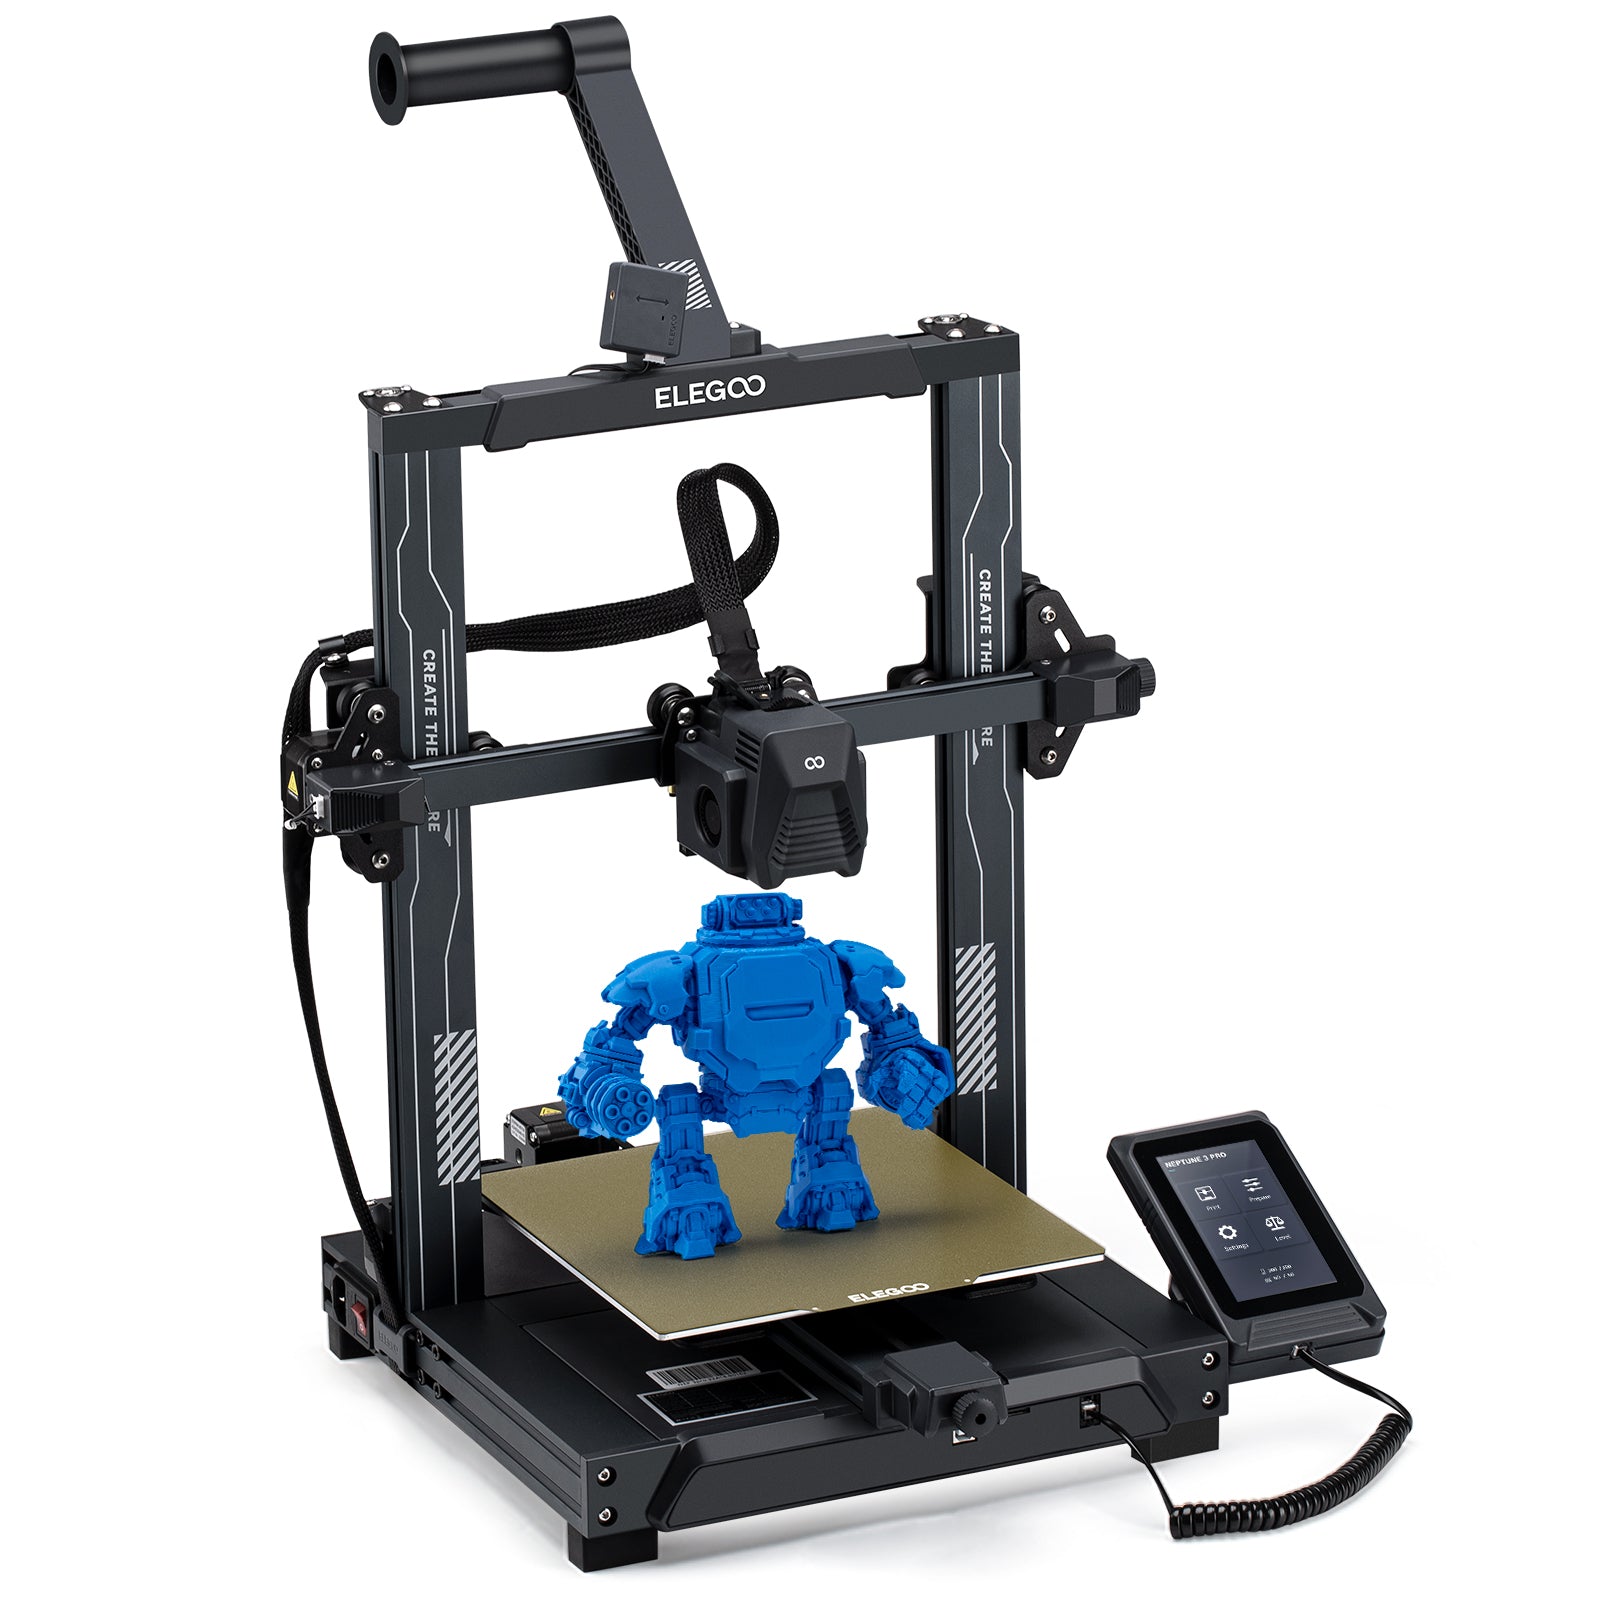
Both of these 3D printers are significantly cheaper than the prices you'll find at big retailers, including at Amazon. Elegoo's price drop means you can pick up the Neptune 3 Pro for just $169, while the Neptune 4 Plus is priced at only $309. We've tested and scored both printers highly in past reviews, with a near-perfect 4.5 stars for both, with each delivering a strong set of features that pros and beginners will love.
This budget-friendly 3D printer comes with a direct drive suitable for use with TPU, PETG, and PLA, auto bed leveling, and a heated flex PEI textured platform, making it easy to use. Assembly takes less than an hour (seven screws) and produces clean, detailed prints.
The Elegoo Neptune 3 Pro is the older and cheaper model, but it's still a workhorse worth considering. Our Neptune 3 Pro review back in 2022 saw us shower it with praise over its auto-leveling abilities, direct drive, and quiet operation overall. It's an easy printer to assemble and start using, which makes it a good option for beginners. The direct drive extruder, meanwhile, means it's fine with difficult-to-use filaments like TPU, with a (fairly standard) 225 x 225 x 2280 build volume to work with.
Auto-leveling, along with its heated PEI build platform, round out the Neptune 3 as a good start option for someone looking to start printing models at home.
The Elegoo Neptune 4 Plus is a large 3D printer sporting a 320 x 320 x 385 build volume, perfect for cosplayers and those who want to print big.
Faster printing requires better cooling and the Neptune 4 Plus shares the same ludicrously large part cooling fan as the Pro, meaning this 3D printer will speed through your projects while keeping the quality finish that you expect.View Deal
Meanwhile, our Elegoo Neptune 4 Plus review proves what a strong option this more advanced model is for anyone looking to print on a larger scale. It has a dual-gear direct drive extruder, but the MVP is its huge 230 x 230 x 285mm build size. That makes this Elegoo printer a sheer powerhouse for printing, and a standout choice for any creators who are looking for speed and scale without a huge budget.
This is a premium option over the Neptune 3 Pro, and it comes with extra features like acceleration sensors, integrated Wi-Fi connectivity, and uses the popular open-source firmware for control, making it better to use.
Choosing either of these Elegoo Neptune printers won't leave you disappointed. Beginners can start off with the Neptune 3 Pro, a great 3D printer for someone looking for a well-spec'd 3D printer that's easy to assemble and use. If your funds stretch a little higher, you can go for the Neptune 4 Plus instead, a feature-filled upgrade for larger models.
The sale prices of $169 for the Neptune 3 Pro and $309 for the Neptune 4 Plus make these Elegoo 3D printers affordable and accessible, especially for somebody who hasn't owned one before. These discounts are ending soon, with the Neptune 3 Pro set to go back up in price in less than a day. If you're interested, you're going to need to be quick to secure these sale prices for yourself.
It's Labor Day, and now's a great time for you to get started with a brand new hobby: 3D printing. Creality's flash sale for Labor Day has slashed the prices of its flagship range of 3D printers, with up to 50% off right now. If you've been waiting for the chance to jump into the 3D printing world, this is the perfect opportunity.
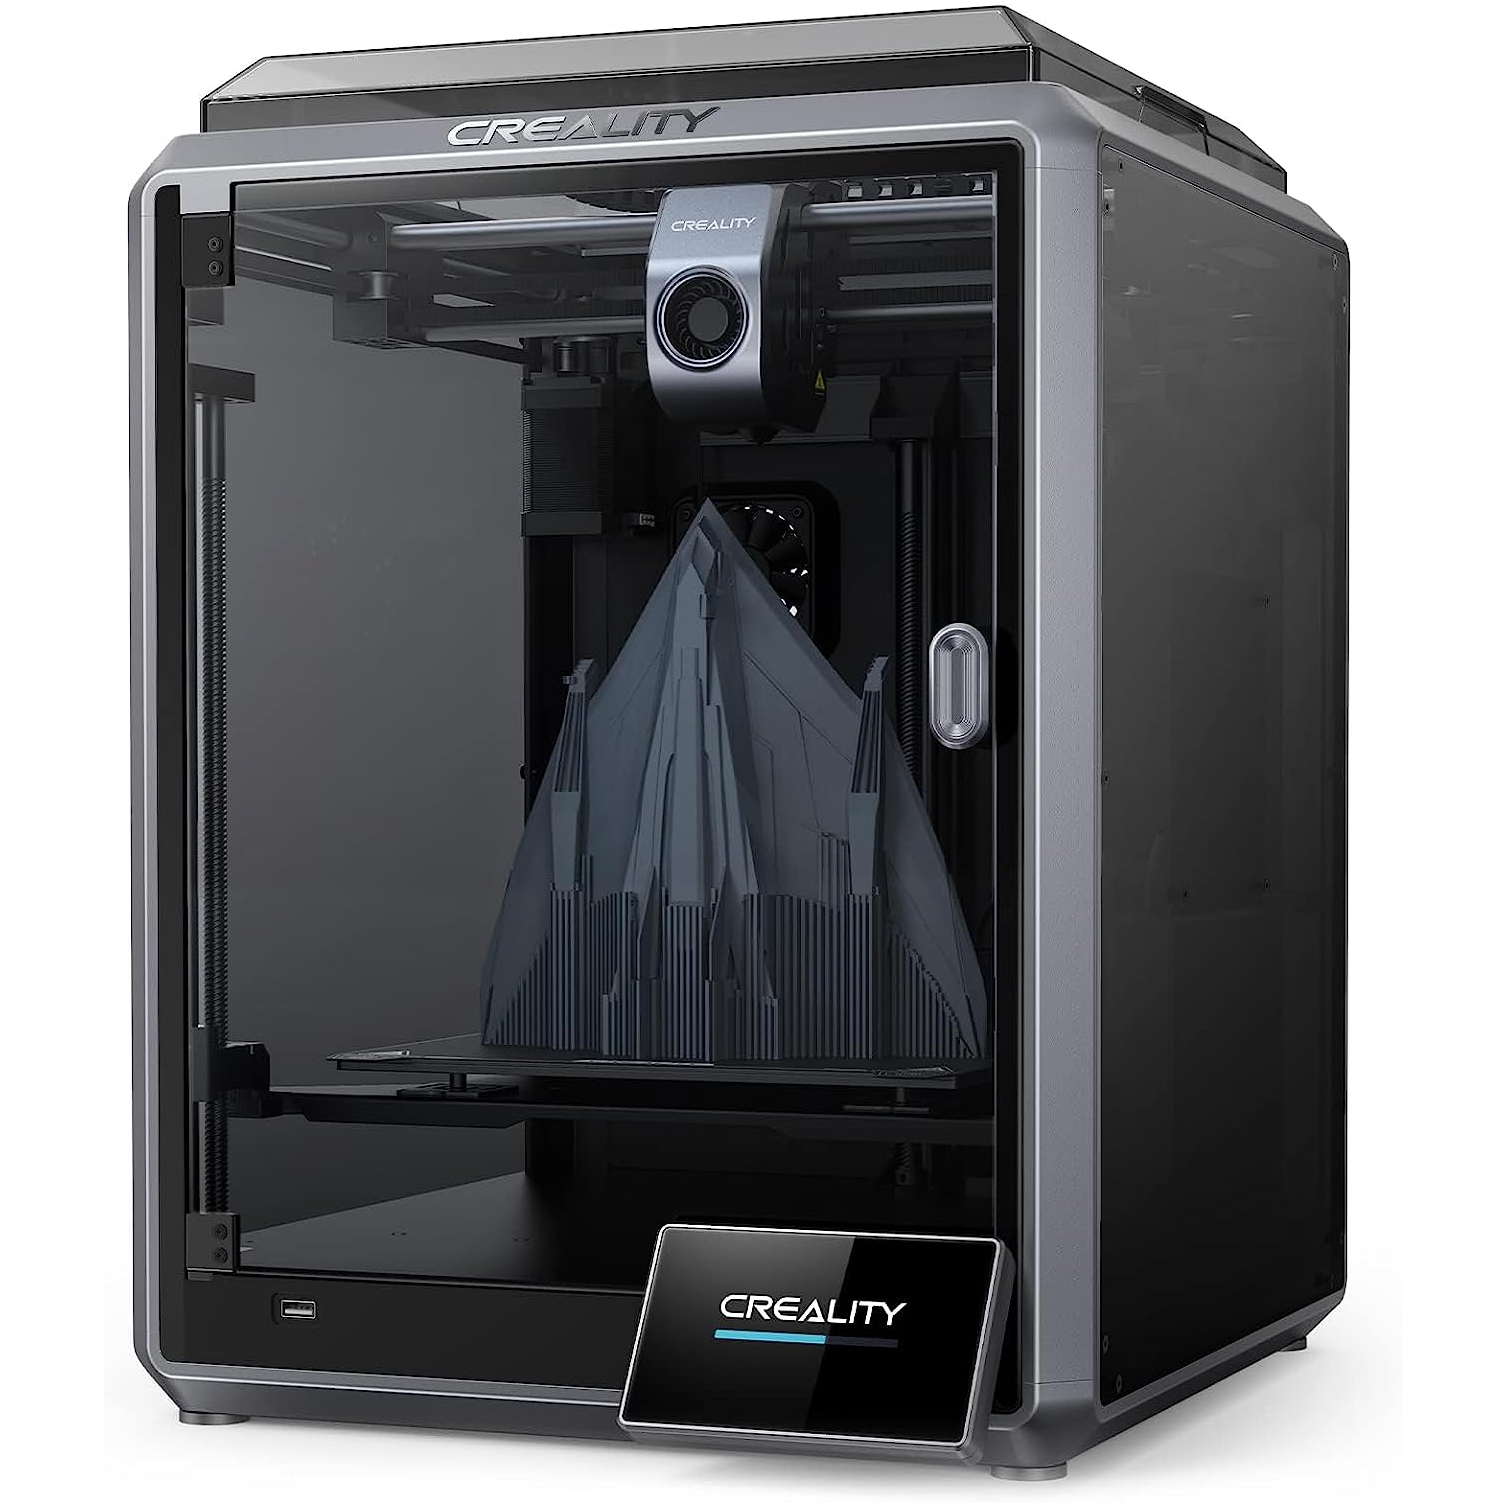
You've got some of Creality's best printers on sale right now, along with resin and filament discounts for those who need to top up their materials. One of the biggest discounts you'll want to take advantage of is the Creality K1, which is down to just $299 right now, saving you half compared to its usual list price.
That said, these Labor Day 3D printer sales won't last forever. These discounts are running until September 15, 2026, at 23:59 ET, although Creality might pull the sale early if it proves too popular, so you'll want to get your order in quickly. You can check out our roundup of Creality's best discounts on 3D printers below.
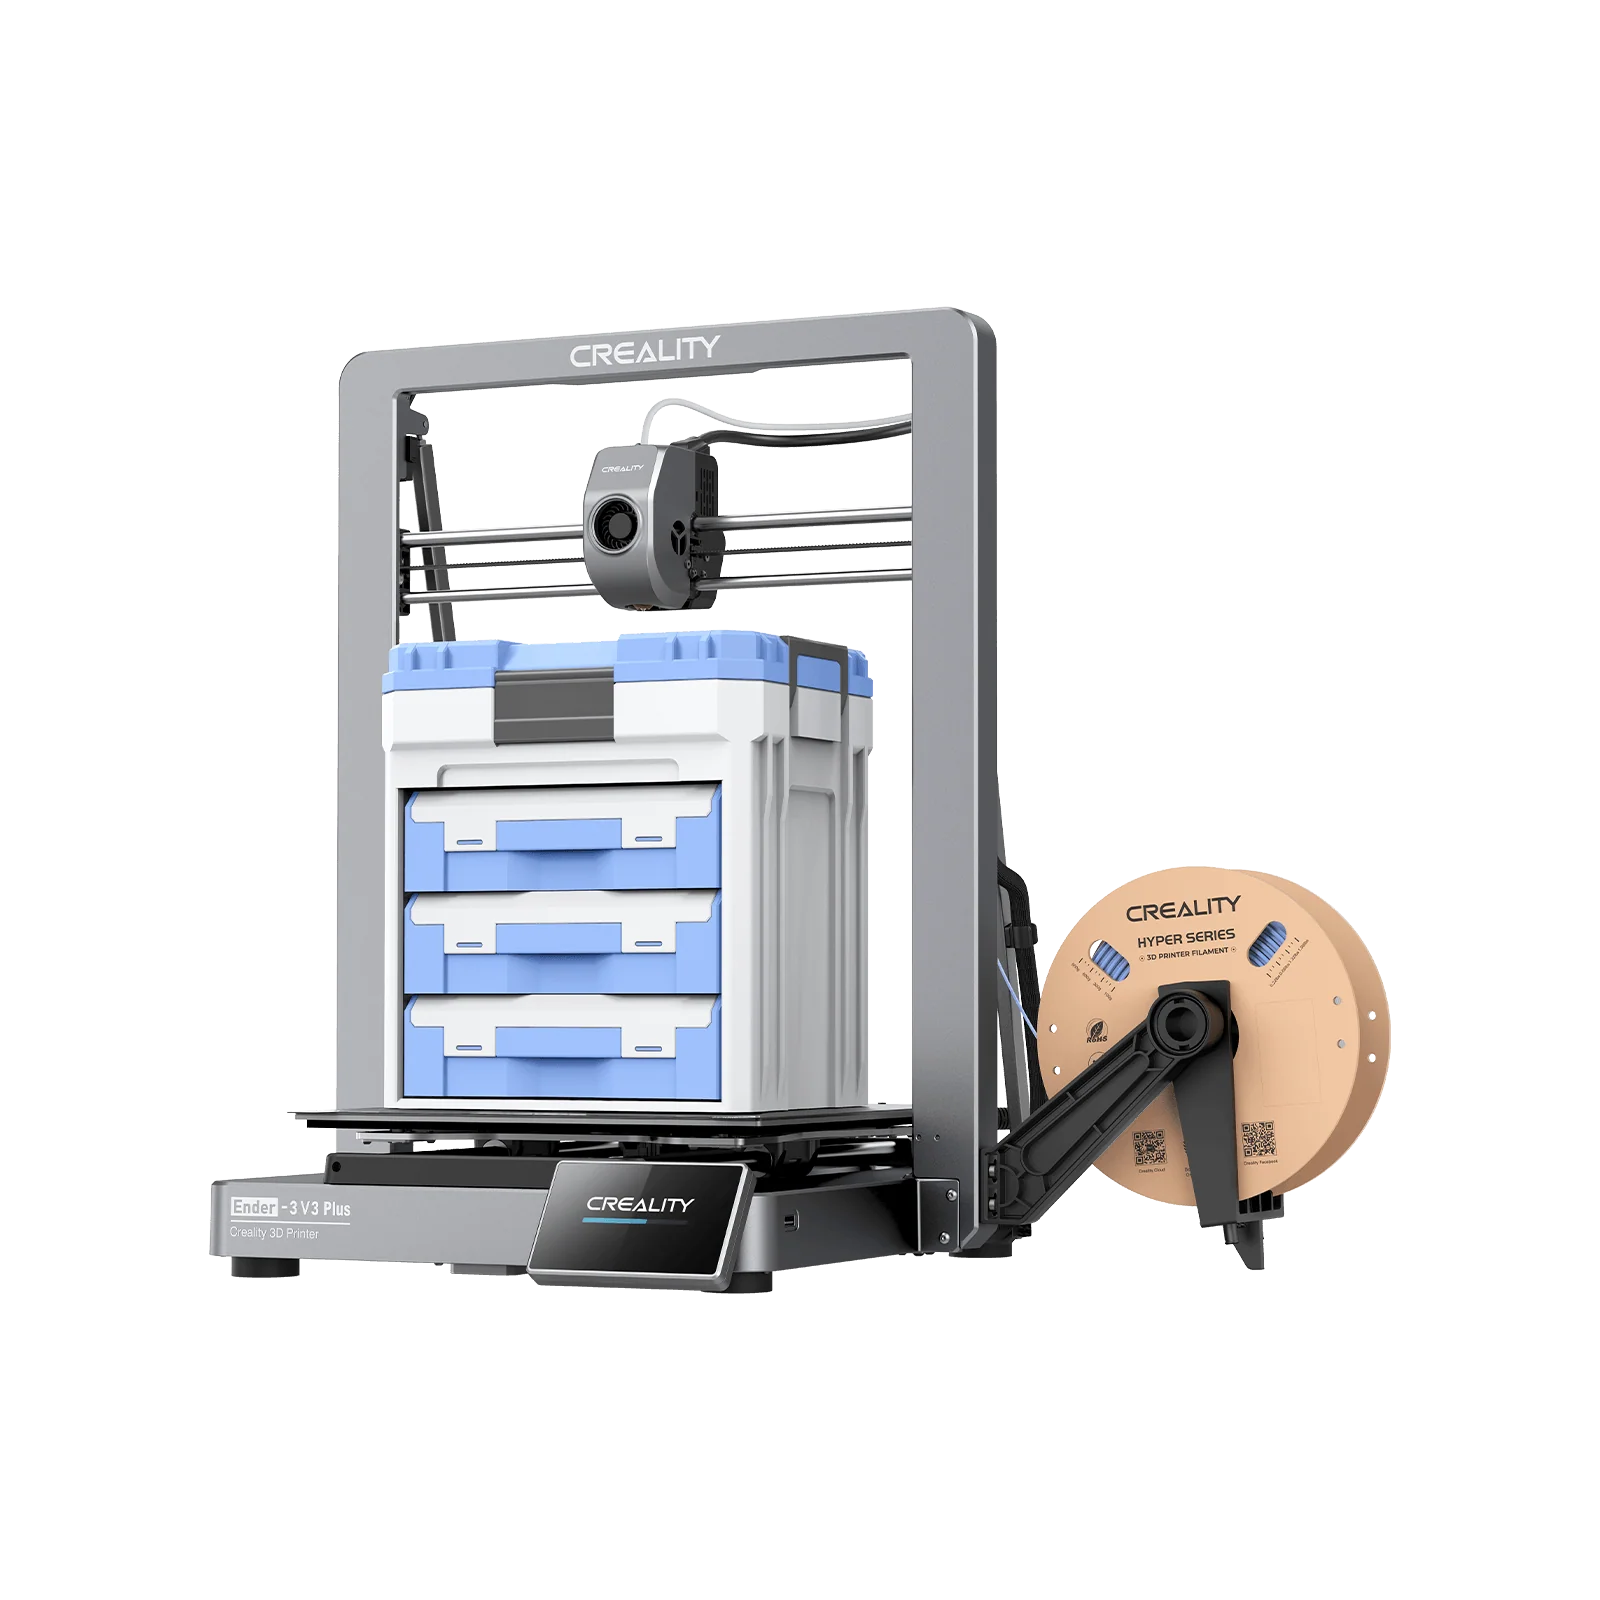
The upgraded model of the ol' reliable Ender 3, the Creality Ender 3 V3 Plus is a great 3D printer for budget creators. It delivers great auto bed leveling, a fast Klipper-based 3D printer, and it uses fully open source software, allowing the community to add and improve its toolset. It offers a 220 x 220 x 250mm build volume and allows for printing PLA / PETG and TPU via a strong direct drive extruder.View Deal
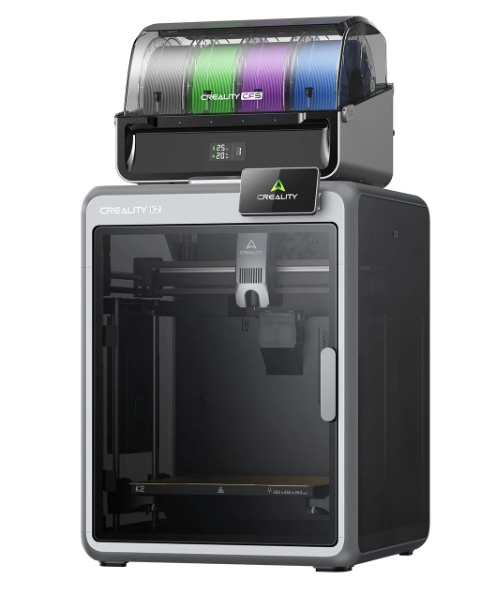
Creality's K2 Combo is a formidable 3D printer. The smallest of the K2 family of printers, the K2 Combo still has a 260 x 260 x 260 mm print size, allowing users to print large objects inside its enclosed frame without worrying about having to glue together multiple prints. The ultra-sturdy frame holds an auto-leveling print bed and three step-servo motors for fast, consistent prints.View Deal
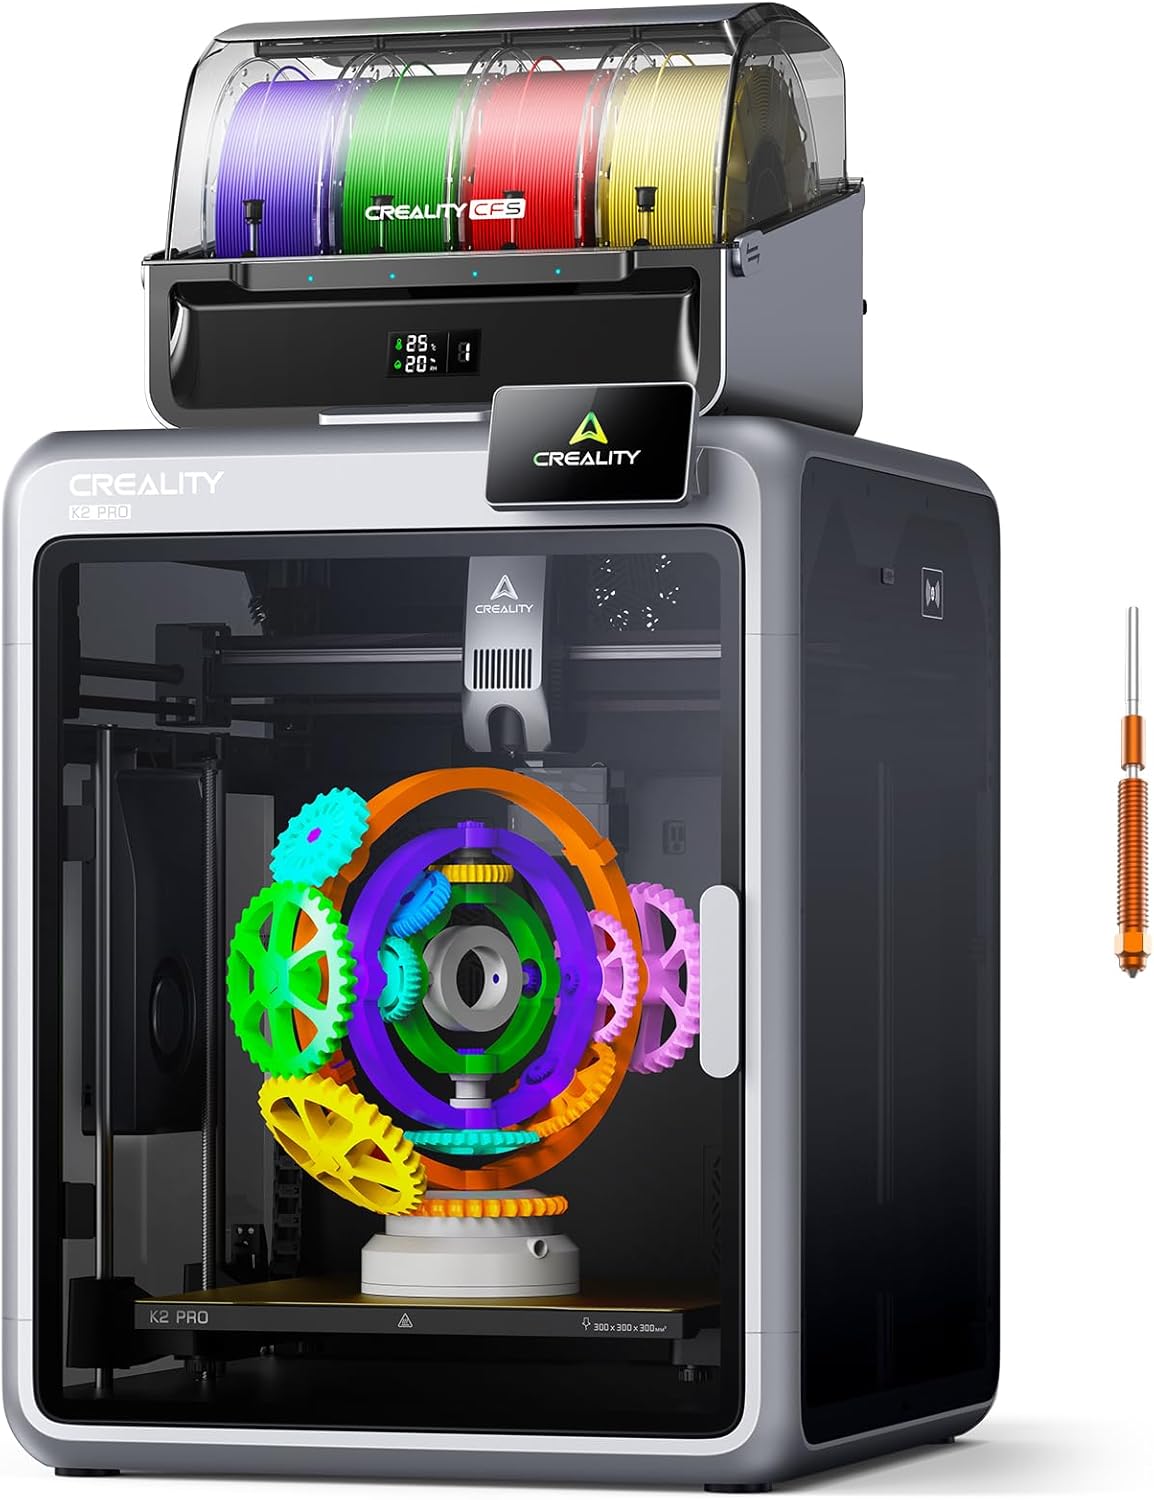
The Creality K2 Pro Combo is another core XY 3D printer with multicolor capability built in, included in this bundle. The 300 x 300 mm build plate and heated/cooled chamber allow for fanciful, colorful designs that can take the heat, and also include a pair of internal cameras for AI build monitoring.
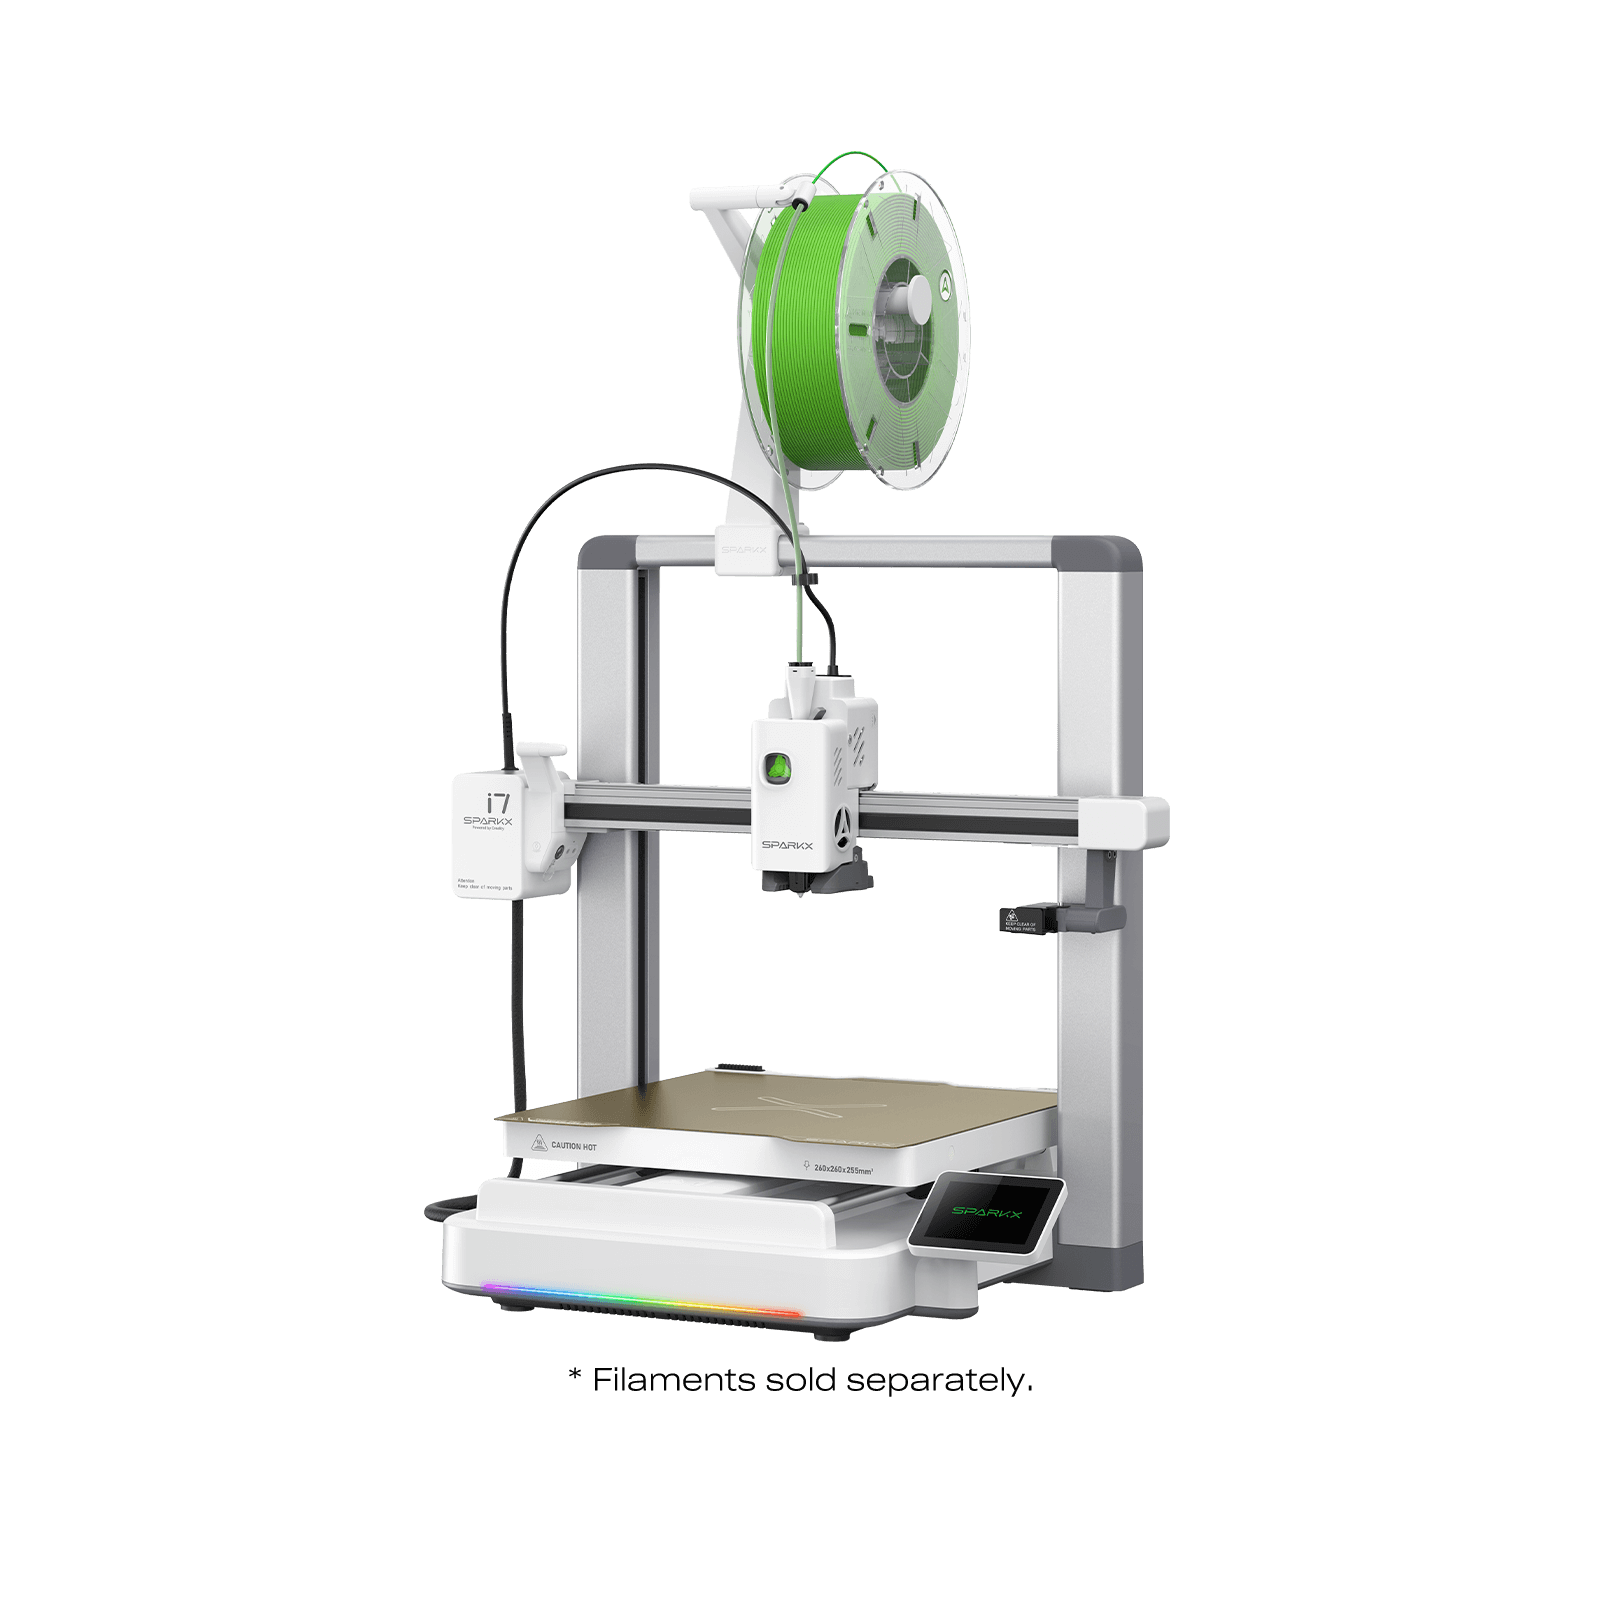
Sparkx i7 Series 3d Printer: was $309 now $229 The Sparkx i7 is simple to build, easy to use, and maintain. This combo comes with the CFS (Creality Filament System) Lite for easy four-color 3D printing that just works like a charm. We had no issues testing it, even with soft TPU, as our Creality Sparkx i7 review explains.
With a 260 x 260 x 255m build volume, this is an efficient, compact multicolor 3D printer for beginners.View Deal
The Creality K2 Plus is a core XY 3D printer with a large print volume, fast speed, and a heated chamber. It offers a generous 350 x 350 x 350 mm build volume and compatibility with PLA/PETG/TPU/ABS (up to 350 degrees) filaments, making it a printer for makers who want to get projects out the door.
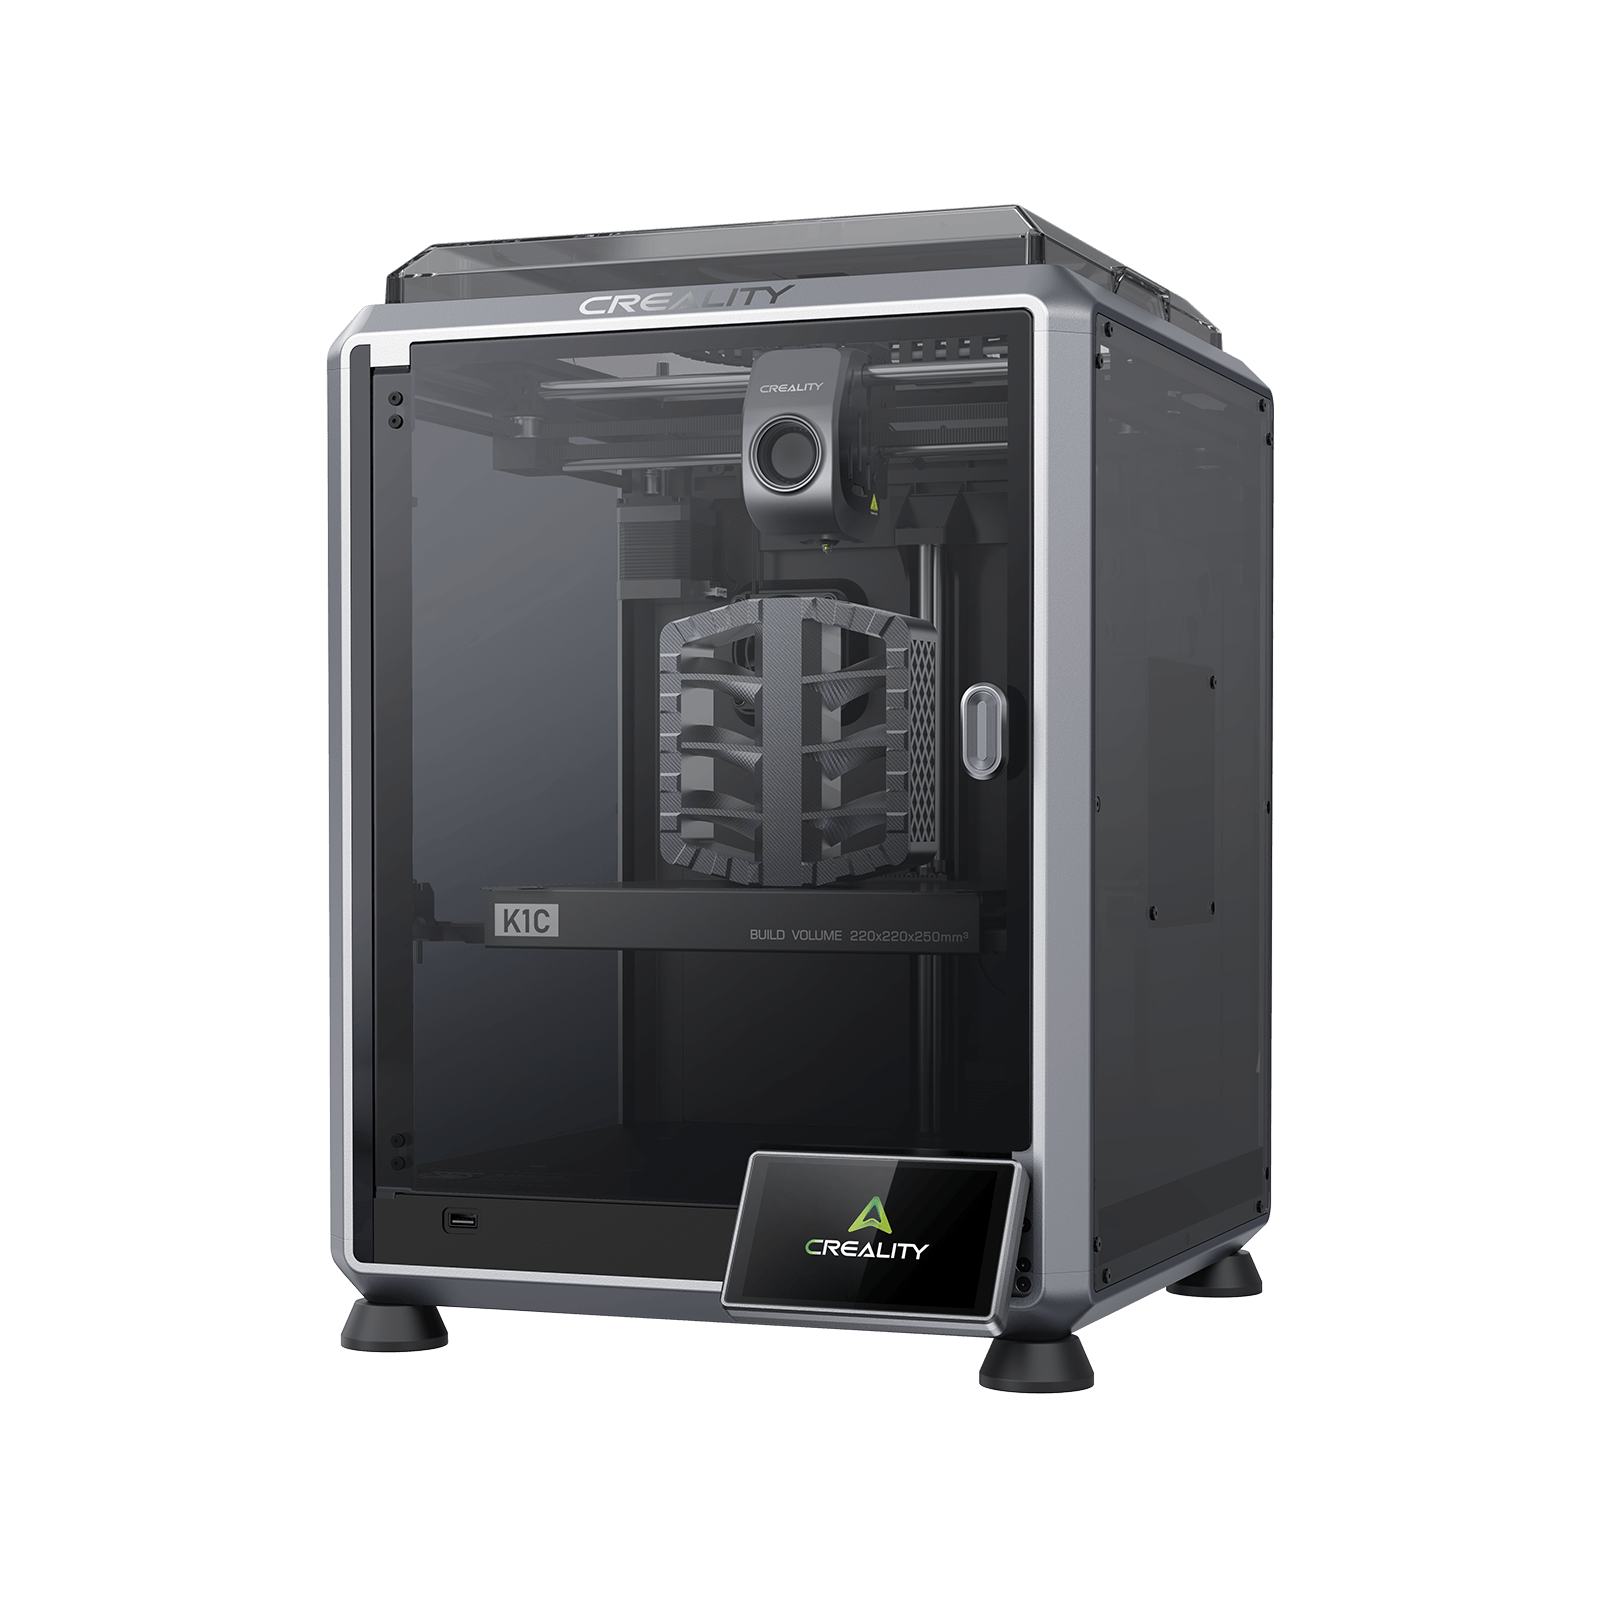
K1C 2025 3D Printer: was $559.00 now $369.00 An upgrade over the K1, the Creality K1C is a fully enclosed, Core XY 3D printer with a steel-tipped 4mm nozzle, running the easy-to-use Klipper firmware with a touchscreen. It has a build volume of 220 x 220 x 250 mm and features an AI-supported camera to help with build issues and to record time-lapse videos.View Deal
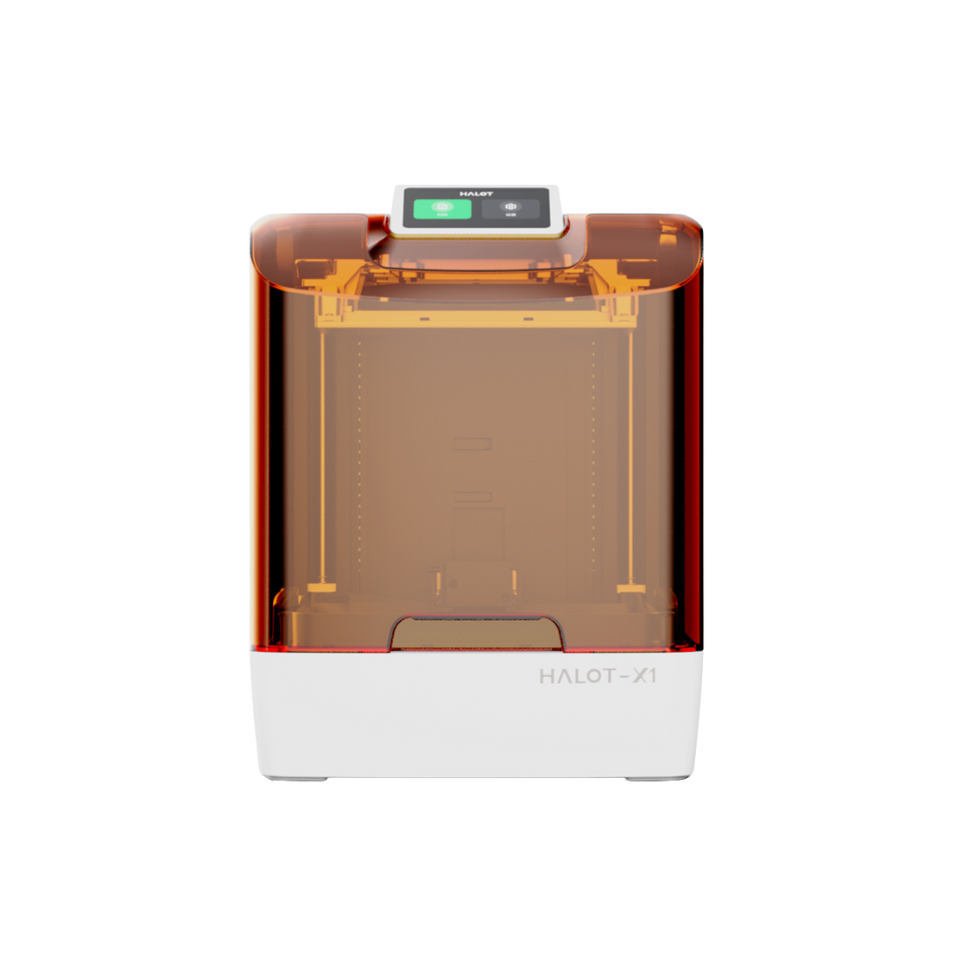
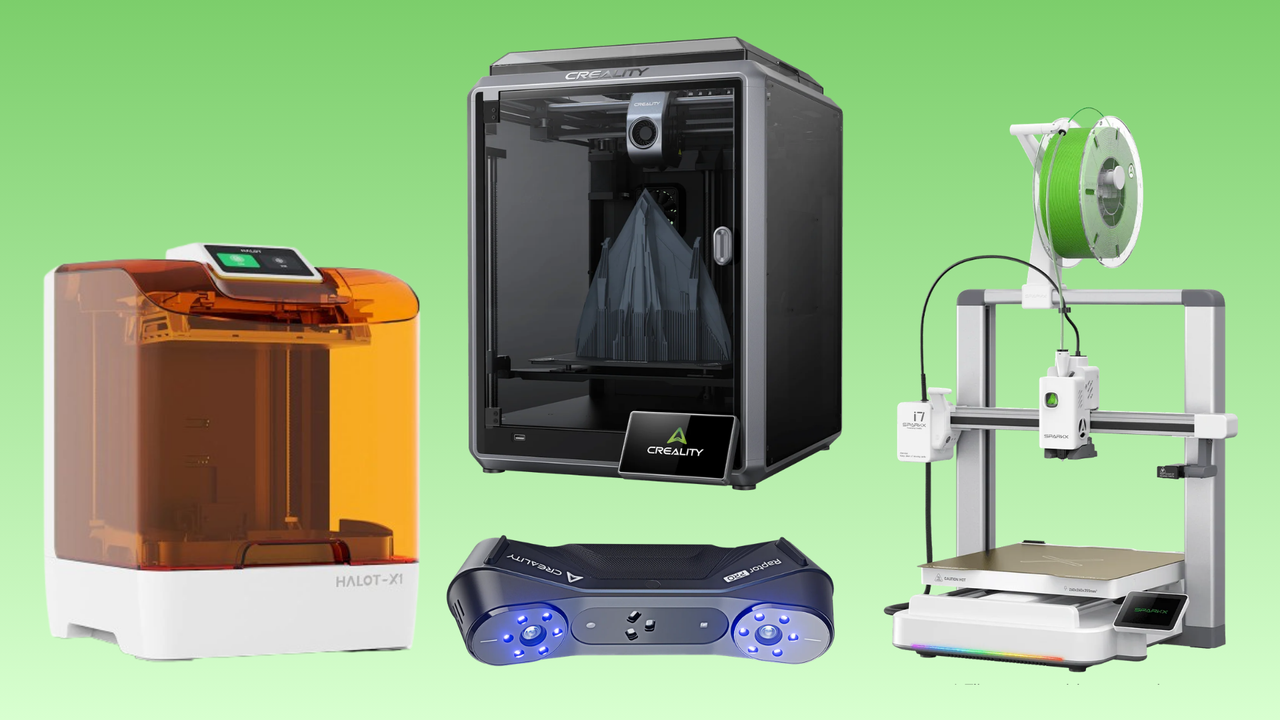
Halot-X1 Resin 3D Printer: was $629 now $499 If a resin 3D printer is more up your street, this Halot-X1/X1 Combo Resin printer is a must-buy. Technically produced under the PioCreat brand as a Creality off-shoot, and scoring 4 stars in our review, this enthusiast-level printer provides consistent prints, comes equipped with a quick-release build plate, and has a user-friendly interface.View Deal
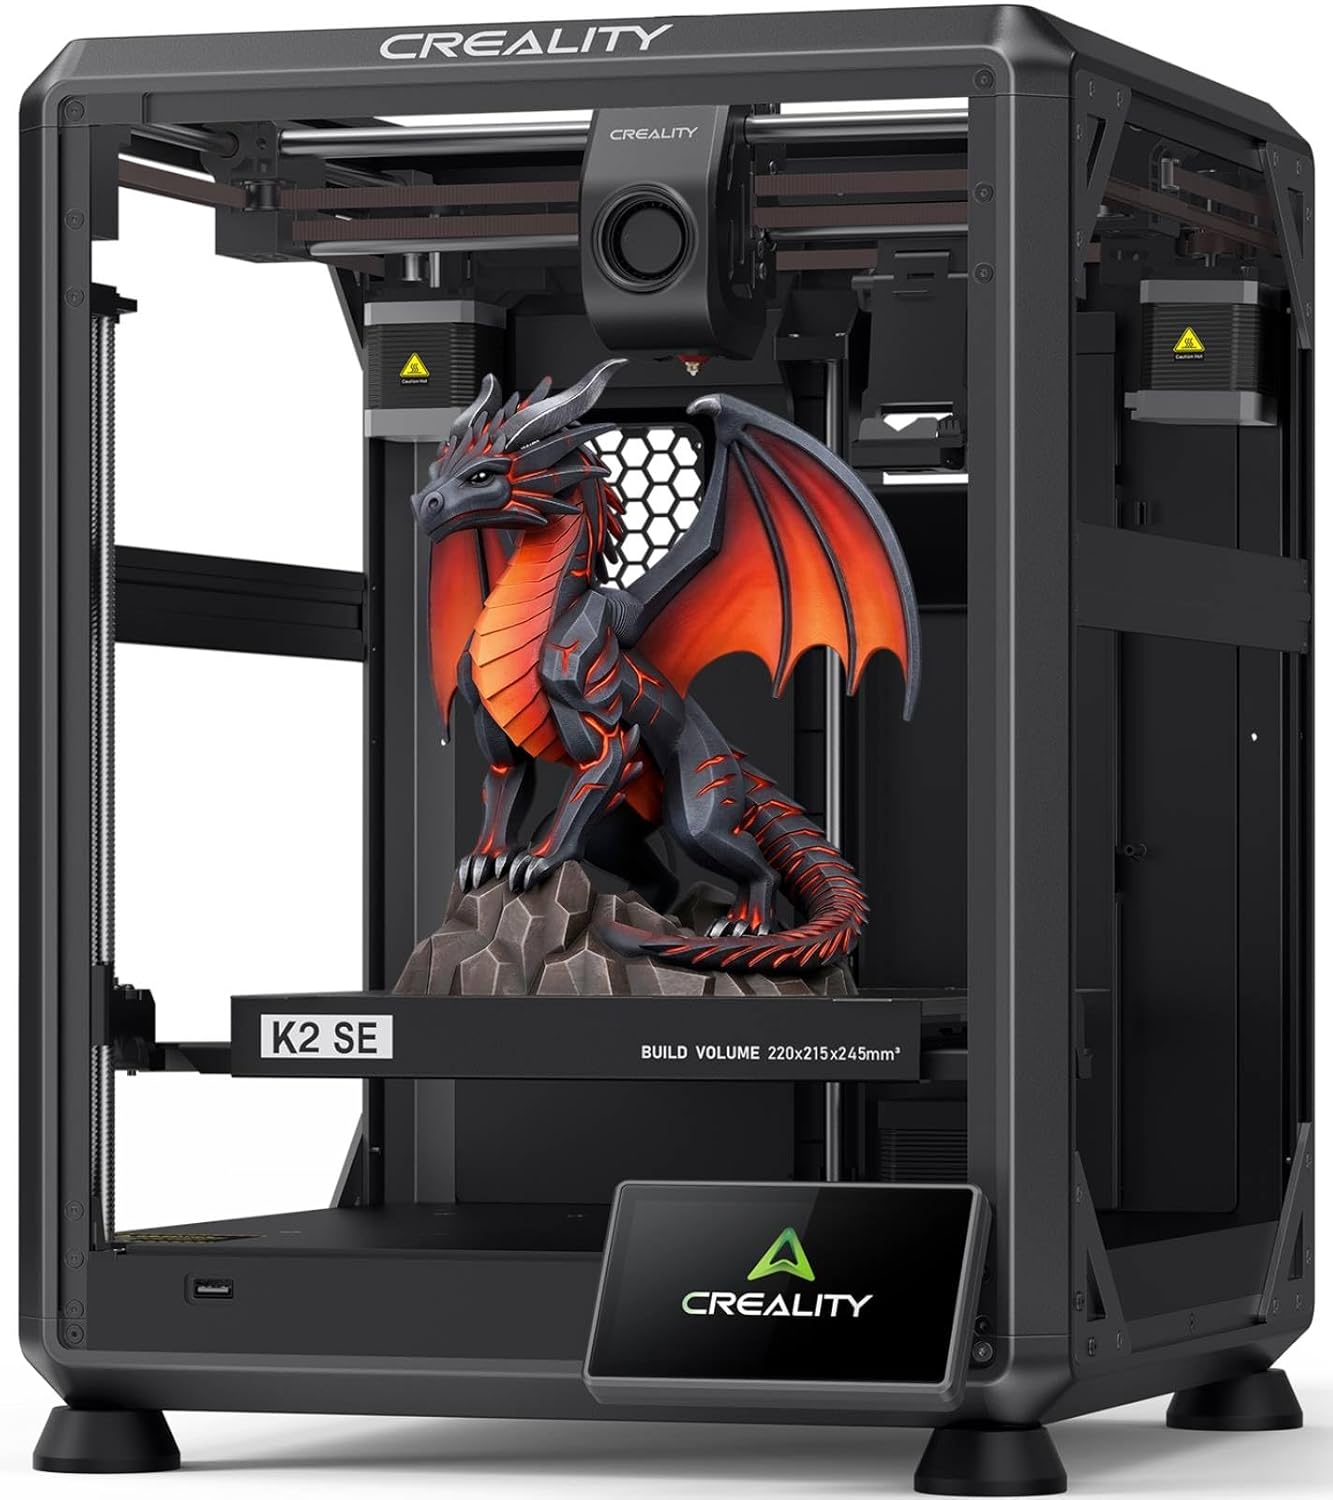
K2 SE 3D Printer: was $299 now $249 One of the smaller Creality printers, the K2 SE comes without sides and a door, but still offers 500mm/s high-speed printing, and support for multi-color printing with an optional CFS unit. The K2 SE sports a 220×215×245mm build volume. View Deal
K1 Max 3D Printer: was $899 now $549 This large Core XY-style 3D printer delivers smooth prints with a fast 600 mm/s max speed and a hefty 300 x 300 x 300 mm build volume. The K1 Max uses AI Lidar and a camera to control and keep an eye on your prints. Hands-free, fully automatic bed leveling and calibration make printing easier and less time-consuming, with instant reporting of any machine/printing errors.
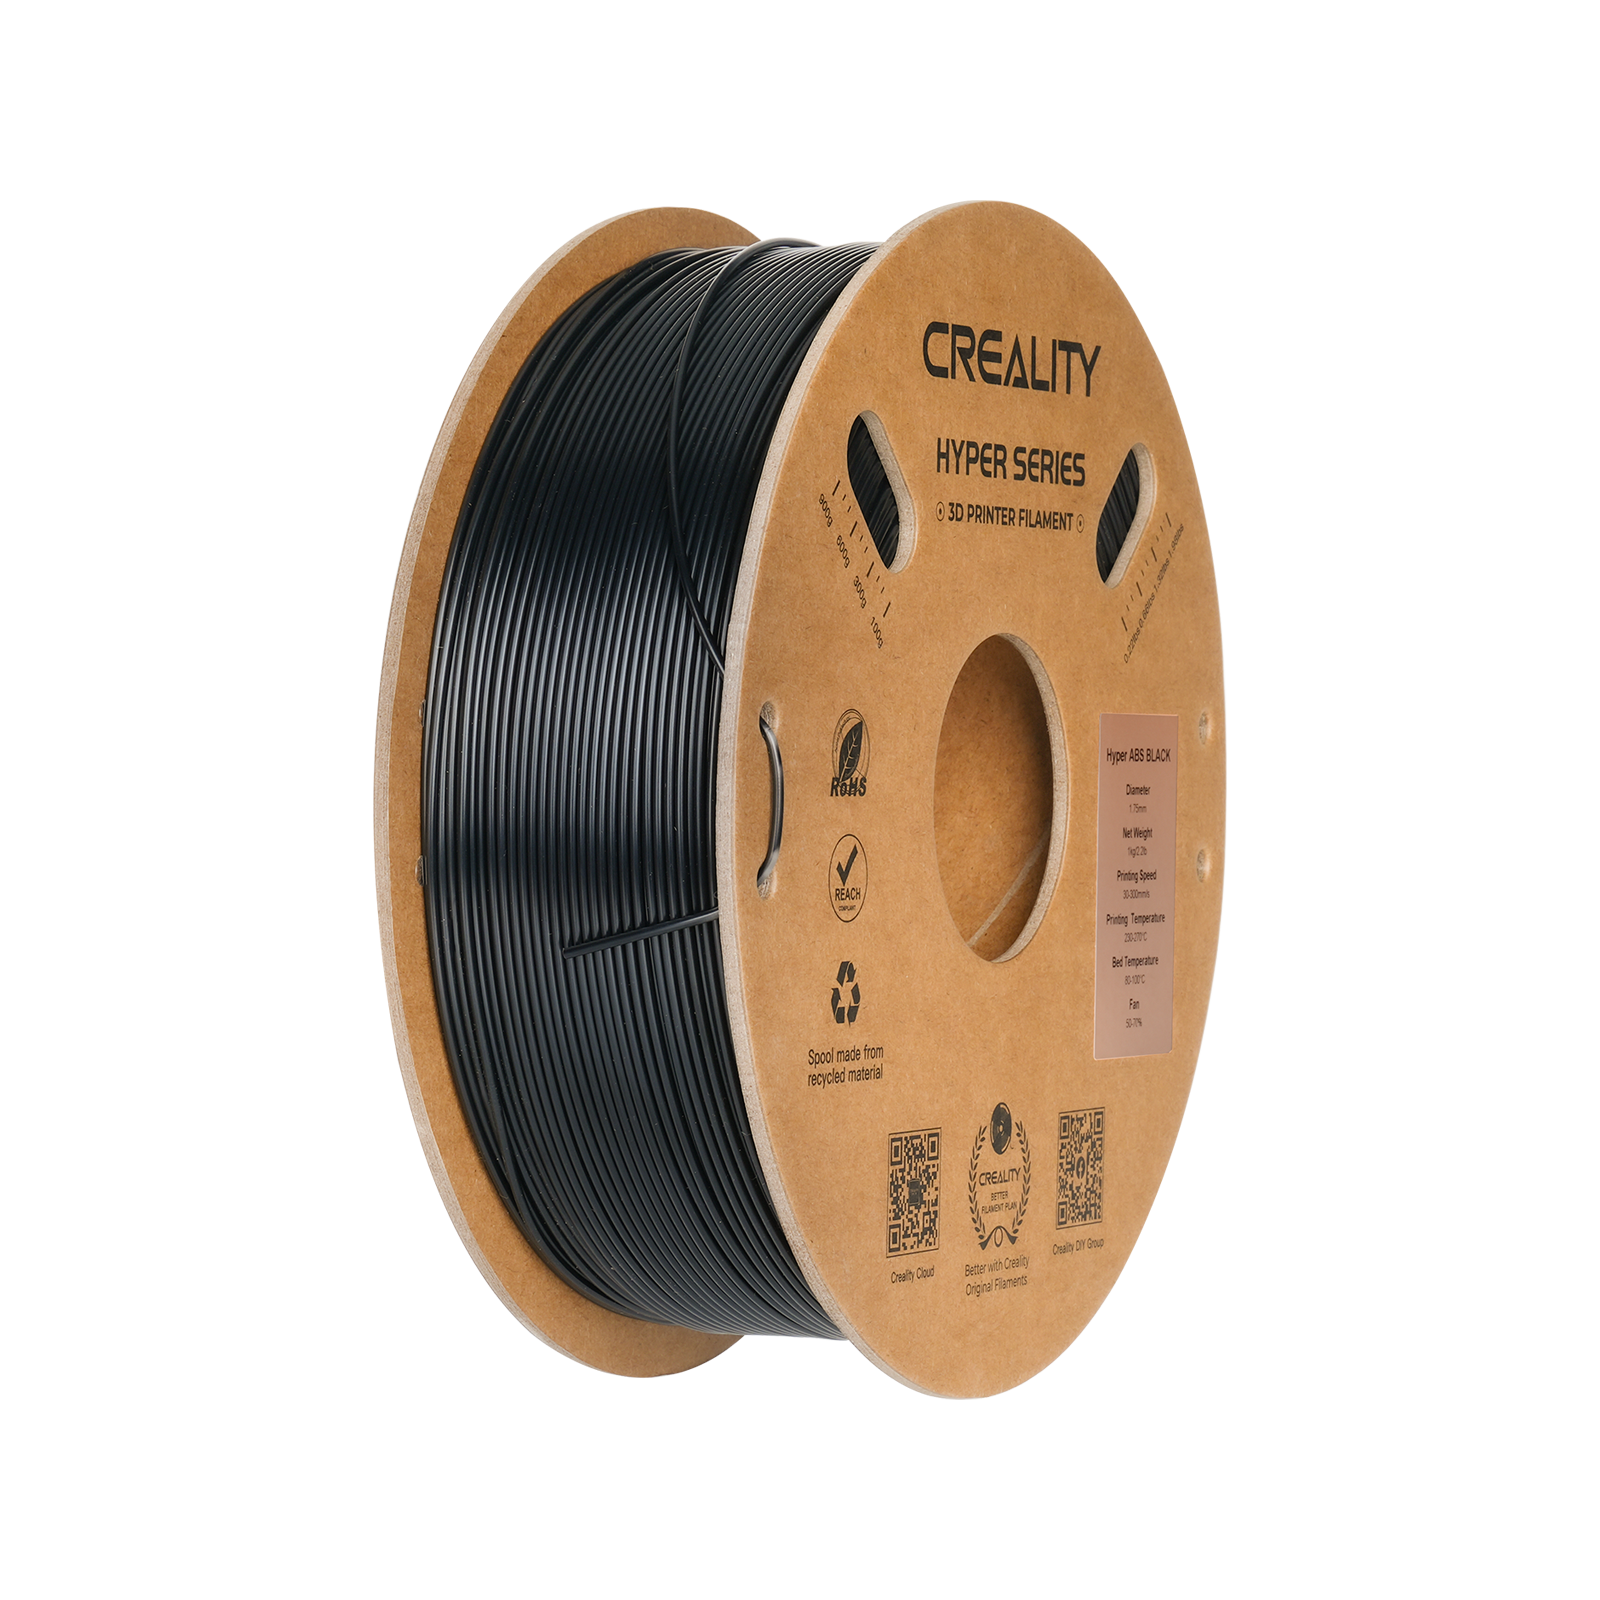
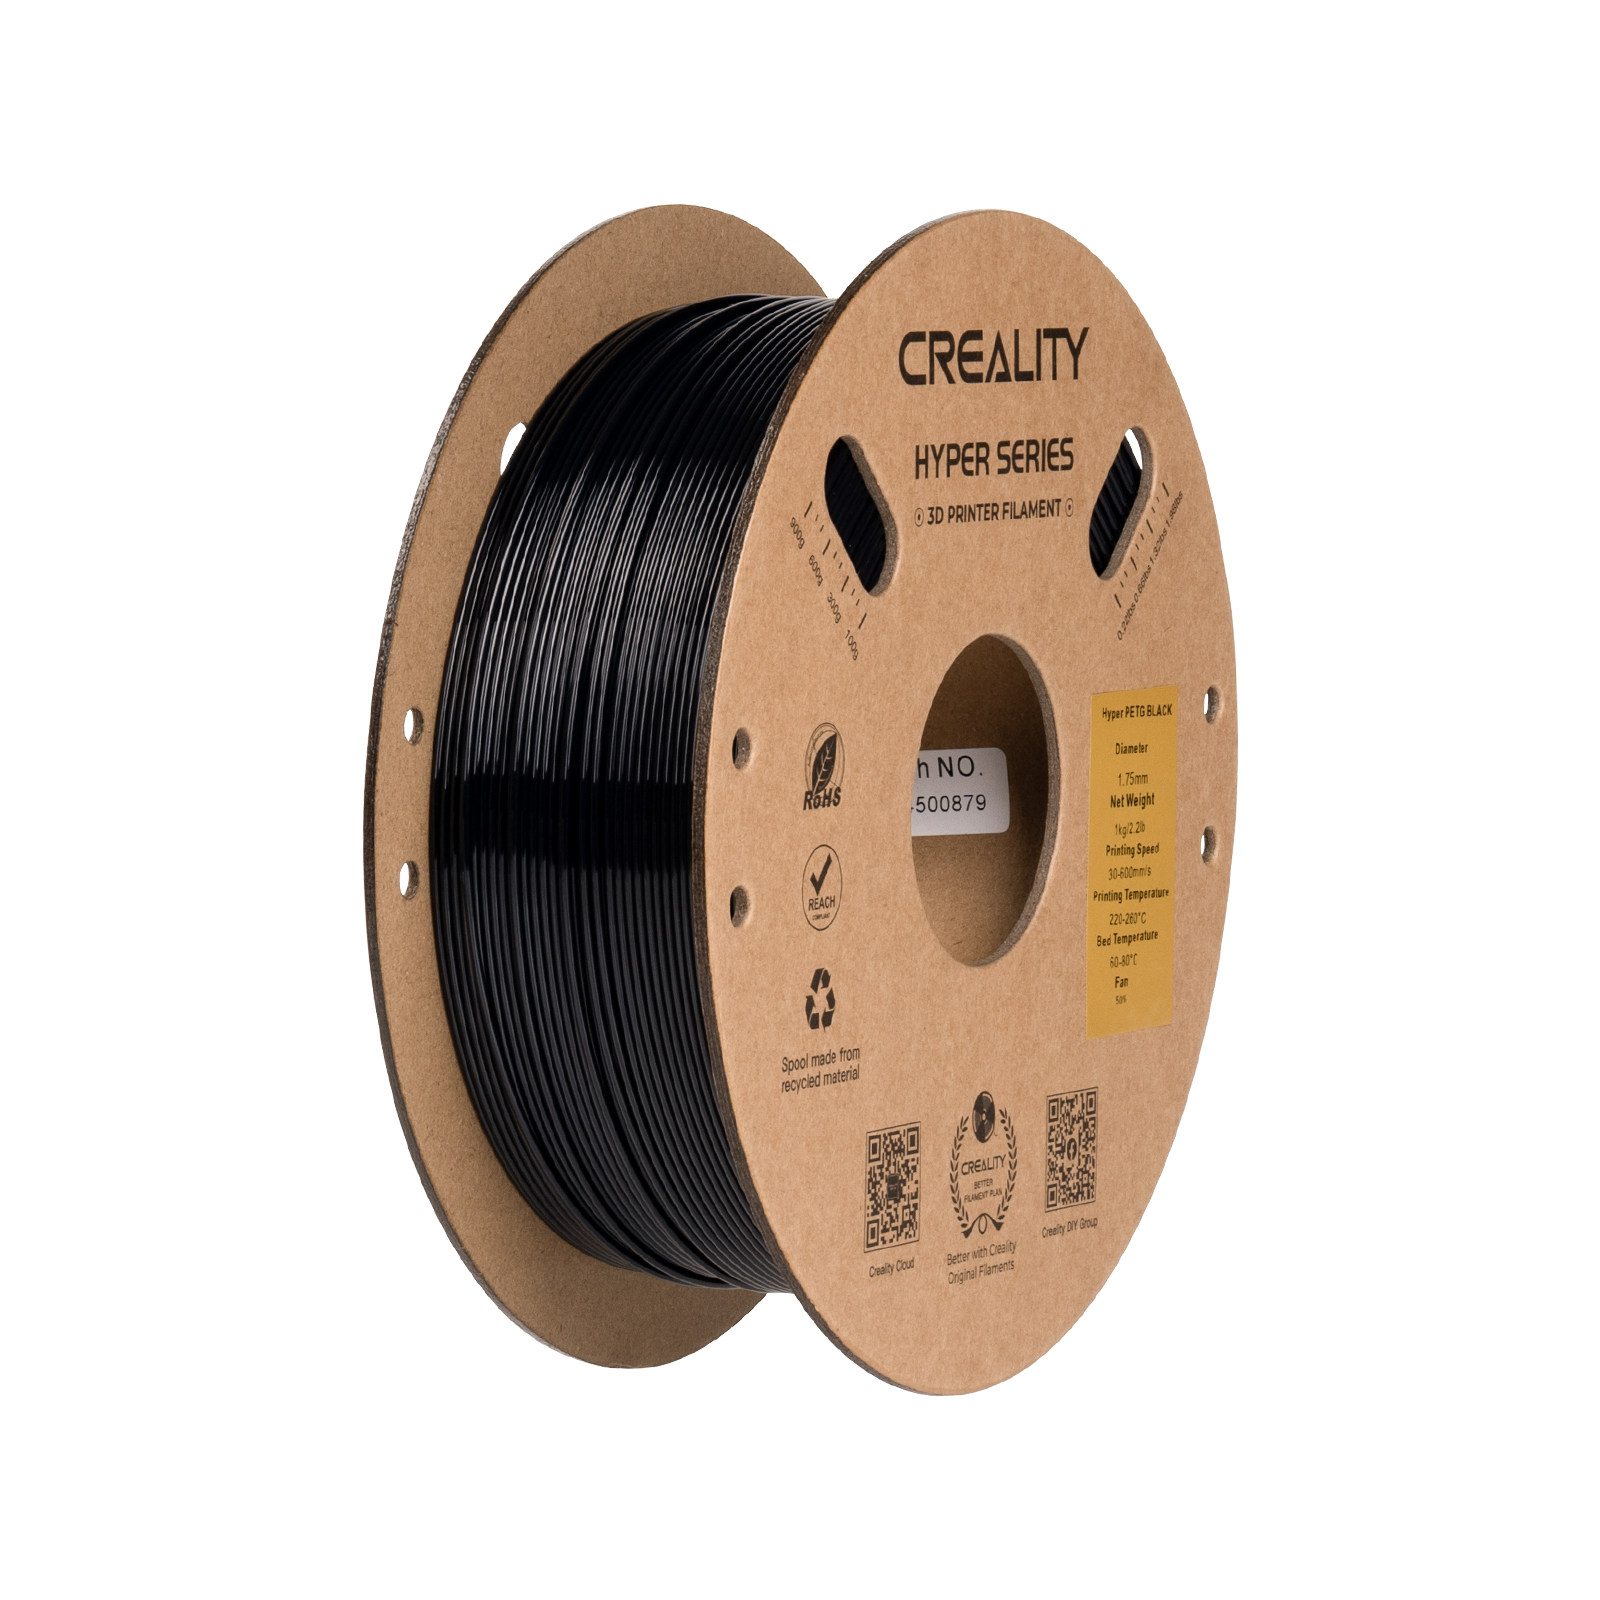
Hyper Series ABS 3d Printing Filament - 1kg: was $29.99 now $18.99 This Hyper ABS 3D printer filament, available in 1kg spools, is reportedly five times faster than typical ABS alternatives. It has high temperature resistance, and has nearly double the durable strength of its PLA counterparts. A good option for enthusiasts looking to branch out.View Deal
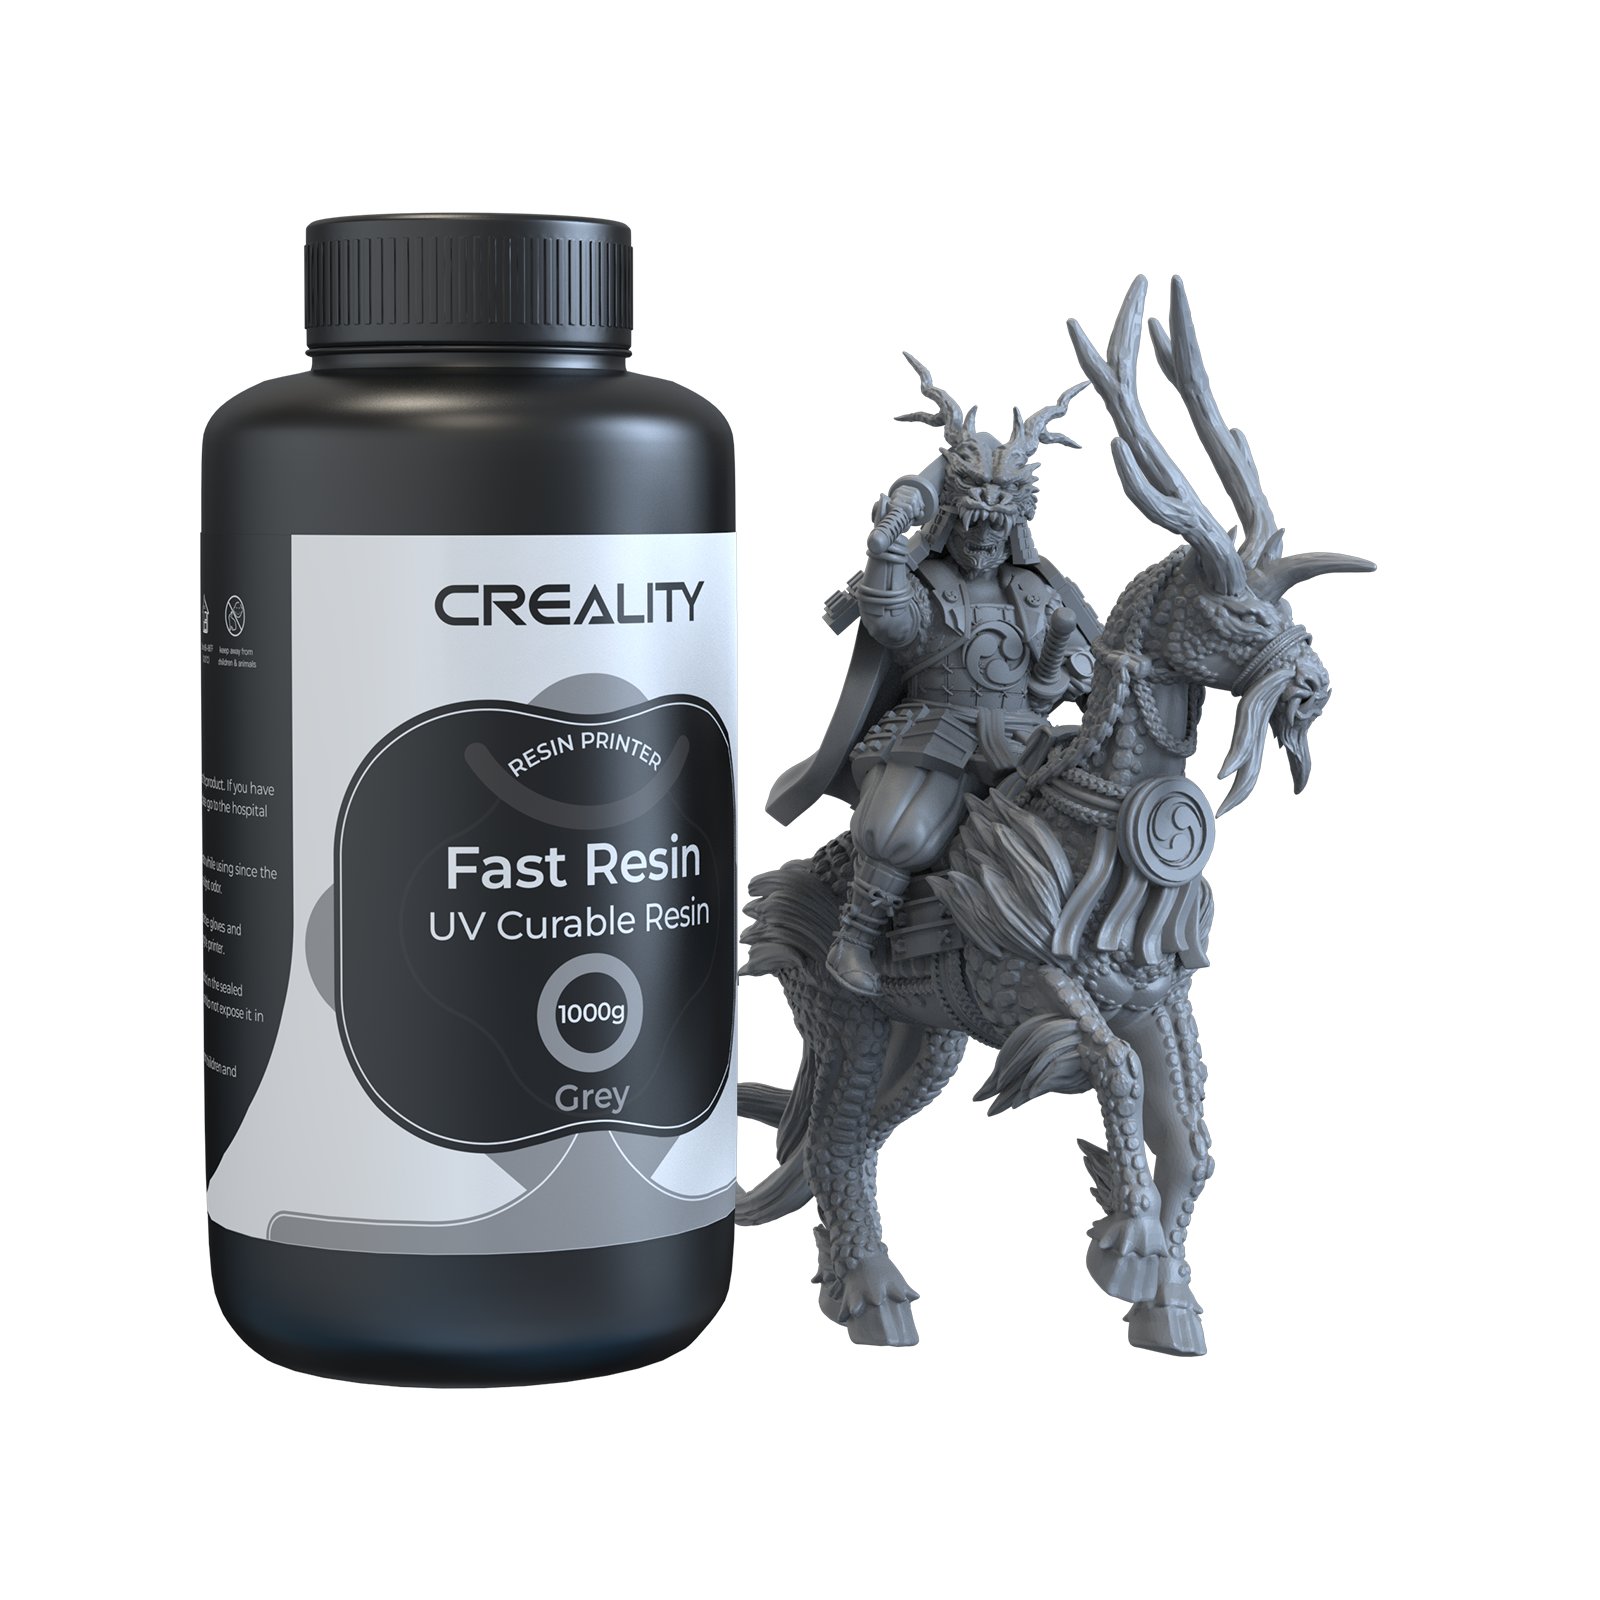
Fast Resin UV Curable Resin 1kg: was $35.99 now $29 This 1KG of Creality Fast Resin is a good option for quick curing resin printing, especially if you need good flexibility and rigidity. Secure bigger discounts by buying in bulk, with up to 25% off when you buy 20 or more.View Deal
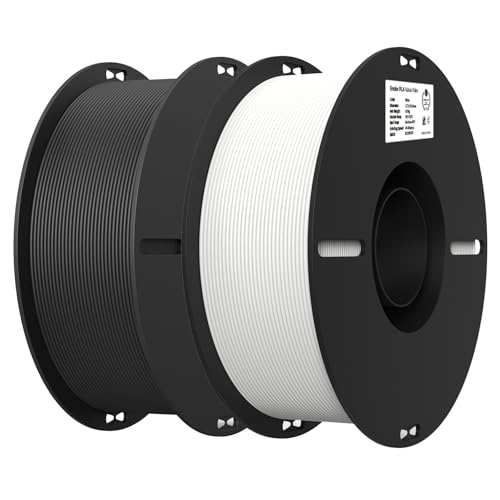
Hyper PLA RFID 3d Printing Filament - 1kg: was $31.90 now $21 Described as 'filament that can talk', this Hyper PLA RFID filament supports print speeds up to 600 mm/s. But, more importantly, it has a built-in RFID chip which, when using it with supported 3D printers like the K2 series and Creality Hi, allows it to automatically identify the type, color, and other relevant info for optimized printing.View Deal
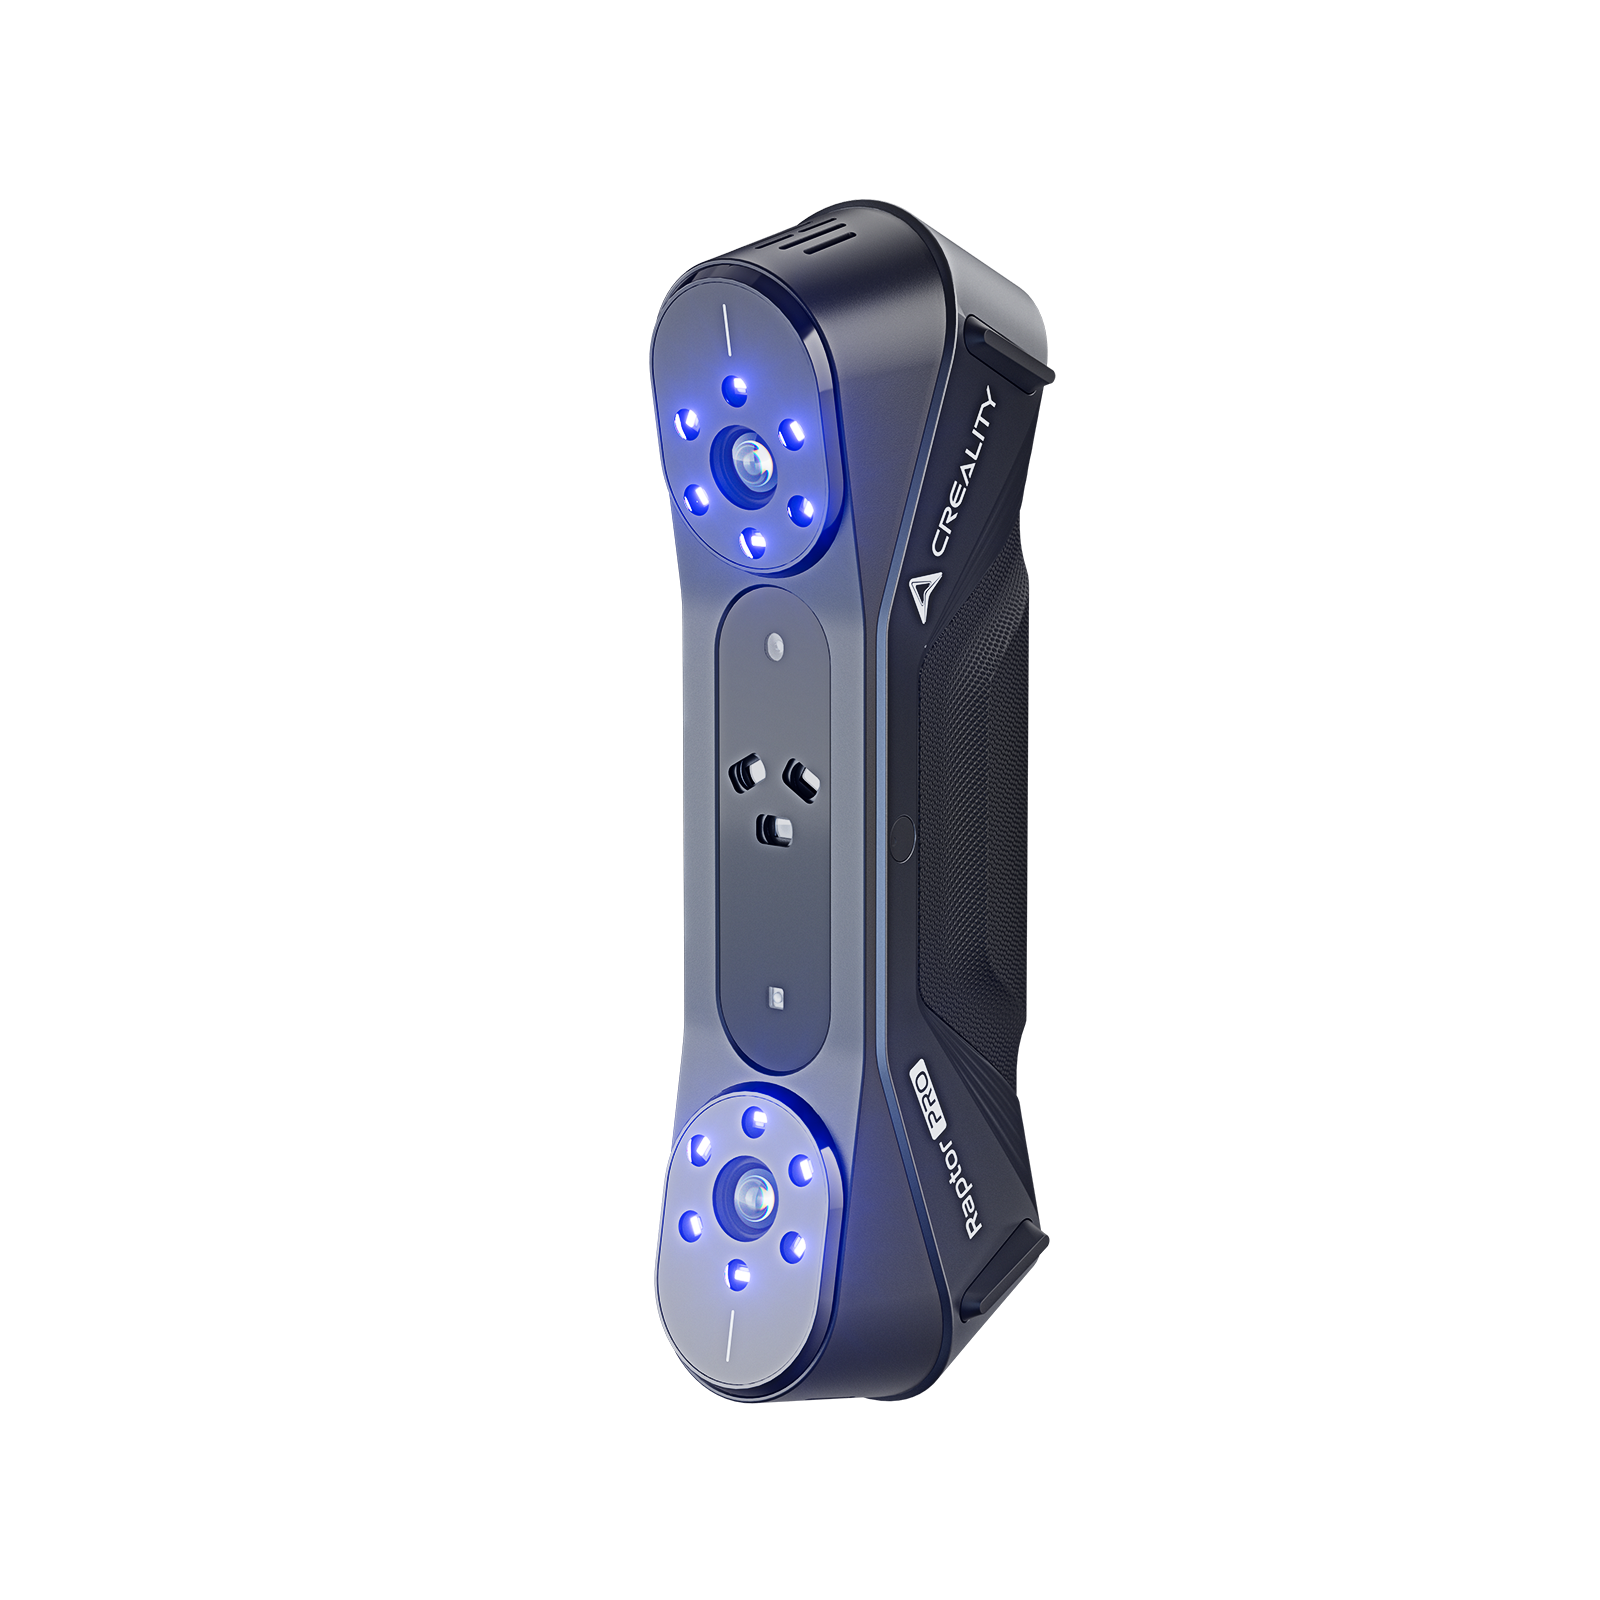
Raptor Pro 3D Scanner: was $1999 now $1499 Grab high fidelity 3D models for printing using the Creality Raptor Pro. It has two scanning modes (blue light and infrared) and features accuracy of up to 0.02mm for blue light scanning, or up to 0.075mm for infrared.View Deal
AliExpress’s annual 828 sale is live, and one of the standout deals is from the Flashforge brand. Whether you are looking for high-quality filaments like HS PLA or a 3D printer like the Adventurer 5M, AD5X, or Adventurer 5M Pro, this is a great opportunity to upgrade your setup for less.
During the AliExpress 828 sale window, you can use our coupons to get great discounts on Flashforge 3D printers. We have suggested the best discount code for each 3D printer. However, the discount scales based on your overall cart value, so you can use a higher coupon code if you plan to purchase more than one Flashforge product.
Spend $15 and get $3 off = VSFUTURE3
Spend $36 and get $6 off = VSFUTURE6
Spend $79 and get $12 off = VFUTURE12
Spend $99 and get $20 off = FUTURE032
Spend $119 and get $20 off = VFUTURE20
Spend $159 and get $32 off = FUTURE032
Spend $239 and get $40 off = VFUTURE40
Spend $369 and get $55 off = VFUTURE55
Spend $499 and get $75 off = VFUTURE75
Spend $600 and get $120 off = VFUTURE120
Flashforge’s HS PLA (High Speed PLA) filament offers many benefits over standard PLA filaments. It enables faster print speeds, reduced melt viscosity, and rapid cooling. This means your print projects will come out more precisely in less time. HS PLA filament works great with CoreXY 3D printers, such as the Adventurer 5M series, for the best results.
The Flashforge HS PLA filament is designed for high-speed 3D printers and supports speeds up to 350 mm/s. Use the VSFUTURE3 code.View Deal
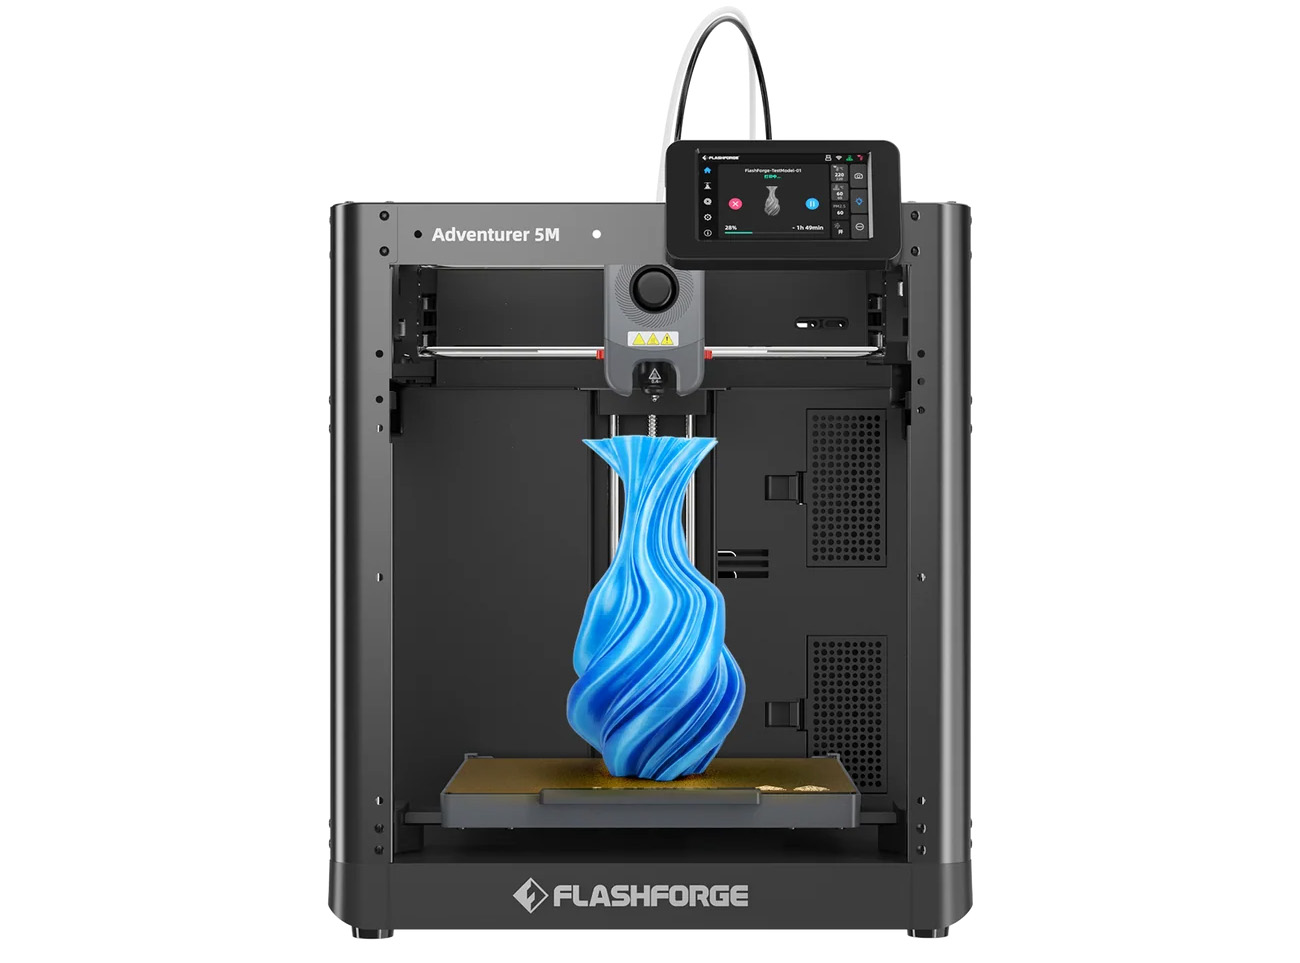
The Adventurer 5M features an open-frame FDM design centered on a robust all-metal CoreXY structure. With a standard build volume of 220 x 220 x 220 mm, the Adventurer 5M can handle everyday projects with ease. What sets the Adventurer 5M apart from rival budget 3D printers is the performance. It boasts maximum print speeds of up to 600 mm/s and accelerations up to 20,000 mm/s², which substantially lowers print times.
The Adventurer 5M is a solid entry-level 3D printer with maximum printing speeds up to 600 mm/s. Use the FUTURE032 code.View Deal
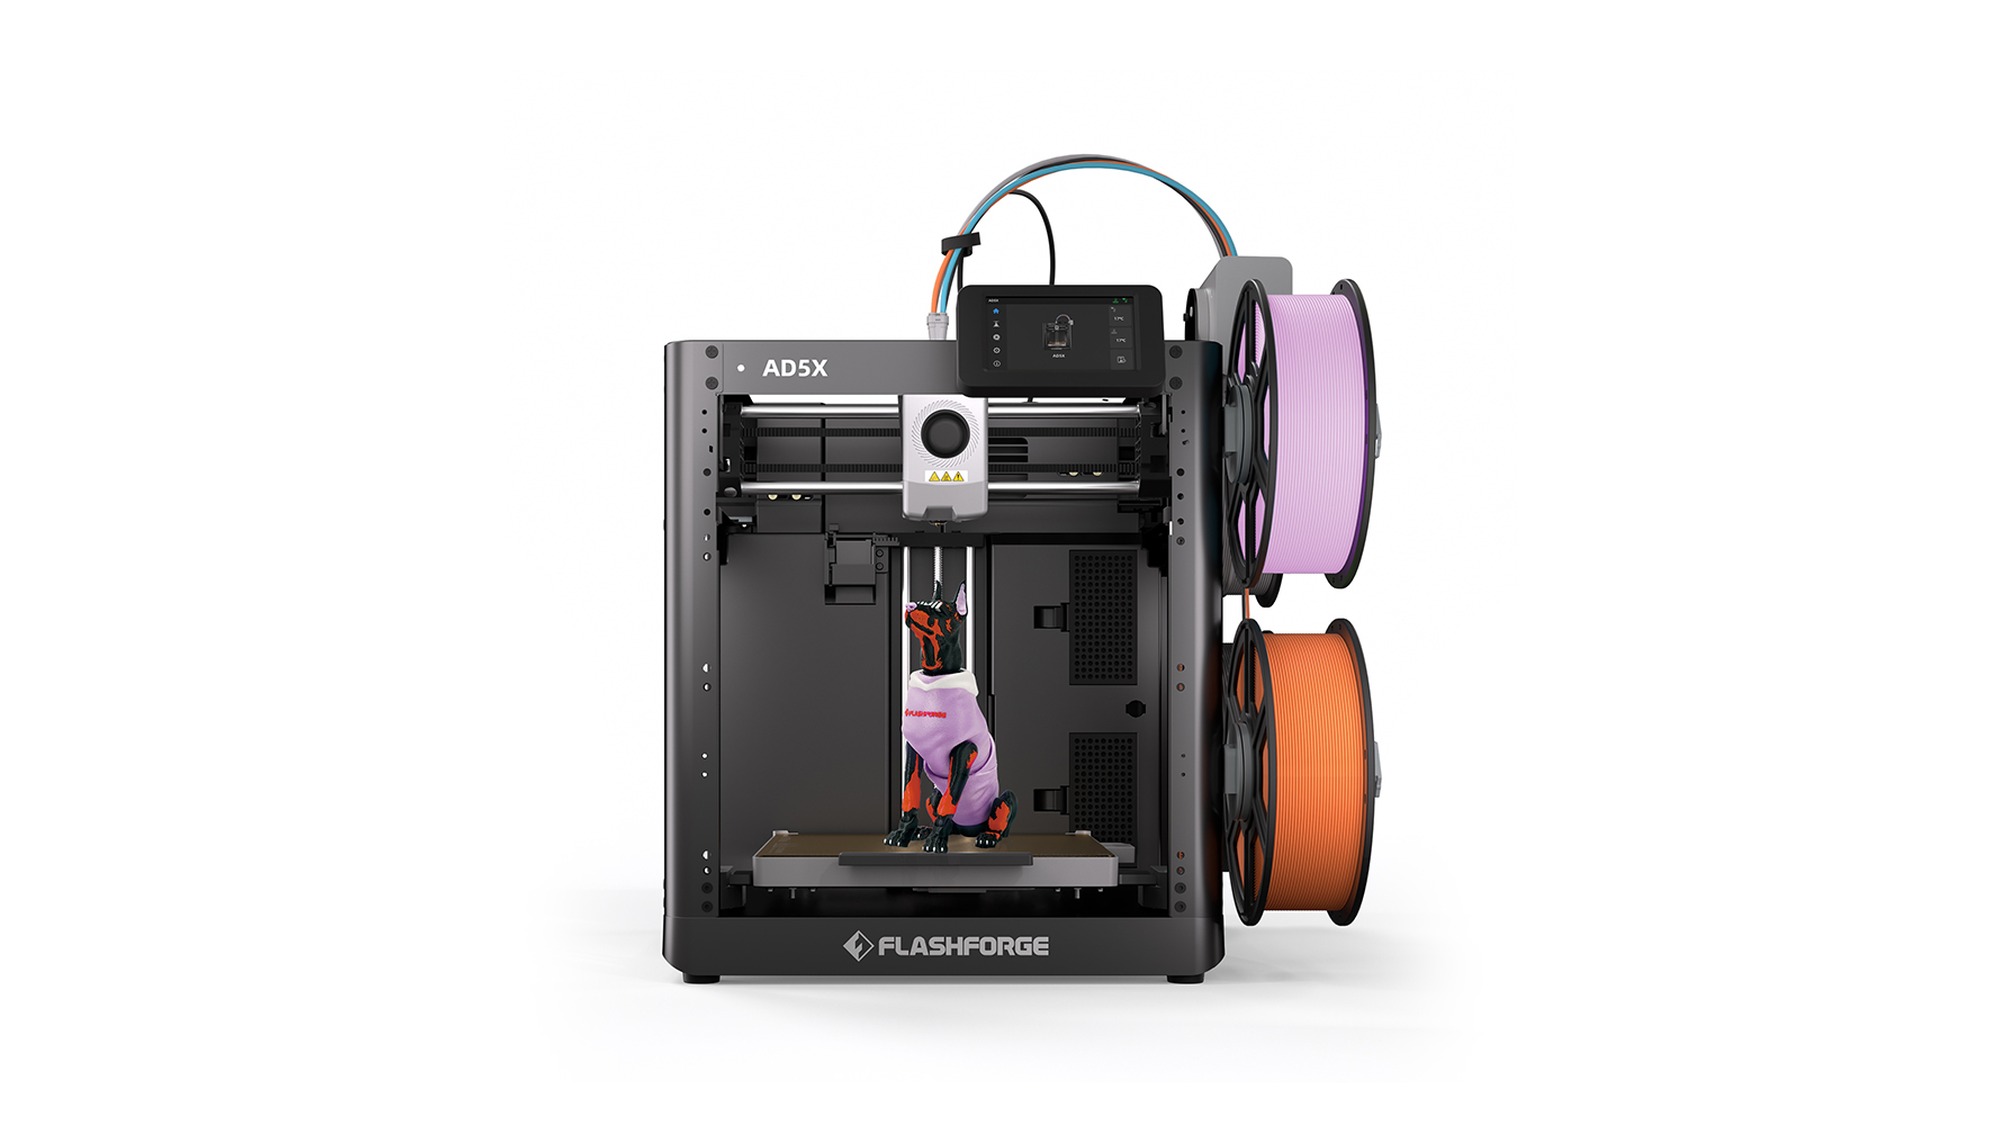
The AD5X shares many core specifications with the Adventurer 5M. However, this model's standout attribute is its Intelligent Filament System (IFS). It brings automatic filament loading and switching to the table, minimizing manual interaction during printing. The IFS supports up to four distinct filament colors or types, such as PLA, PETG, and TPU 64D.
The AD5X is a value-driven 3D printer that supports multicolor printing at speeds up to 600 mm/s. Use the VFUTURE40 code.View Deal
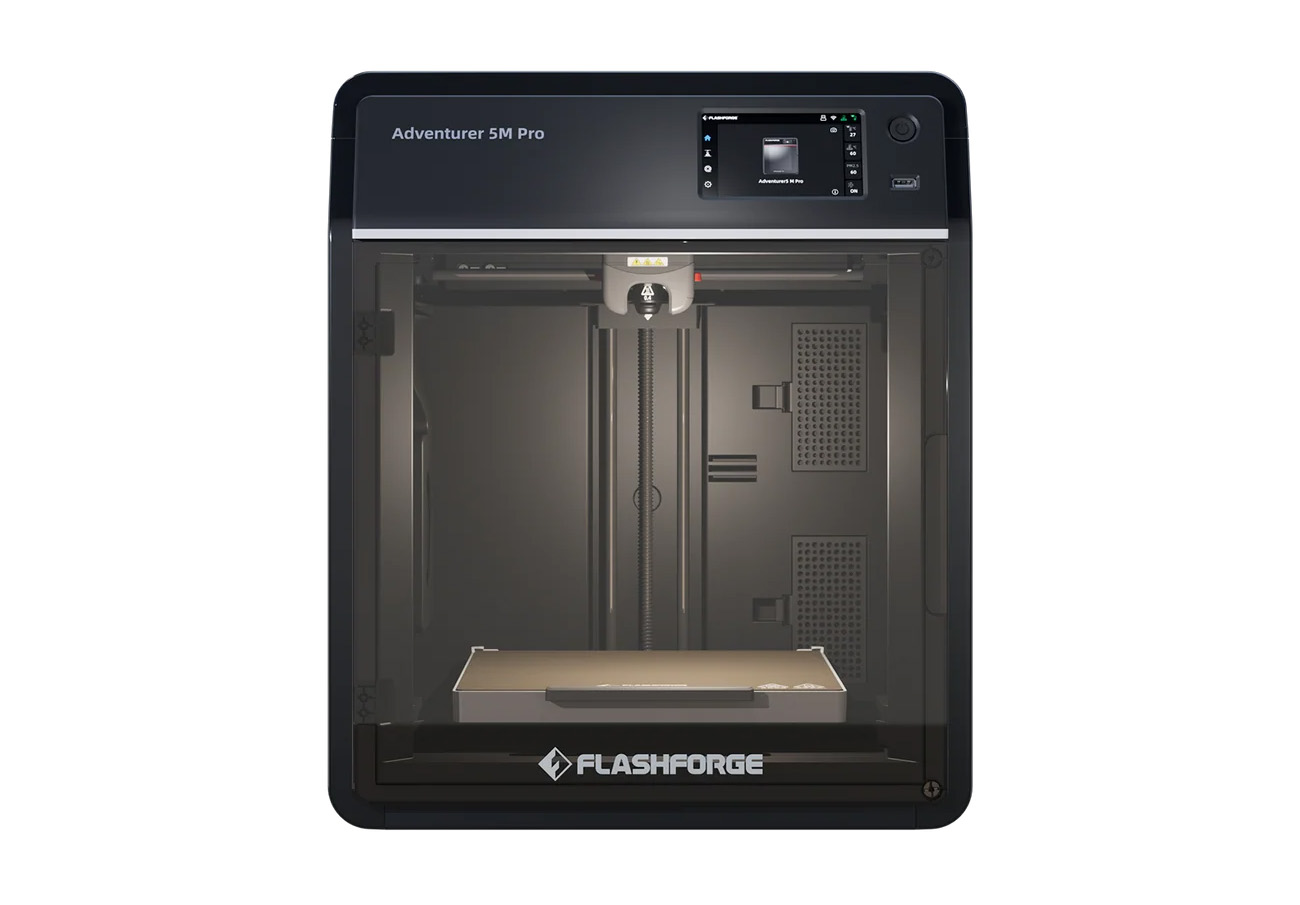
The Adventurer 5M Pro maintains the impressive performance figures as the other SKUs in the series. However, it distinguishes itself with an enclosed FDM design. The enclosure reduces noise during printing, maintains thermal stability, and helps prevent dust and other debris from contacting the print. The 3D printer comes equipped with a dual-layer filtration system consisting of HEPA and activated carbon filters, which are intended to block 99% of particulate matter and volatile organic compounds.
The Adventurer 5M Pro is a high-speed 3D printer with an enclosed chamber design and speeds up to 600 mm/s. Use the VFUTURE55 code.View Deal
The AliExpress 828 sale is one of the year's most anticipated sales events, where buyers can find products from quality brands at very attractive prices. On this occasion, Flashforge's portfolio of products, including the HS PLA filament and Adventurer 5M, AD5X, and Adventurer 5M Pro 3D printers, is available at prices that are too good to ignore.
The Elegoo Centauri 2 Combo is a stripped-down version of the Centauri Carbon 2, but we’re left wondering if losing the camera, lights, enclosure, and ventilation is worth the $60 you’re saving. This printer is so affordable, one wonders if Elegoo is making any profit at all.
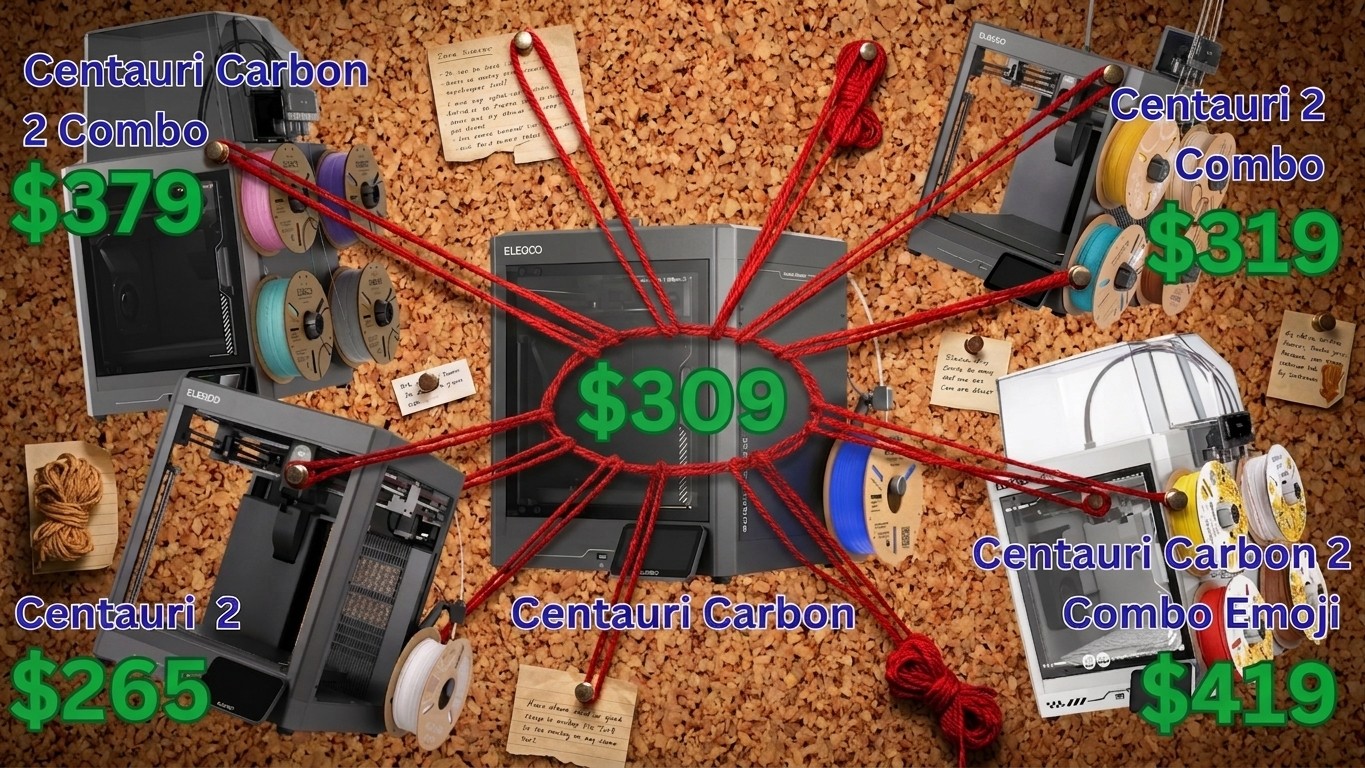
The math and naming convention are downright puzzling. The Centauri 2 Combo is currently on sale for $319, while the single-color Centauri Carbon is $309, the Centauri Carbon 2 is $329, and the Centauri Carbon 2 Combo is $379. Forgive us if we need an evidence board and spool of red string to make sense of all this.
(Image credit: Tom's Hardware)
You’re still getting a lot of printer for your money. It’s a fast Core XY machine with the rock-solid CANVAS four-color system and a 256 mm cubed build volume. The toolhead can get to a toasty 350°C with 110°C on the bed, which is great for a bunch of technical filaments that you ultimately can use without an enclosure, but it does come in a pinch for printing less finicky high-temperature filaments like PET-GF and PCTG.
The big question is, is it worth the savings? A lot of beginners only use PLA, and see a four-color machine as a toy printing factory. But you might regret not getting that enclosure when you start getting into more practical prints and could really use the strength of an ASA print.
Ranking this printer was difficult, because yes, the print quality is great and it’s easy to use. But with so many other, even better, Centauri options available, this one just falls short of making our list of Best 3D printers.
Specifications: Elegoo Centauri 2 Combo
Build Volume
256 x 256 x 256 mm (10.07x10.07x10.07 inches)
Material
PLA/PETG/TPU (up to 350°C)
Extruder Type
Direct drive
Nozzle
.4mm hardened steel
Build Platform
PEI-coated steel flex plate, both smooth and textured, heated
Bed Leveling
Automatic, Including Z offset
Filament Runout Sensor
Yes
Connectivity
LAN, WiFi, USB Flash Drive
Interface
5 inch Color touchscreen
Machine Footprint
500 x 480 x 500 mm (19.68 x 18.89 x 19.68 inches)
Machine Weight
15 kg (33.06 lbs)
Elegoo Centauri 2 Combo: Included in the Box
(Image credit: Tom's Hardware)
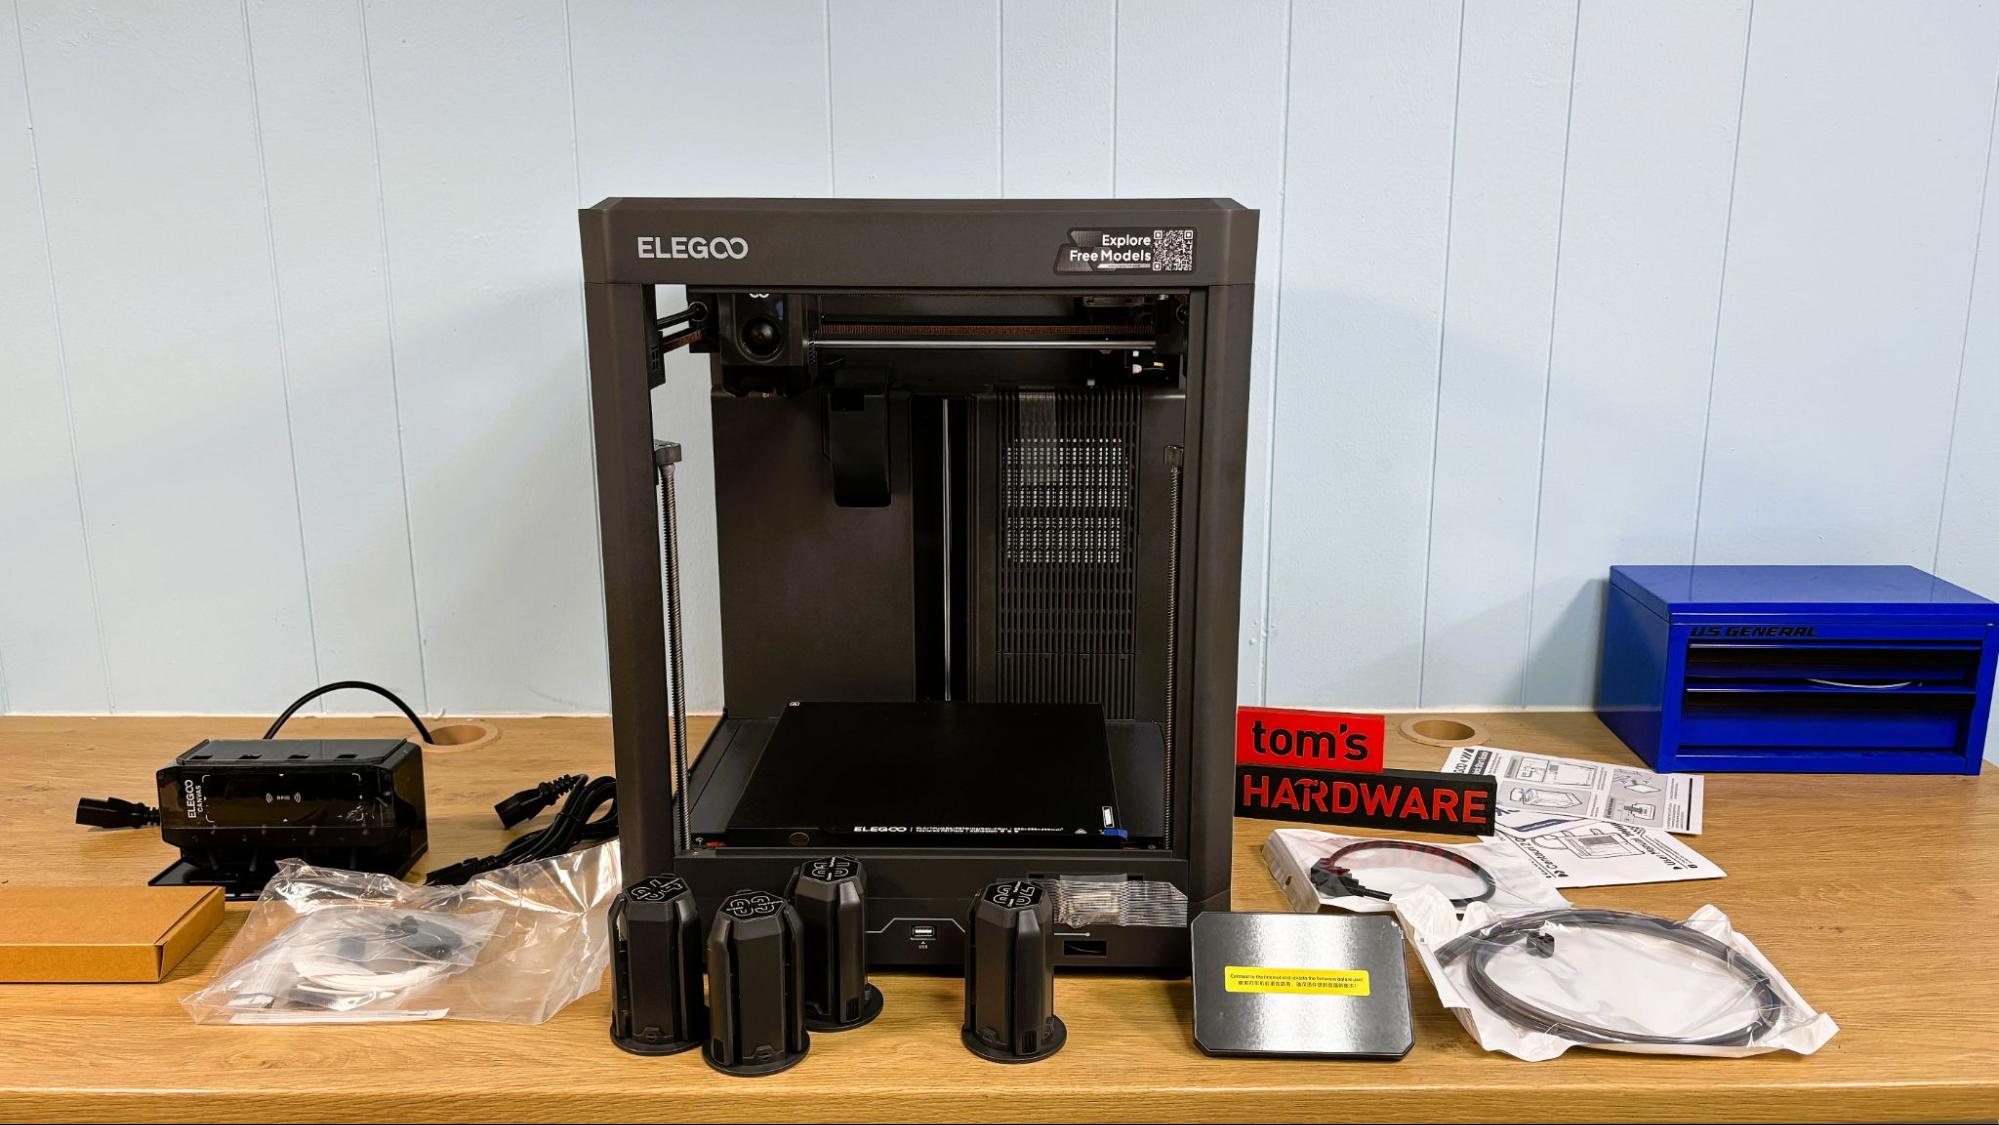
The Elegoo Centauri 2 Combo comes nicely packaged with almost everything you need to get started. There is a bag of tools, hardware, and a coil of white PLA. Noticeably absent is a nozzle wrench. There is a paper copy of the manual along with a USB stick containing a PDF of the manual and a copy of ElegooSlicer. The spool holders, touchscreen, and CANVAS system are also packed inside the printer.
Elegoo sent spools of black, red, yellow, and white PLA equipped with RFID tags to test for this review (but you'll need to buy those separately).
Design of the Elegoo Centauri 2 Combo
(Image credit: Tom's Hardware)
The Elegoo Centauri 2 Combo is an open-frame Core XY printer with both the X and Y axes running on linear rods. The Z axis runs on three linear rods and is driven by three lead screws, belted at the bottom, driven by a single stepper motor.
(Image credit: Tom's Hardware)
The Centauri 2 Combo uses the same brass high-flow nozzle with a hardened steel insert as the rest of the Centauri line, and the hot end can get up to 350°C.
Since the printer is open frame, the single-part cooling fan in the toolhead cover is more than sufficient.
(Image credit: Tom's Hardware)
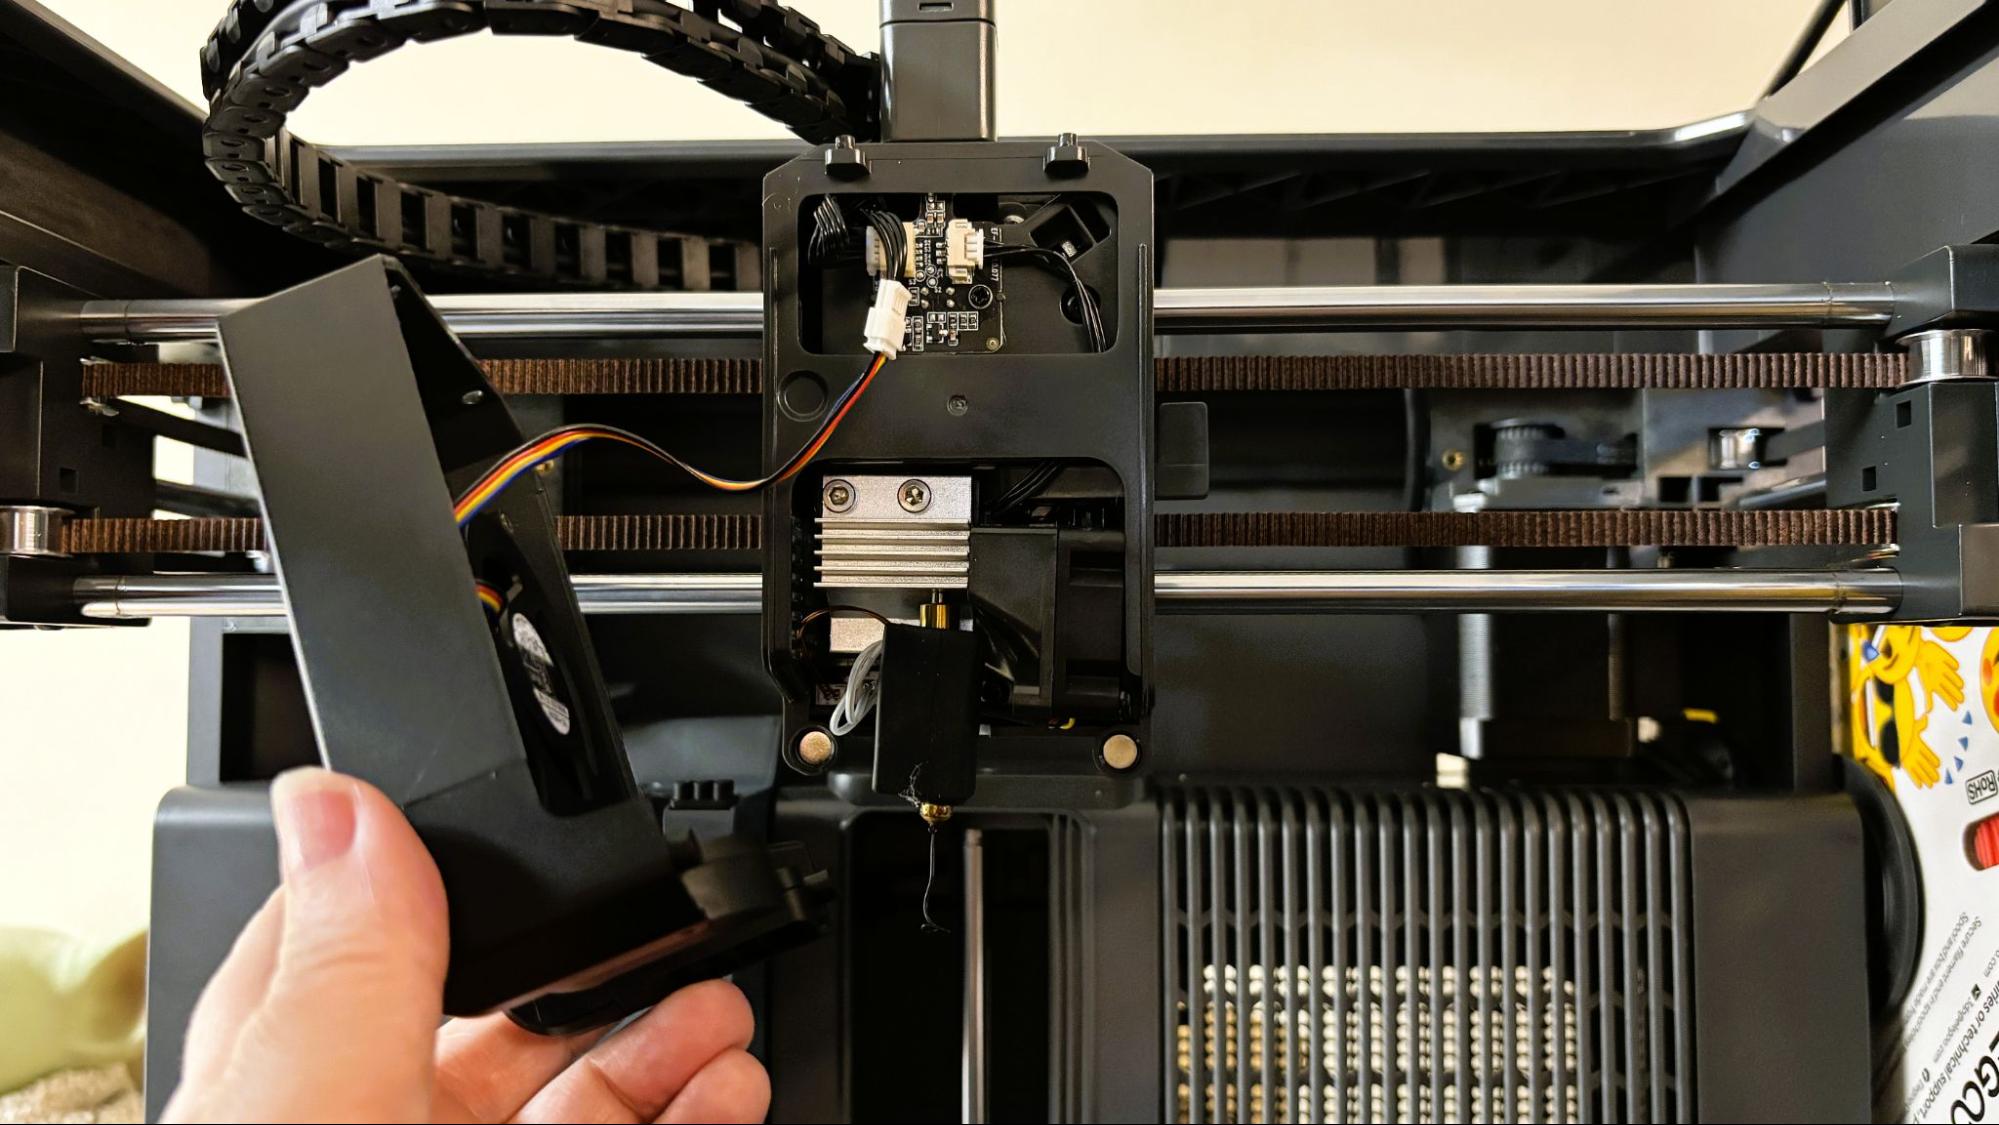
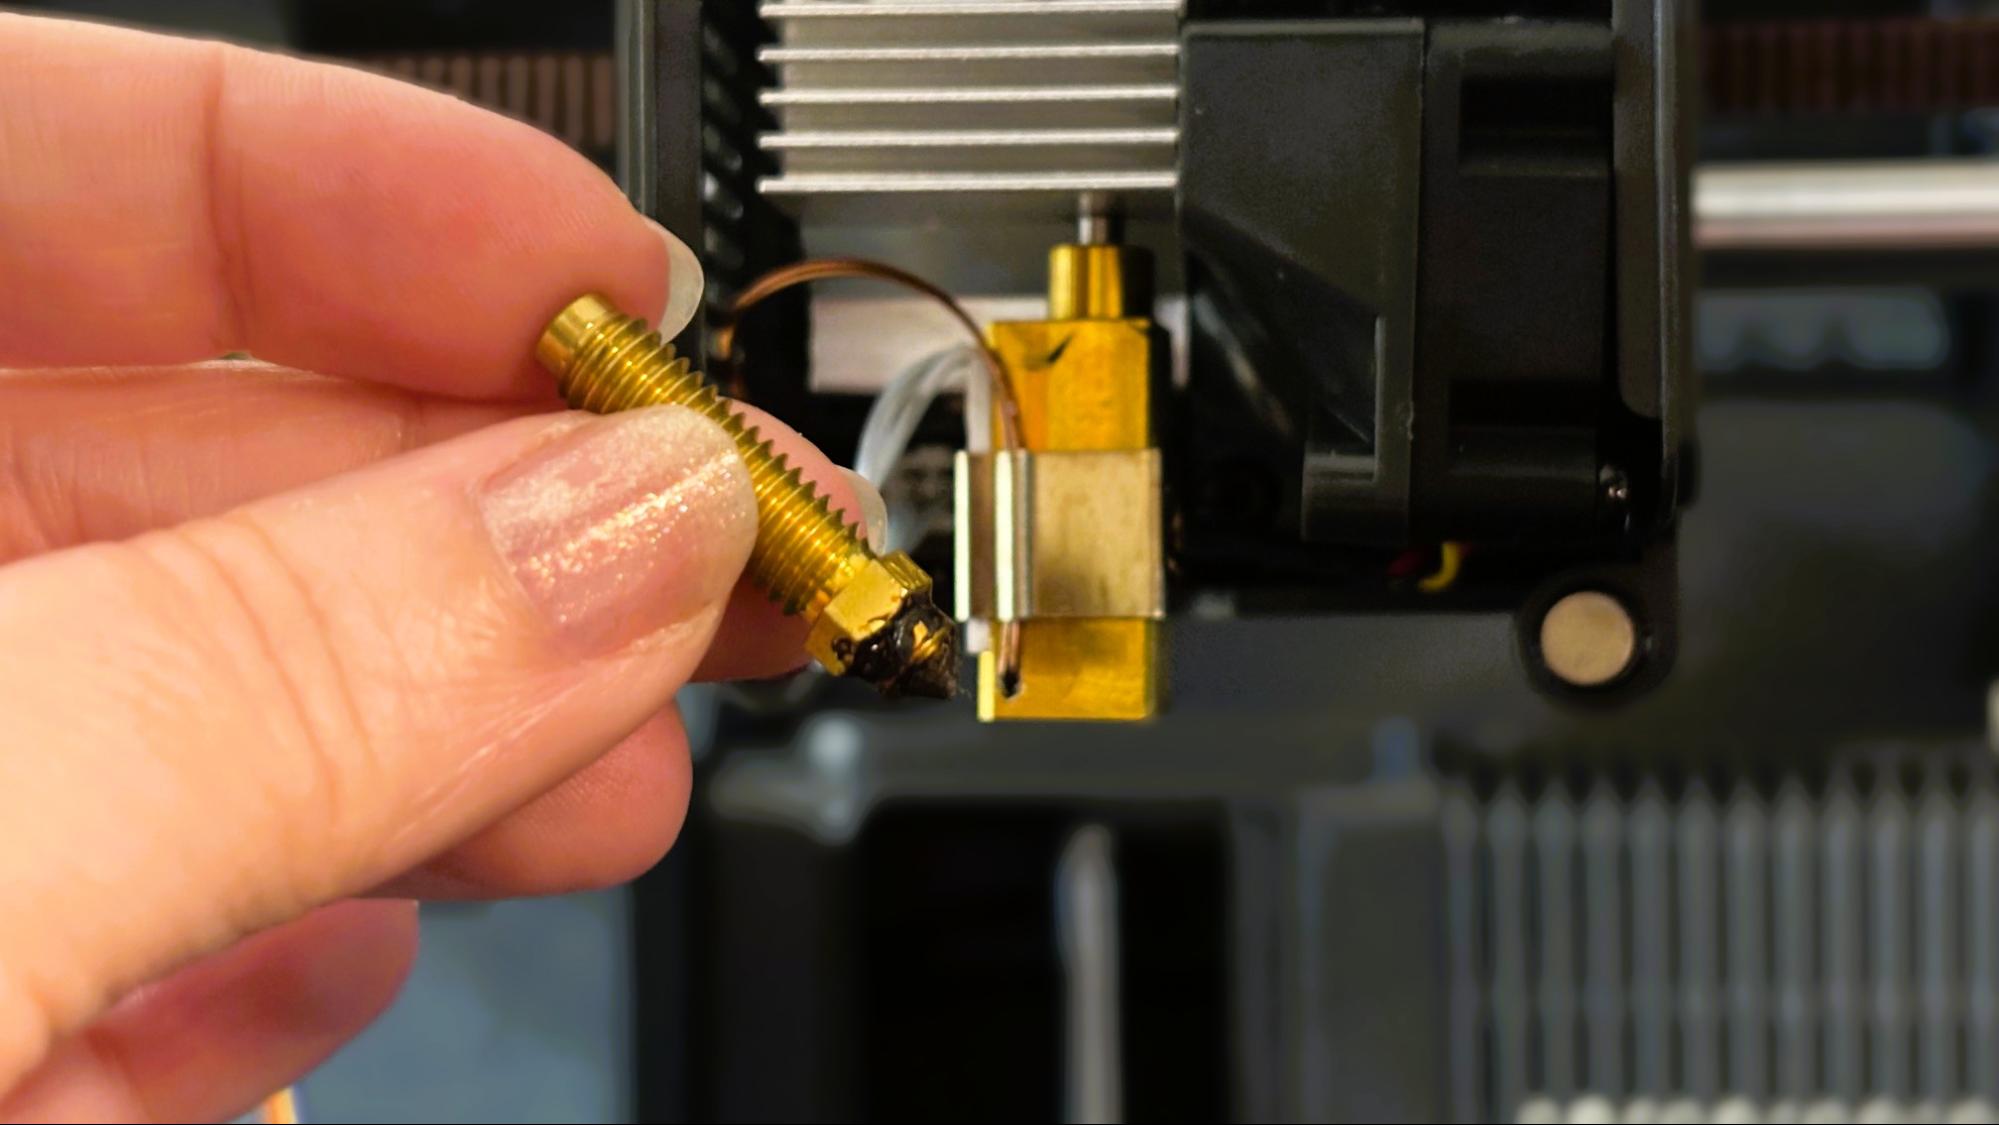
One of the only frustrating things about the Centauri 2 Combo is the filament hub attached to the top of the toolhead. The collets holding the Bowden tubes into the top are almost impossible to compress enough to remove the tubes. Elegoo has a tool that can be printed to make this easier, but it does not work well. Even if you can remove the Bowden tubes, every clog I’ve had on any of the Centauri has required the removal of the hub. On the Centauri Carbon 2, I was able to do this without removing the toolhead wiring, but not on the Centauri 2 Combo.
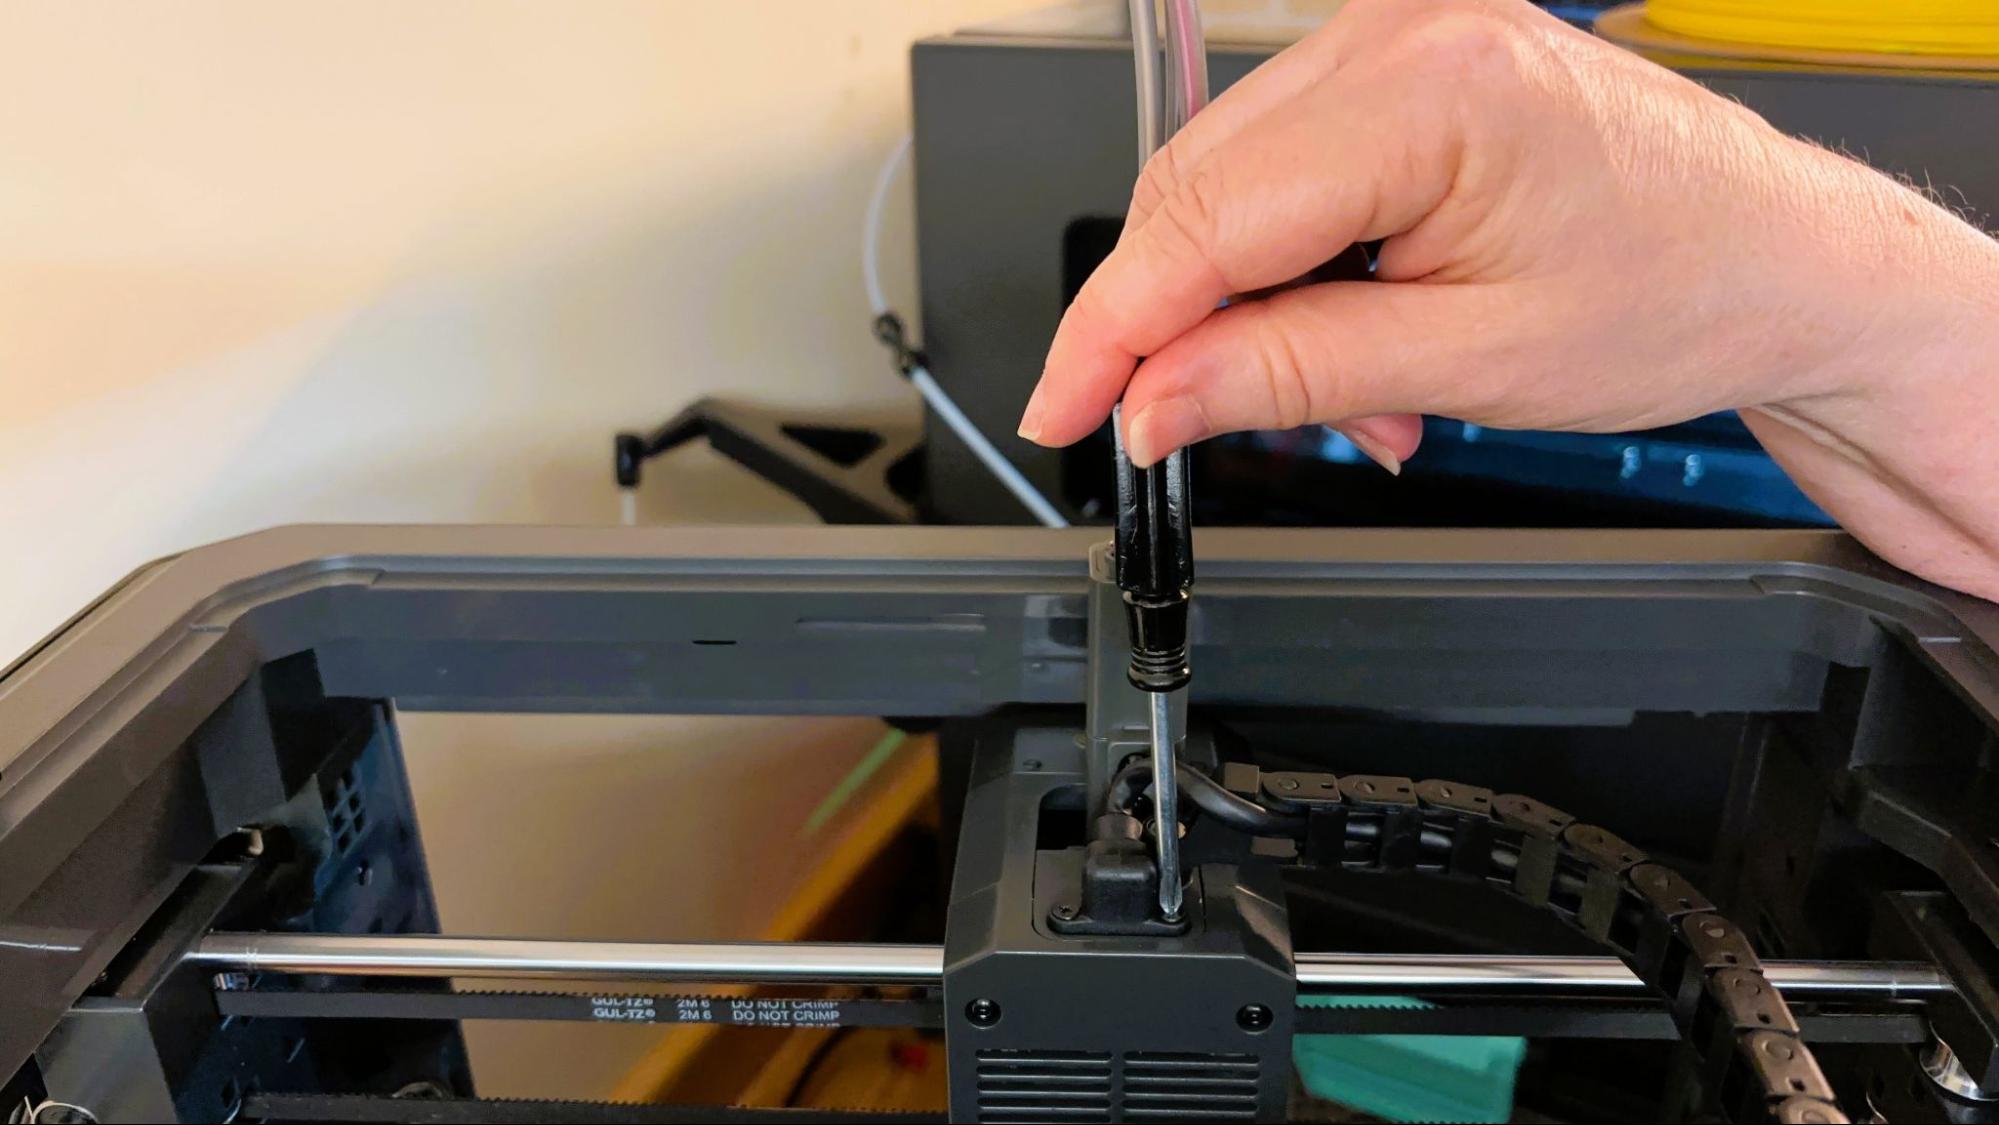
The toolhead wiring is a USB-C cable that is held down, inexplicably, with two Phillips-head screws. The hub is held on with two screws threaded directly into the plastic of the hub. Fortunately, the Centauri 2 Combo does not clog often, and I’ve yet to strip out the holes in the hub.
Elegoo suggests printing a one-color hub for use with TPU, and includes a press-fit collet for this purpose. However, I had no problem feeding 95A TPU directly from the CANVAS into the four-port hub. I tried using a softer TPU, and it also fed into the hub, but it ended up clogging the extruder.
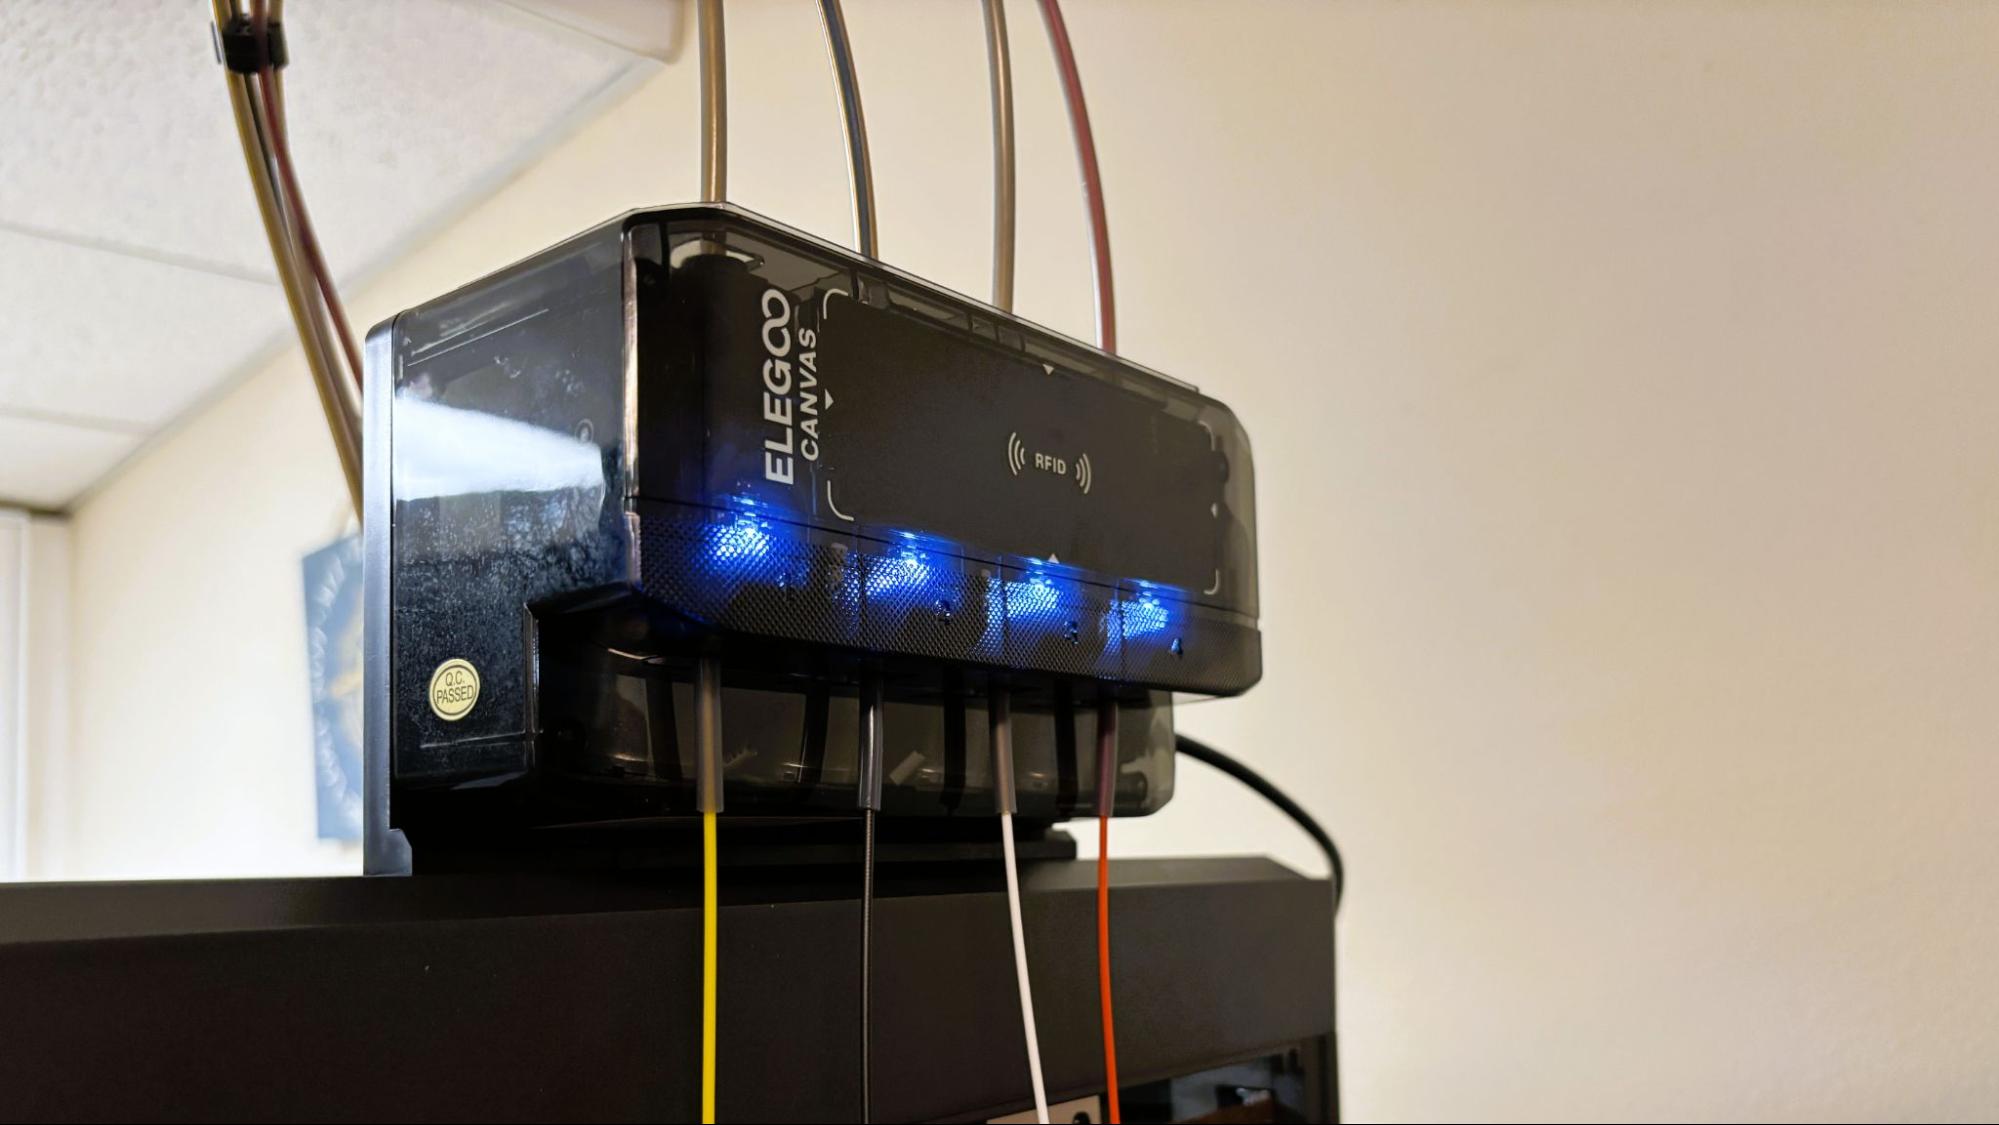
The CANVAS system for four-color printing is pretty much bulletproof. The only quirk in the system is the way the spools are numbered. It makes sense for the way the filaments enter the CANVAS, but it’s easy to confuse spools three and four when assigning colors on the printer.
(Image credit: Tom's Hardware)
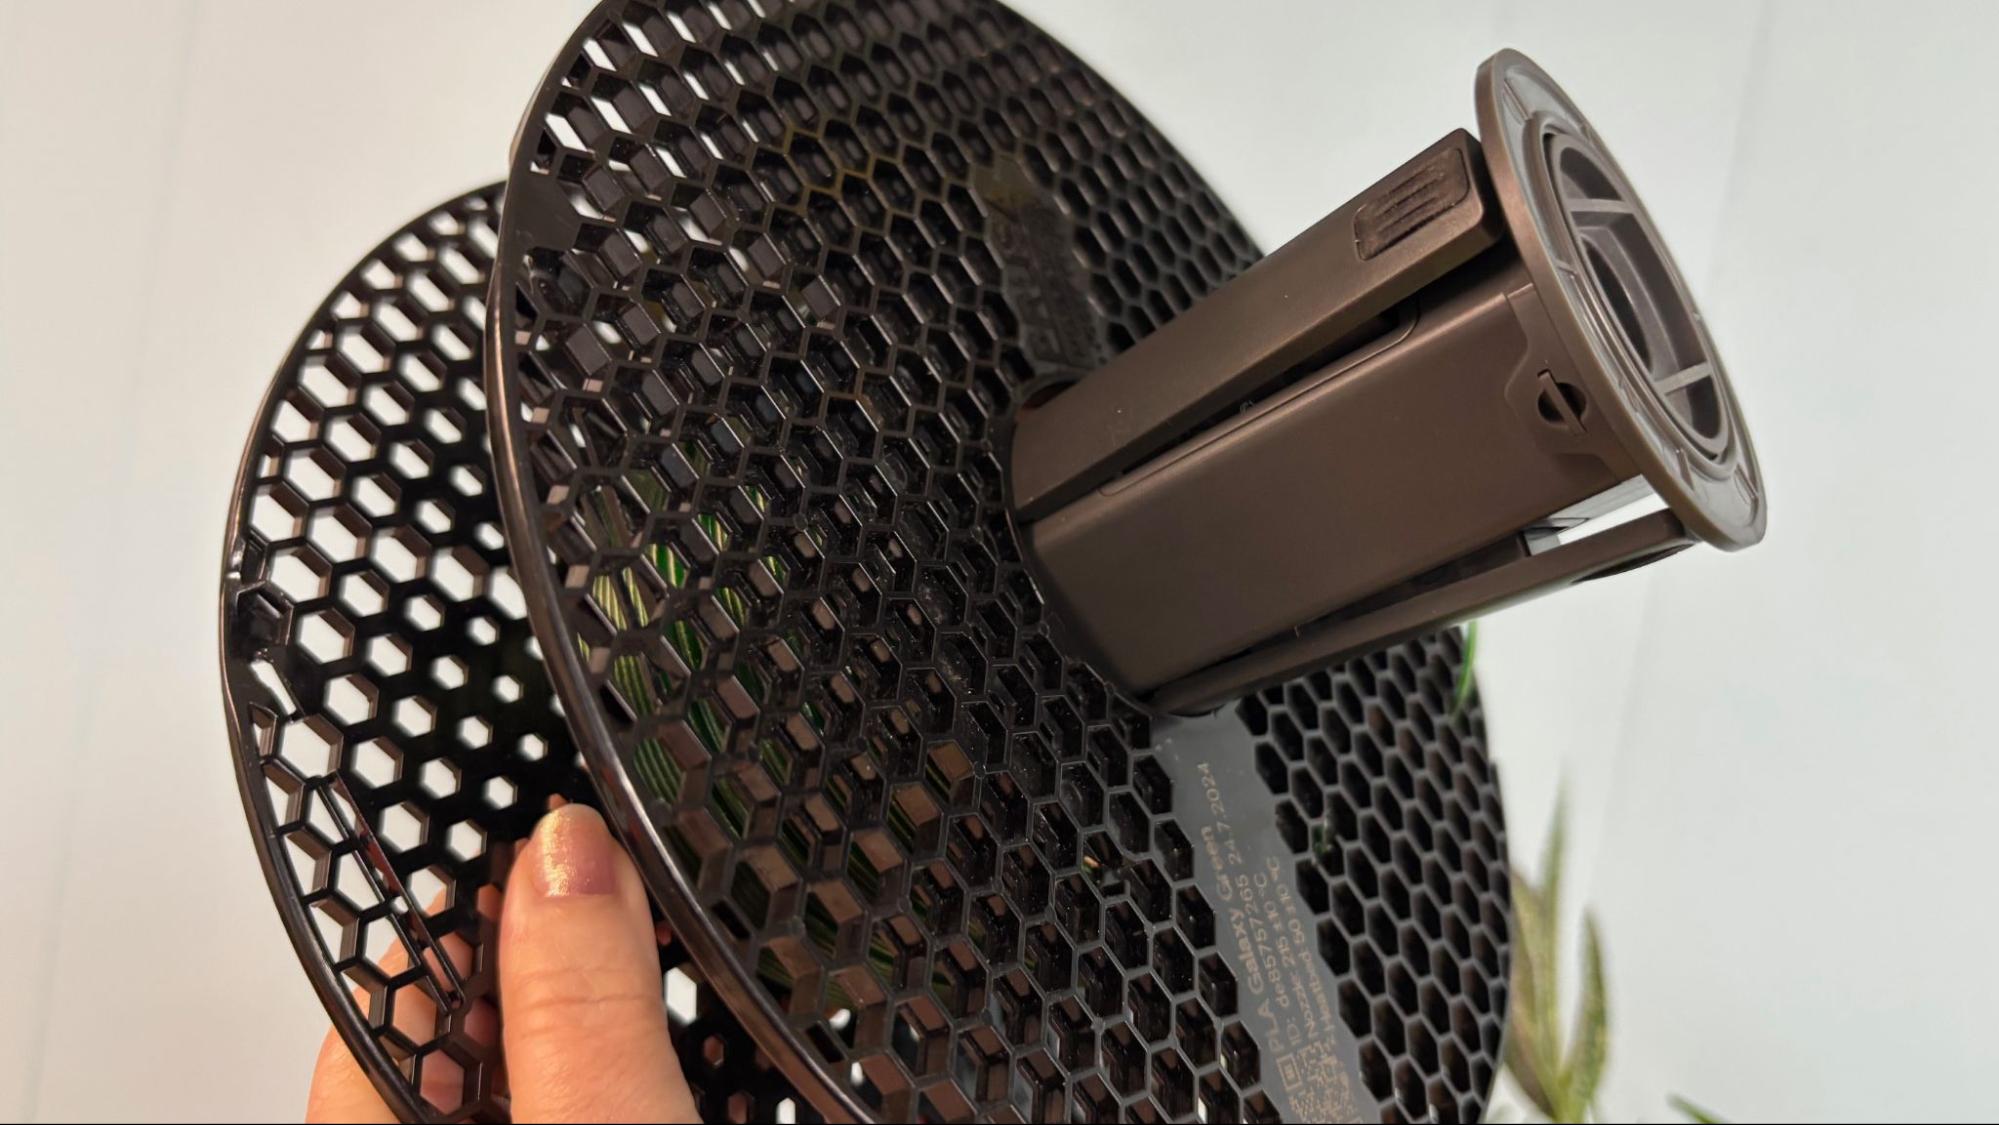
The spool holders on the Centauri 2 have a return spring that draws filament back onto the spool when it is retracted from the CANVAS system. They work well with many brands of filament - but not all. We had to print alternative spool holders to run Prusament and a few others that did not fit.
(Image credit: Tom's Hardware)
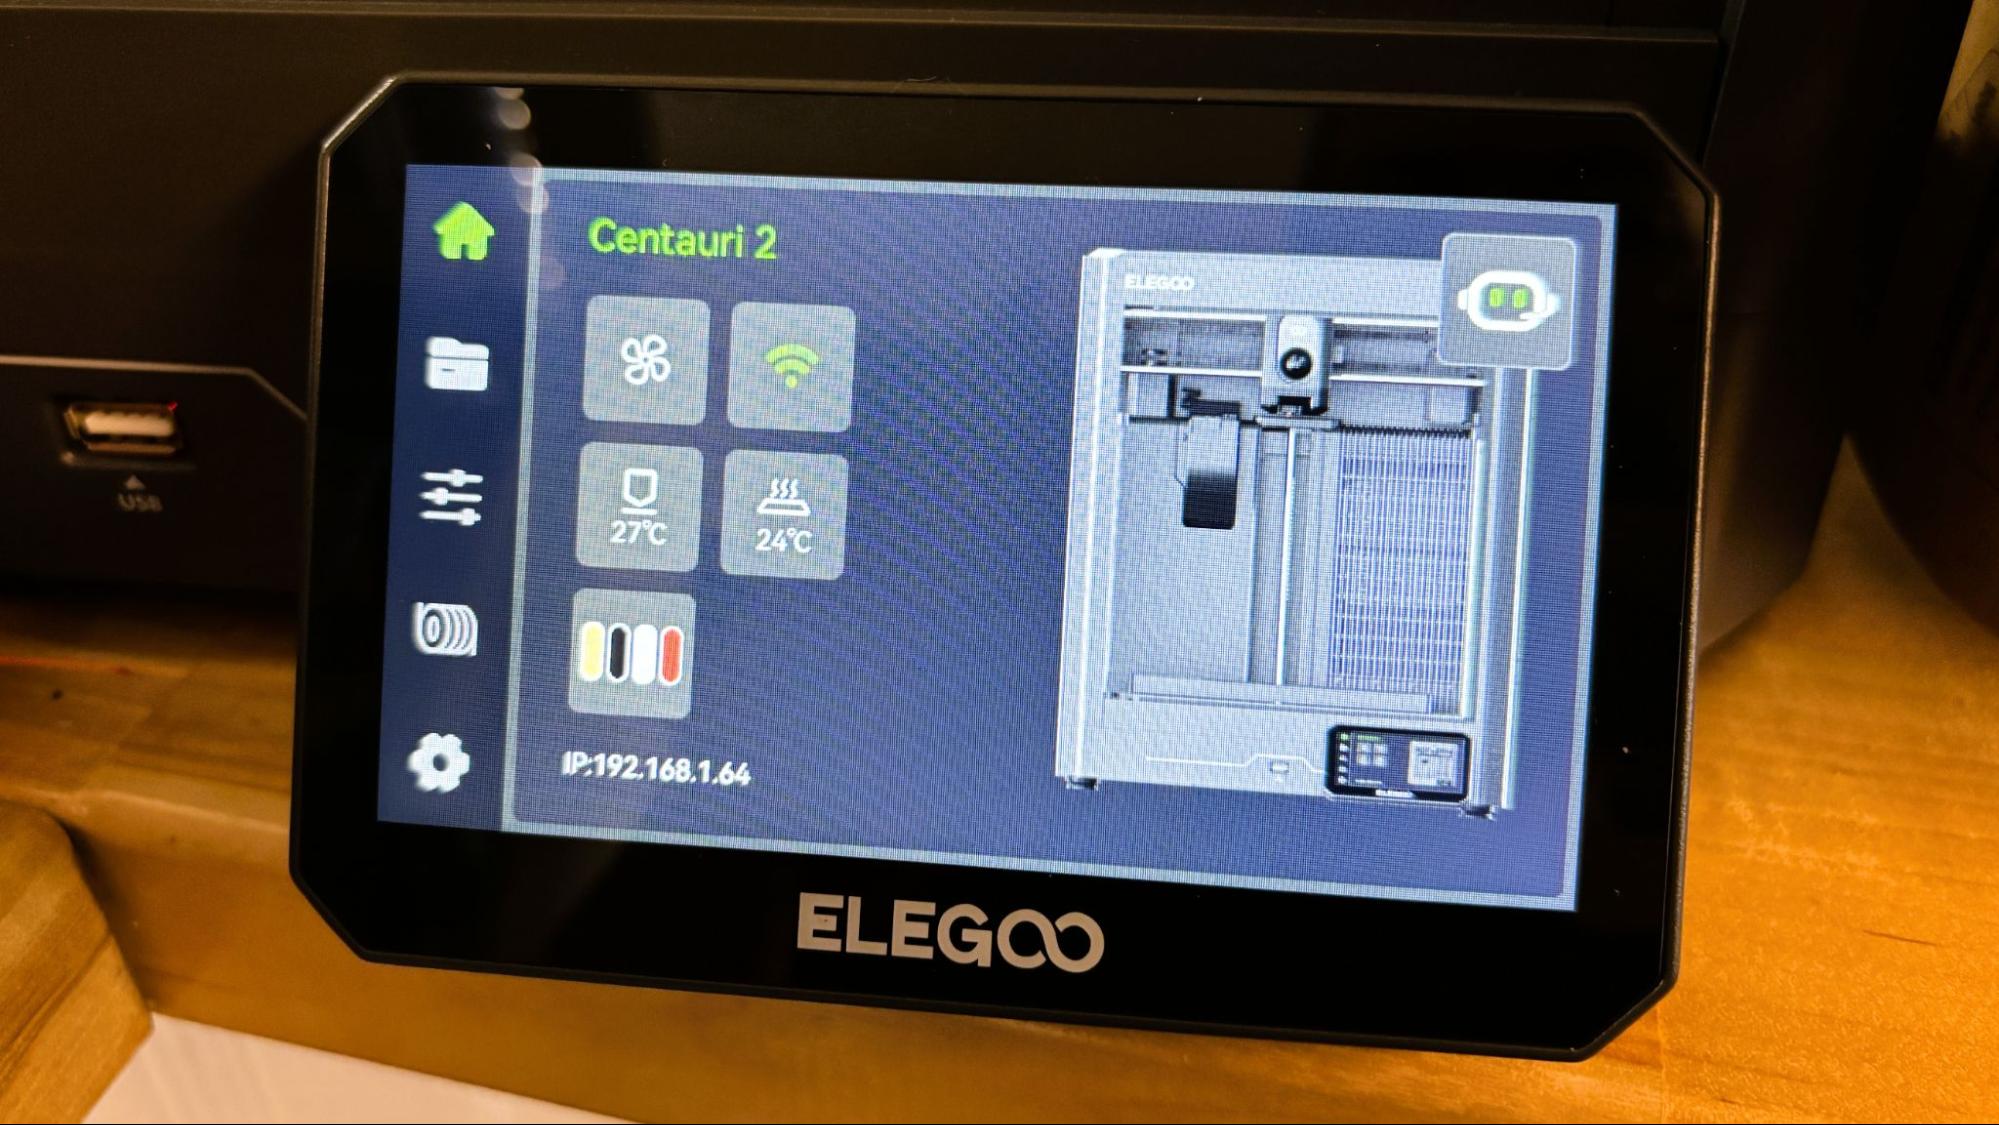
The Centauri 2 has a very nice 5 in touch screen with a well thought out and intuitive UI.
Assembling the Elegoo Centauri 2 Combo
(Image credit: Tom's Hardware)
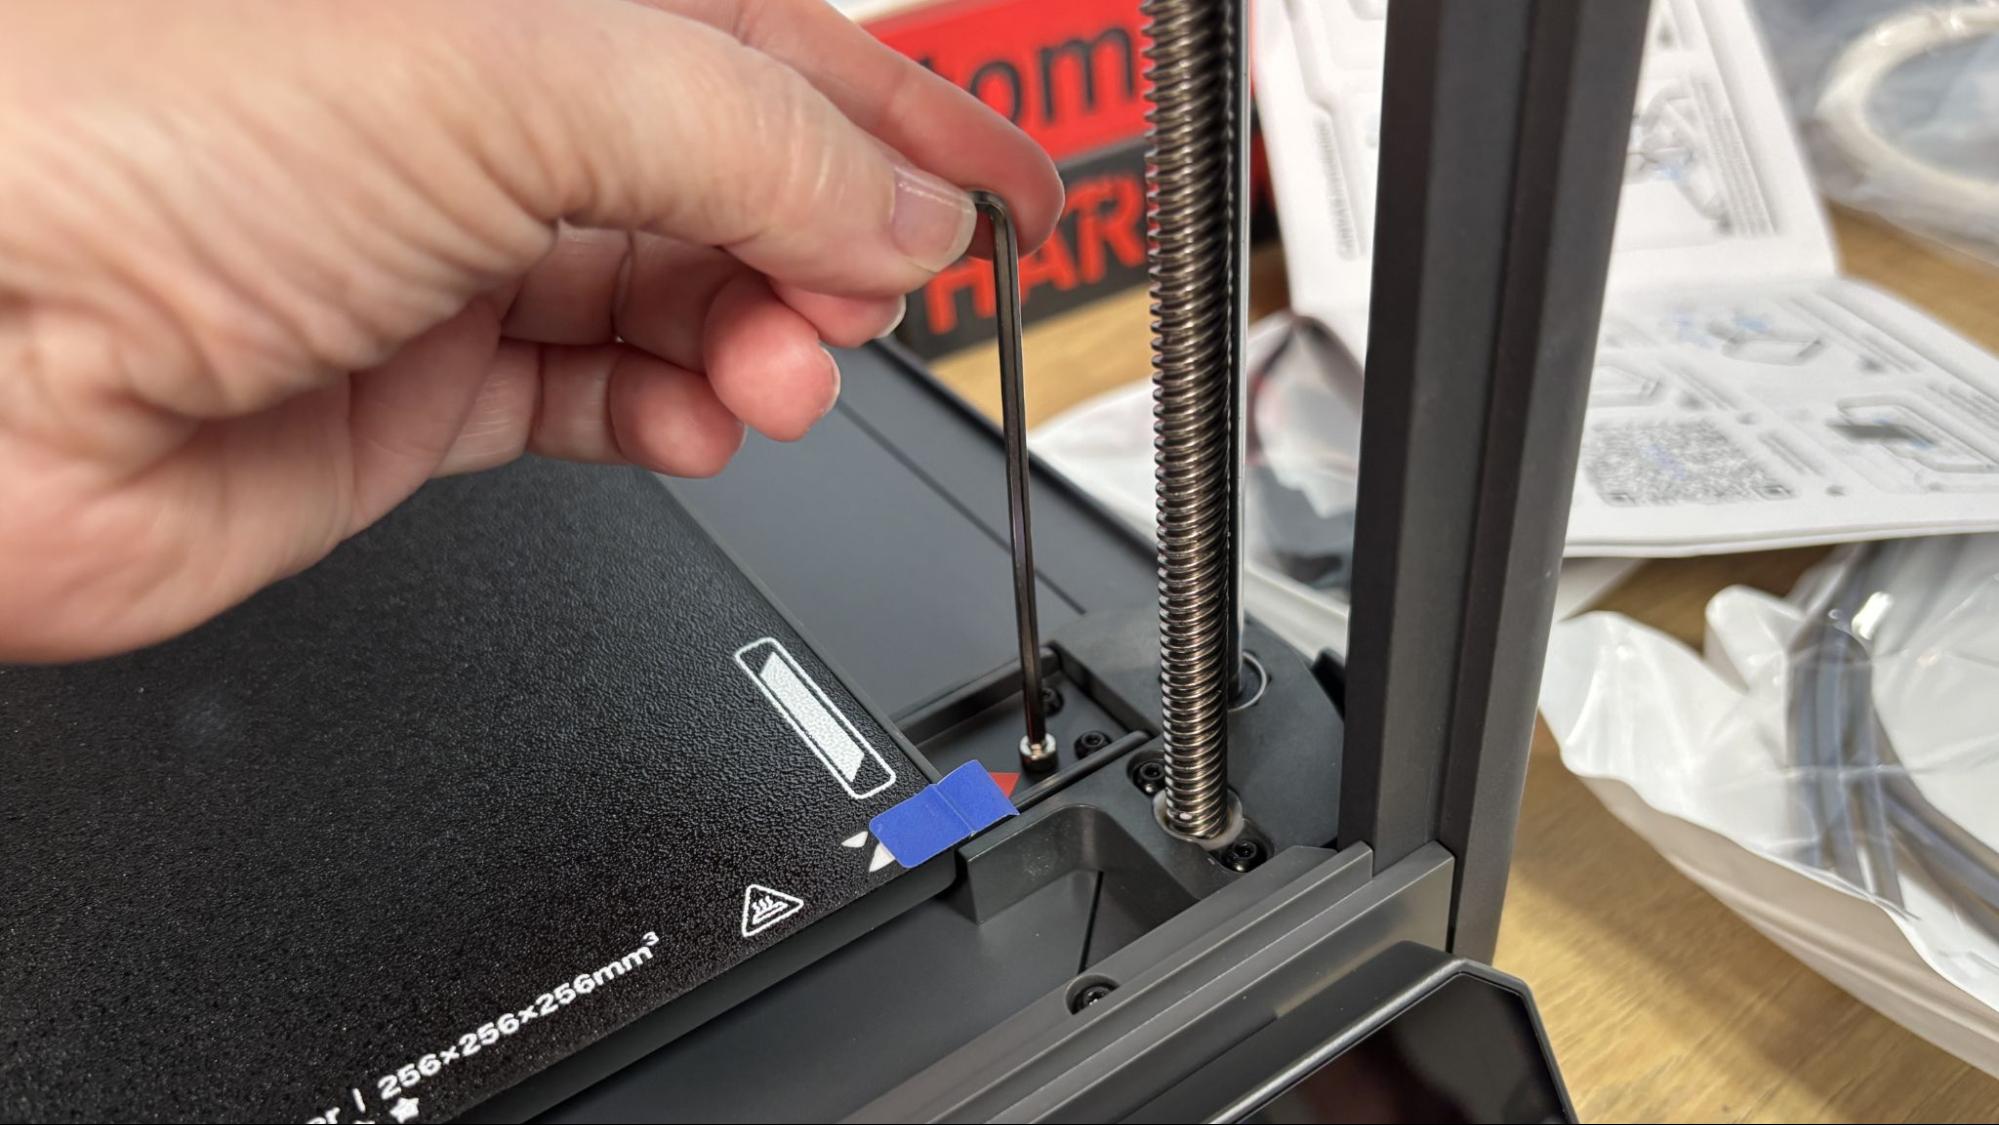
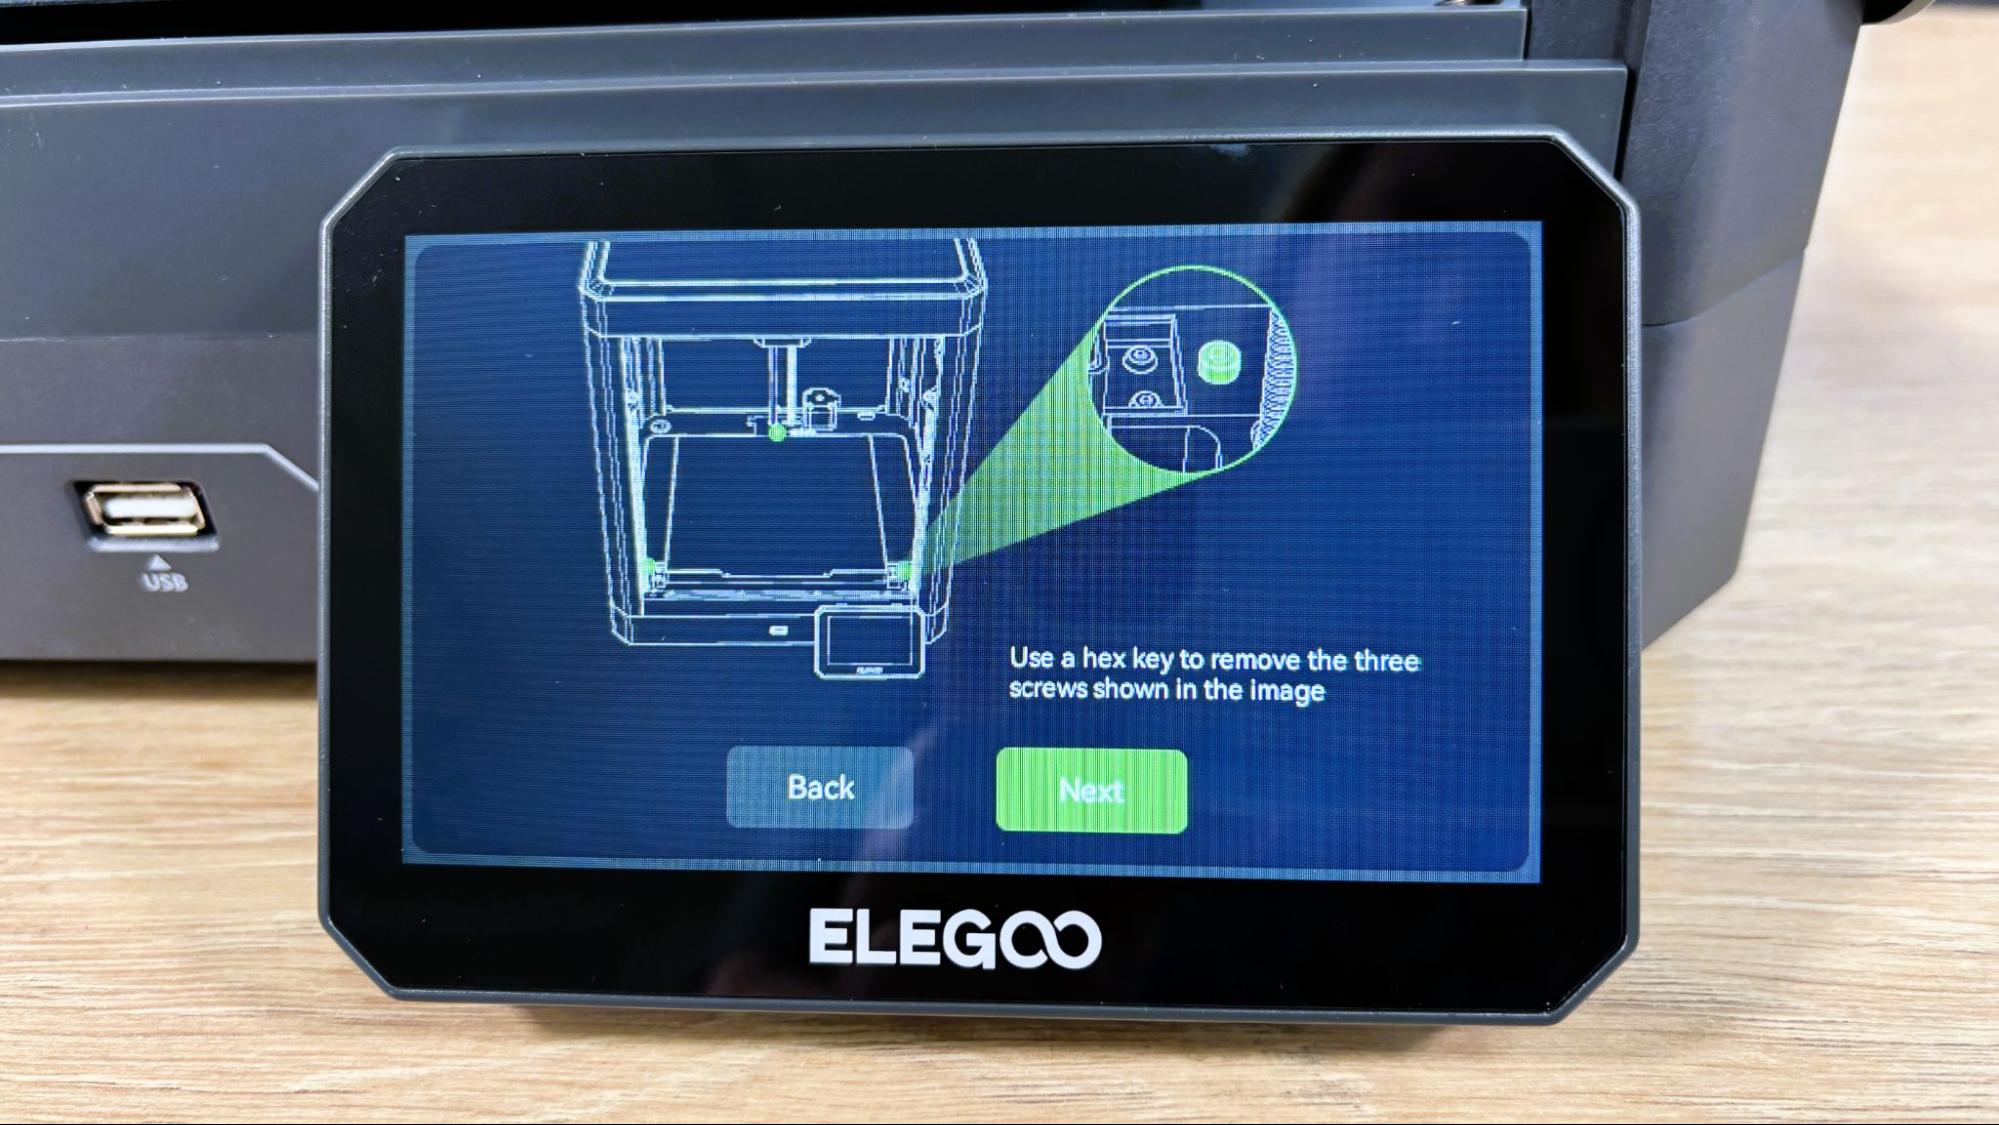
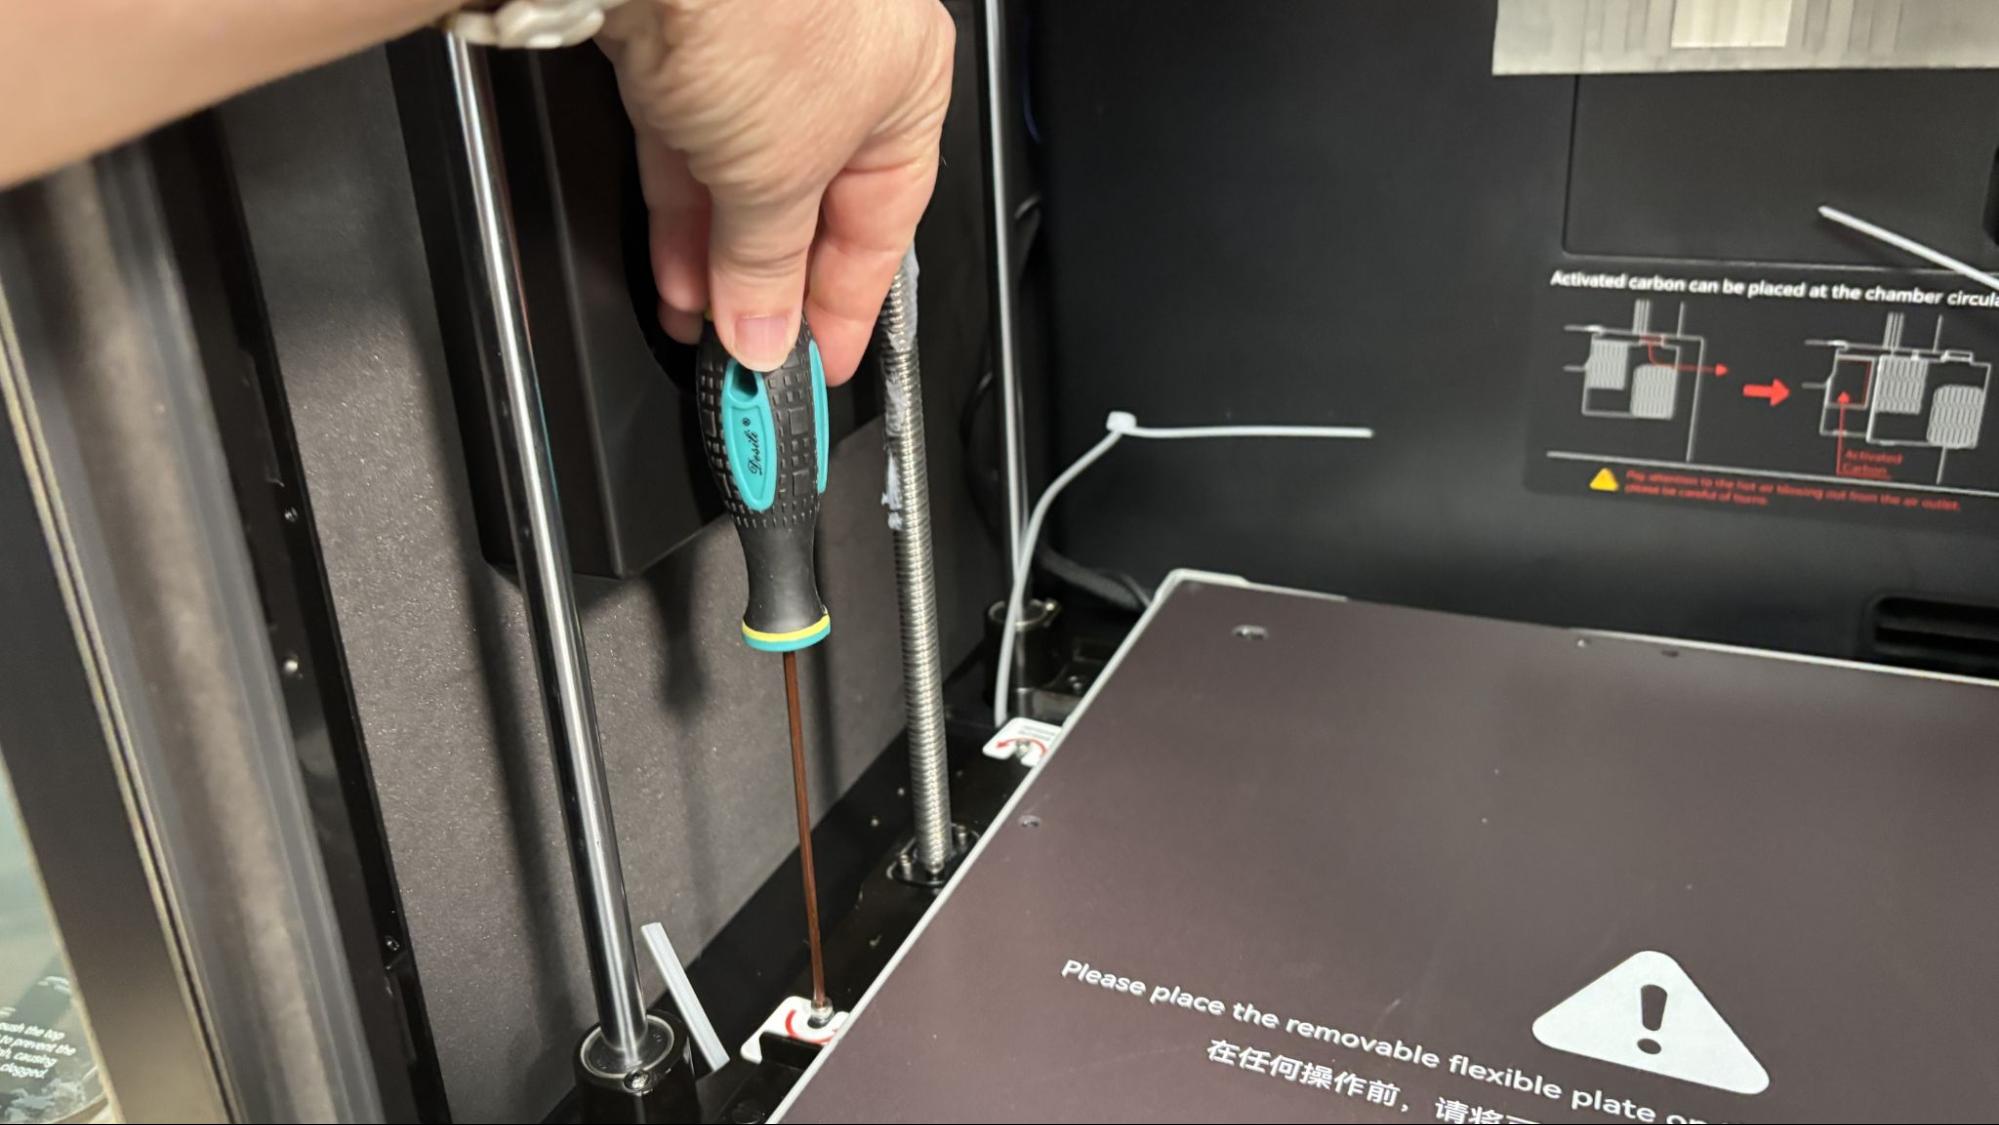
The Elegoo Centauri 2 Combo is shipped mostly assembled. After removing the packing material, you must remove three screws that hold down the bed. There are stoppers attached to the lead screws that must be removed as well. The touch screen is connected via a ribbon cable and slots into place on the front of the printer without tools.
There is a bracket to mount the CANVAS system to the top of the printer with two M3x50 screws, and the CANVAS mounts to the bracket with three M3x8 screws. The filament hub attaches to the toolhead with 2 M3x6 screws, but also requires the removal of the toolhead wiring, which is attached with 2 Philips head screws. The CANVAS cable attaches with the right-angle connector going into the back of the printer and the straight one into the CANVAS. The four Bowden tubes run from the top of the CANVAS to the ports in the toolhead, and the order does not matter.
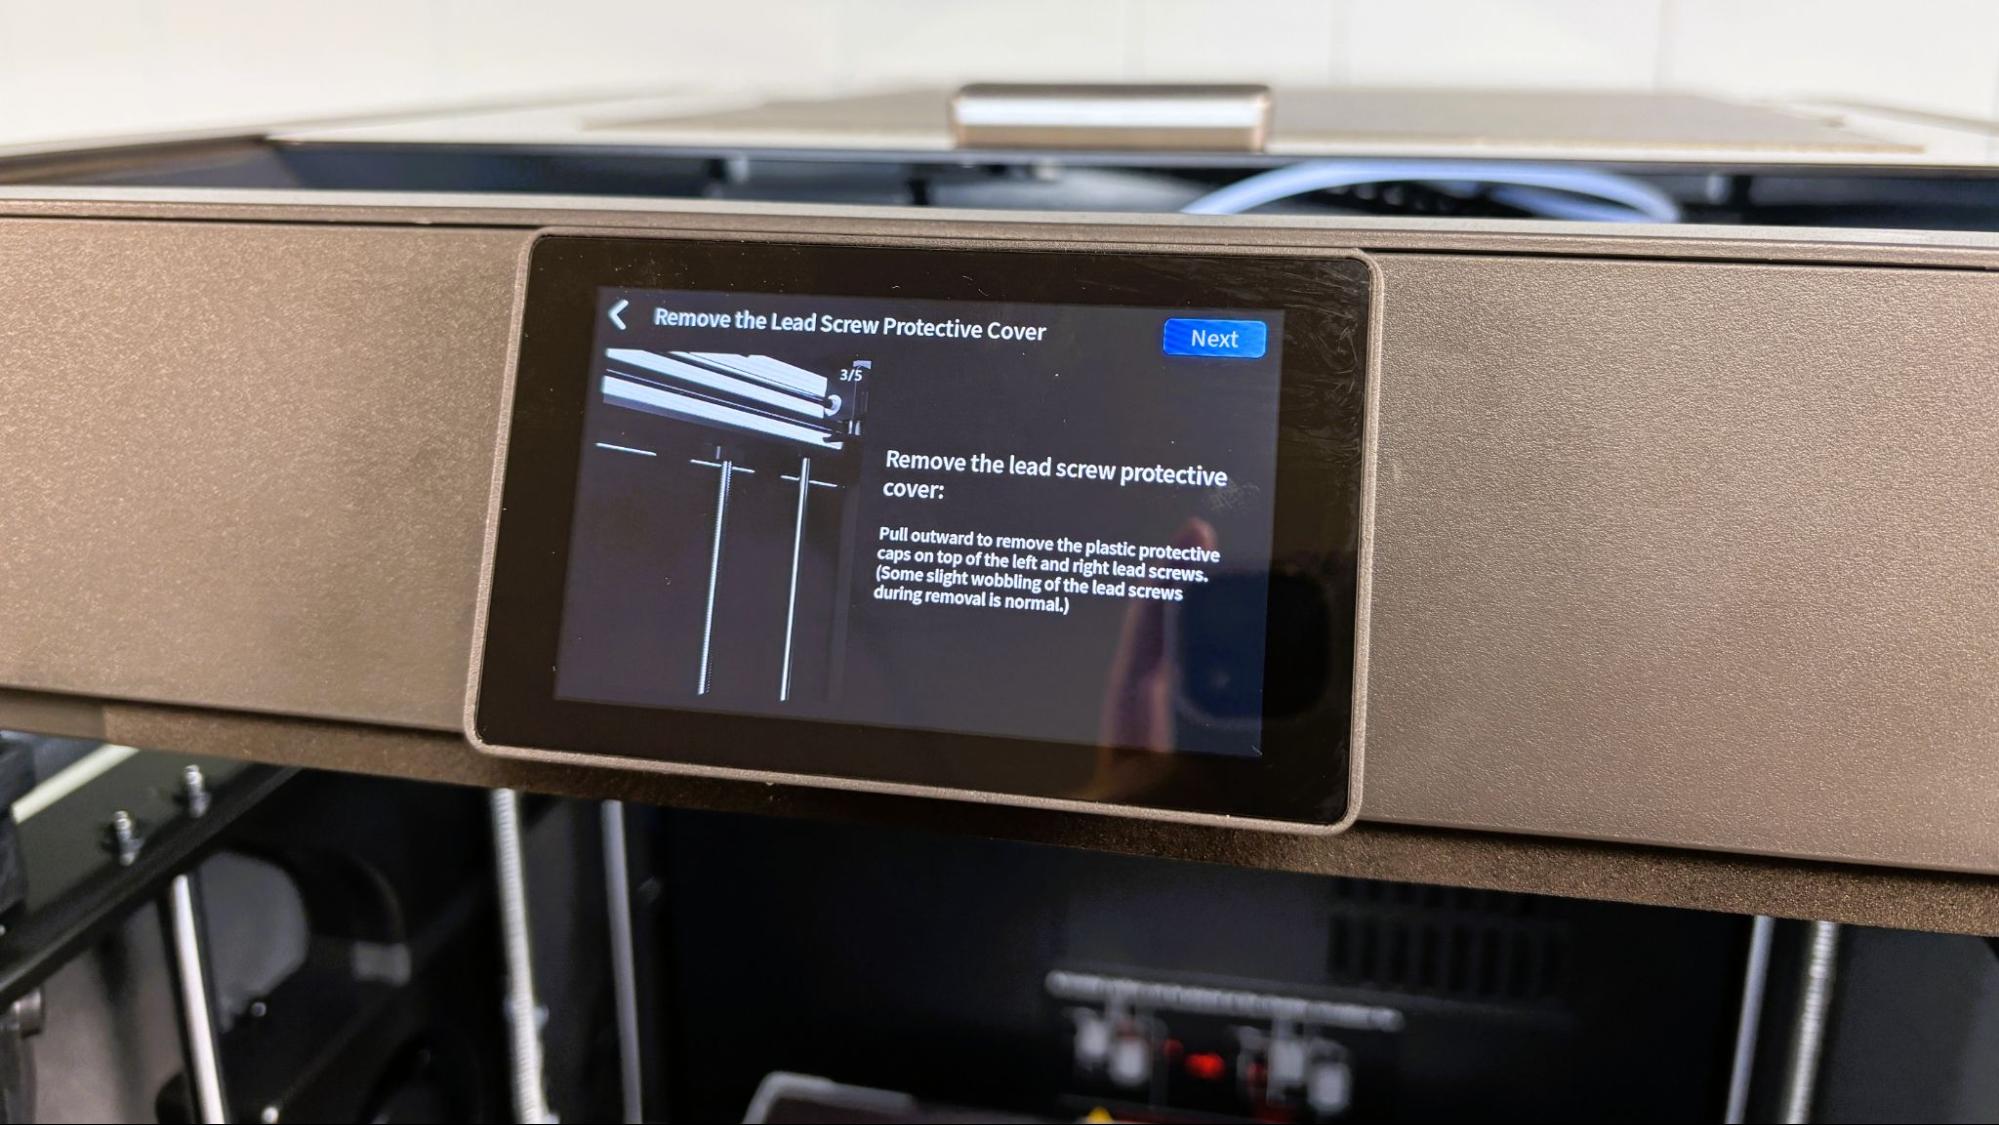
When powered up for the first time, the printer gives you a reminder to unlock the bed and remove the lead screw stoppers.
(Image credit: Tom's Hardware)
Leveling the Elegoo Centauri 2 Combo
(Image credit: Tom's Hardware)
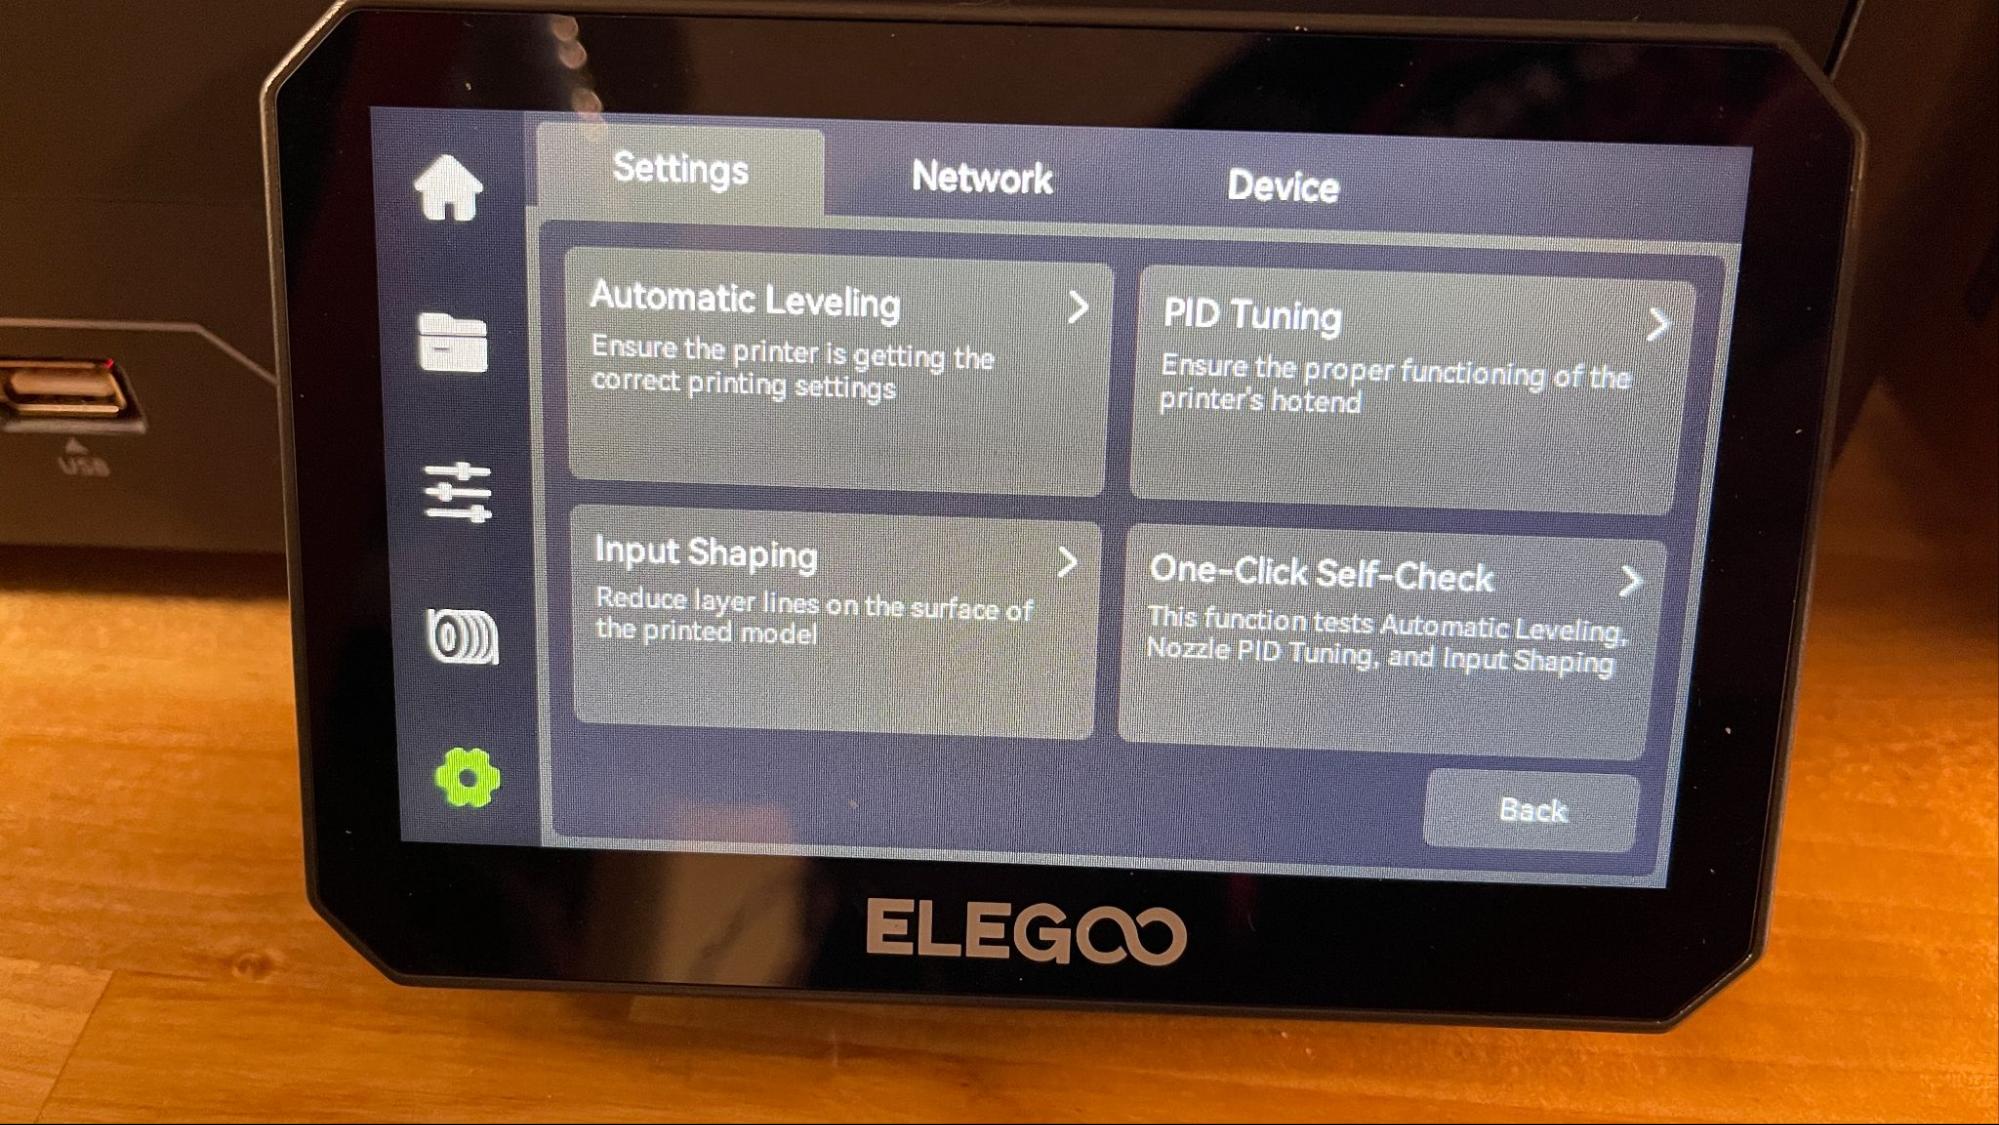
The Elegoo Centauri 2 Combo does a self-check and full calibration when initially powered up and offers to level the printer at the start of every print. The system works perfectly.
Loading Filament on the Elegoo Centauri 2 Combo
(Image credit: Tom's Hardware)
Loading filament on the Elegoo Centauri 2 Combo is simple. For Elegoo RFID-labeled filament, the spool can be held against the reader on the CANVAS until it beeps, and then the spool can be assigned to any of the four slots. For other filament brands, the type and color must be chosen manually from the touchscreen. The filament is inserted into the Bowden tube corresponding to its spool holder. It’s easy to confuse spools three and four, with spool four being in the top rear position.
Preparing Files / Software for Elegoo Centauri 2 Combo
(Image credit: Tom's Hardware)
The Centauri Carbon 2 Combo comes with a copy of ElegooSlicer, which is based on OrcaSlicer and Bambu Studio. The program will feel like home to anyone familiar with those programs.
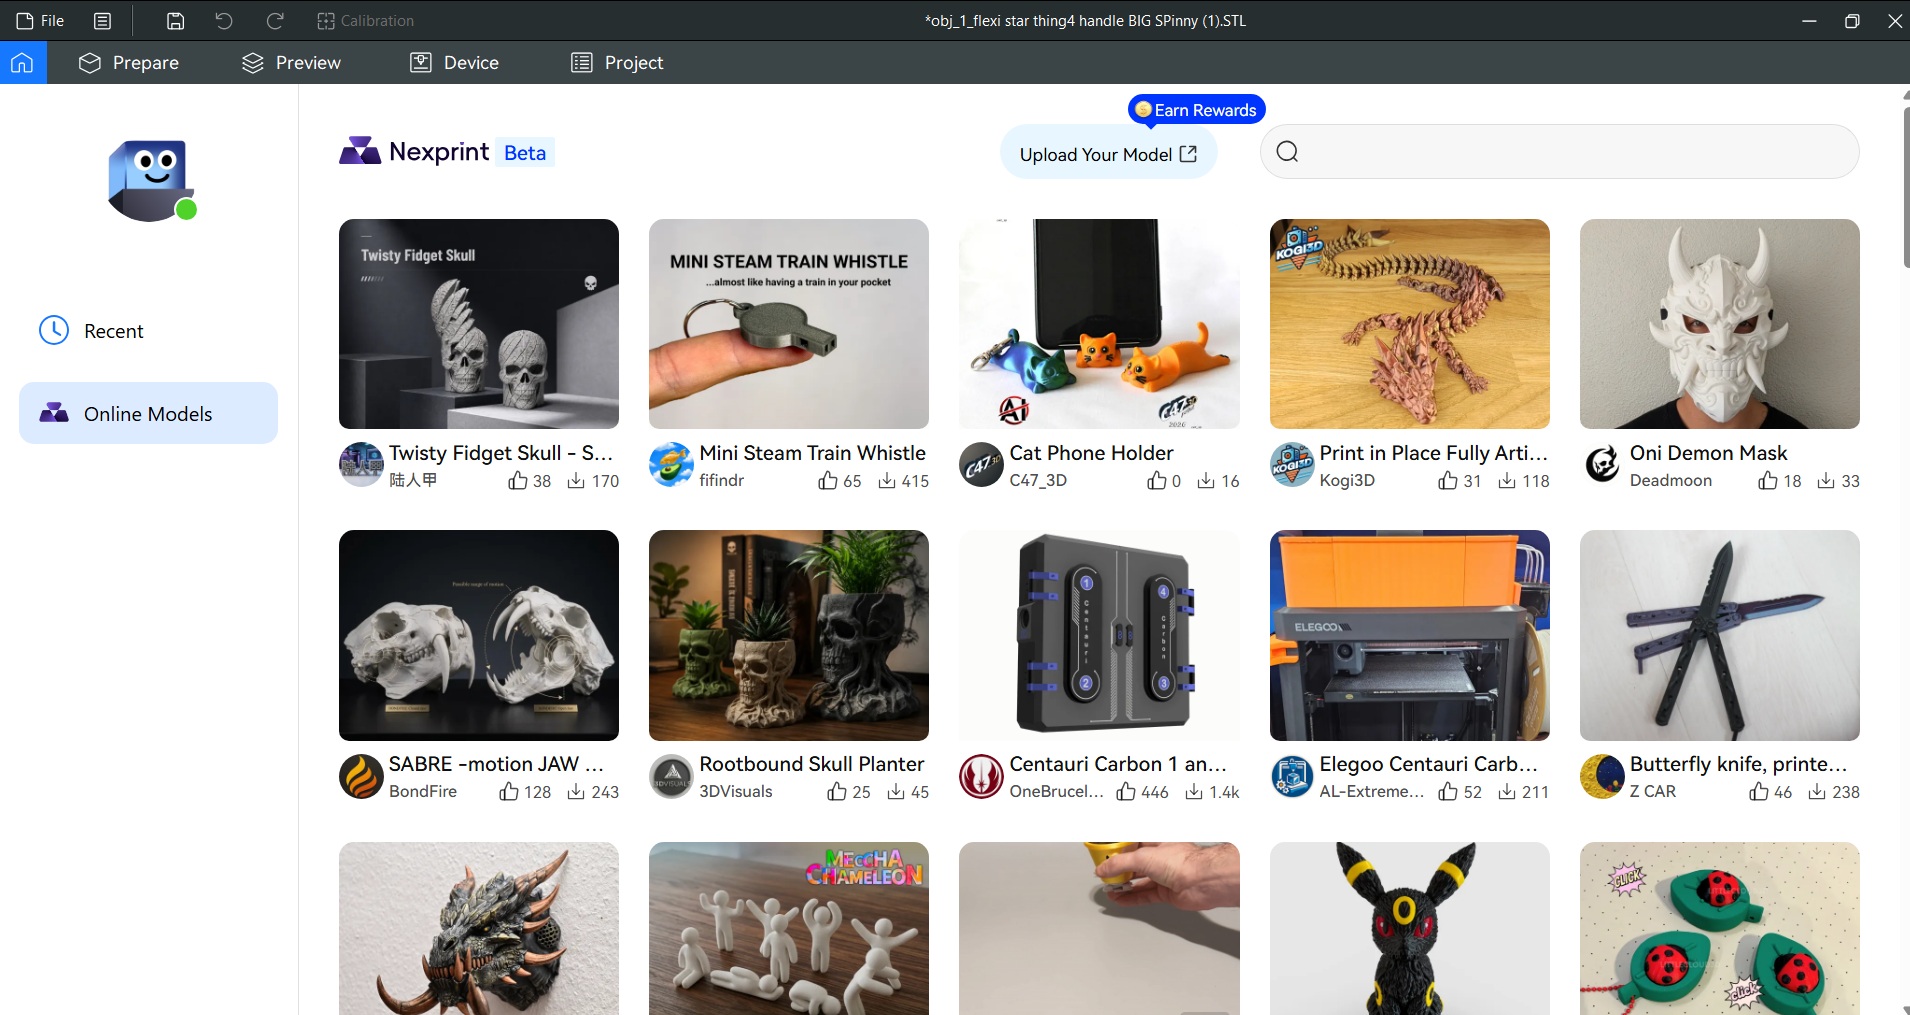
ElegooSlicer now features Nexprint, Elegoo’s online file sharing service, which is currently listed as beta. Nexprint allows users to select files directly from the slicer’s home screen. It currently has a more limited selection than its rivals, but should grow over time.
(Image credit: Tom's Hardware)
Printing on the Elegoo Centauri 2 Combo
The Elegoo Centauri 2 Combo comes with the usual sample of white PLA. You should go to our guide of the best filaments for 3D printing to begin printing in earnest
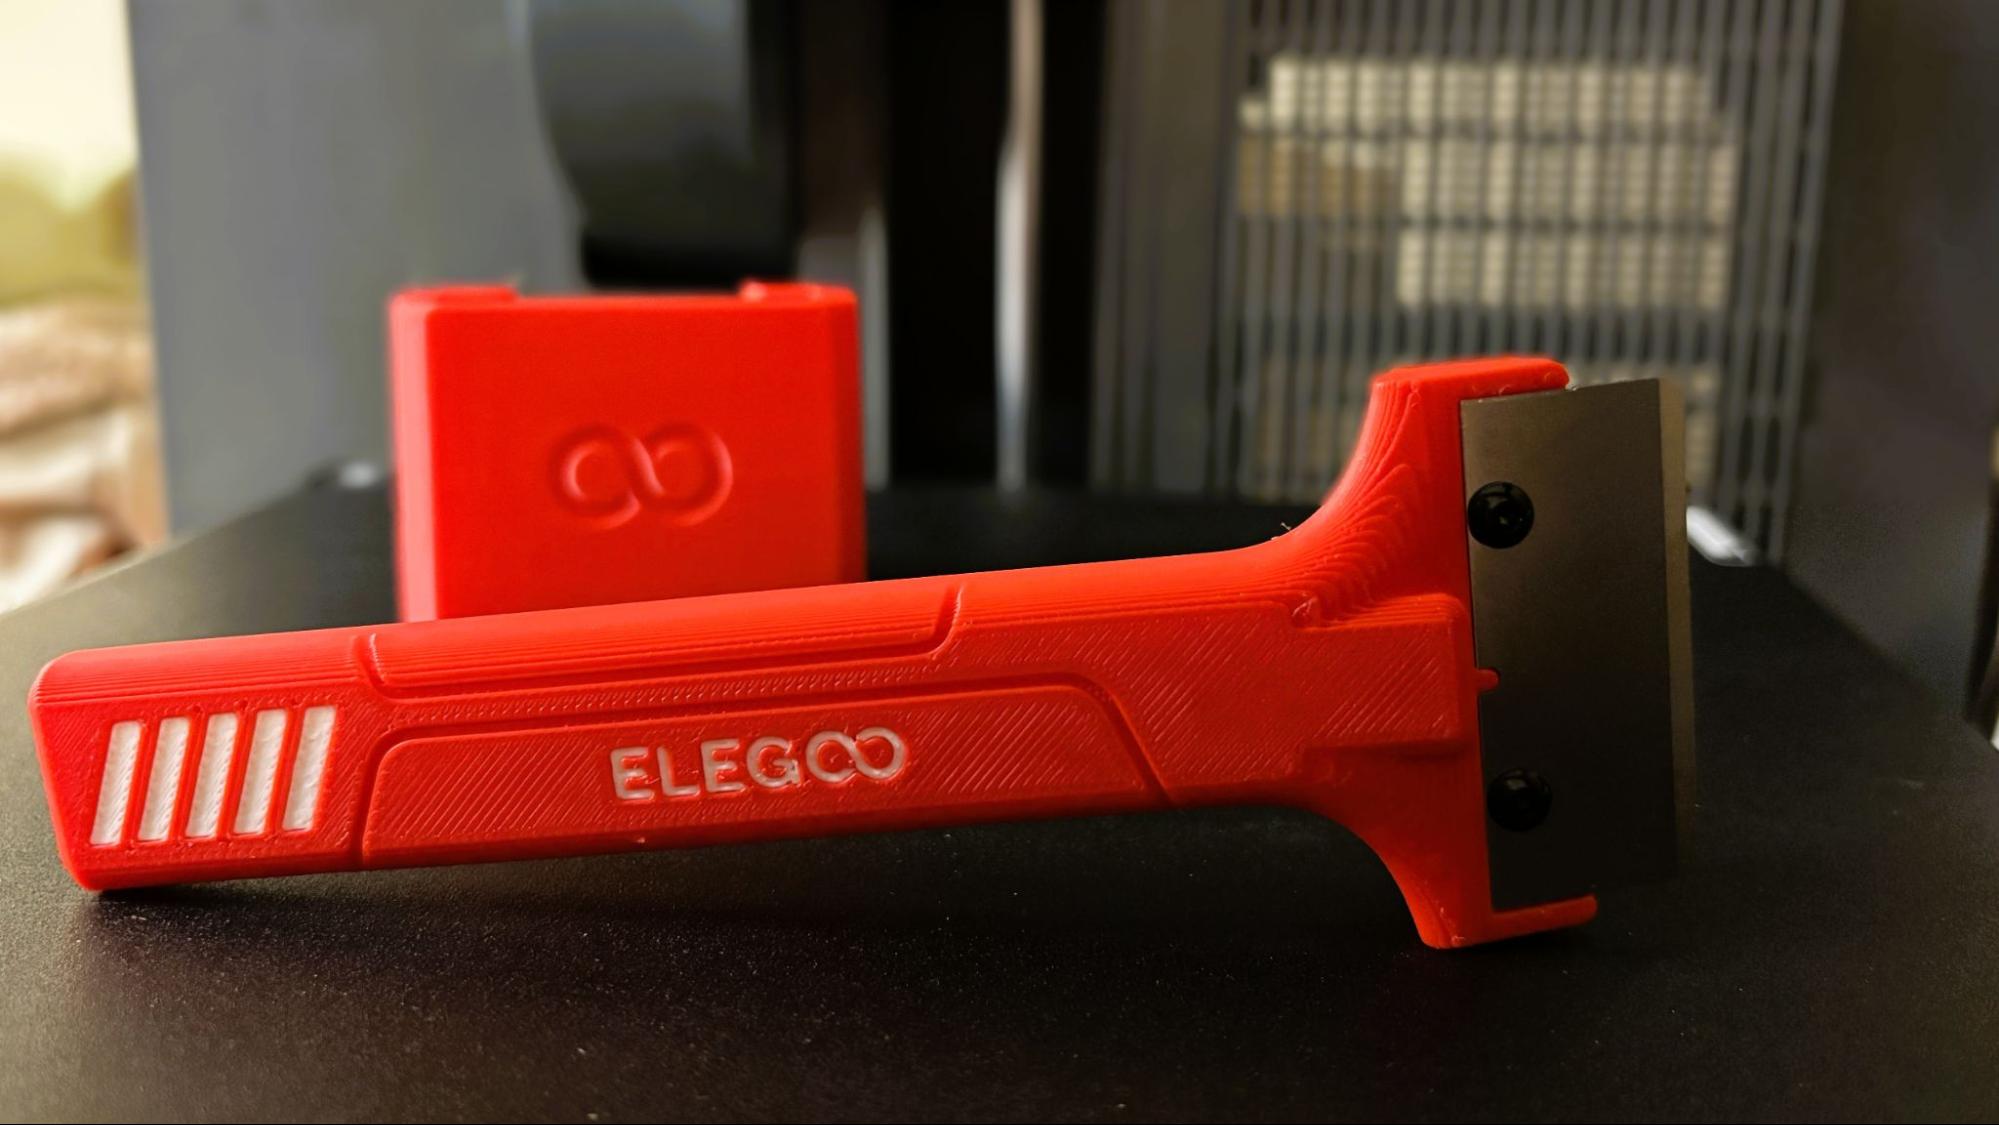
For the first print, I chose the pre-sliced two-color bed scraper that is included in the printer’s memory. The print took 1 hour and 30 minutes and looks fantastic in Elegoo’s red PLA and white PLA. One thing I noticed on this and other multicolor prints is that Elegoo seems to have refined the default purge values to reduce purge waste, which is very welcome.
(Image credit: Tom's Hardware)
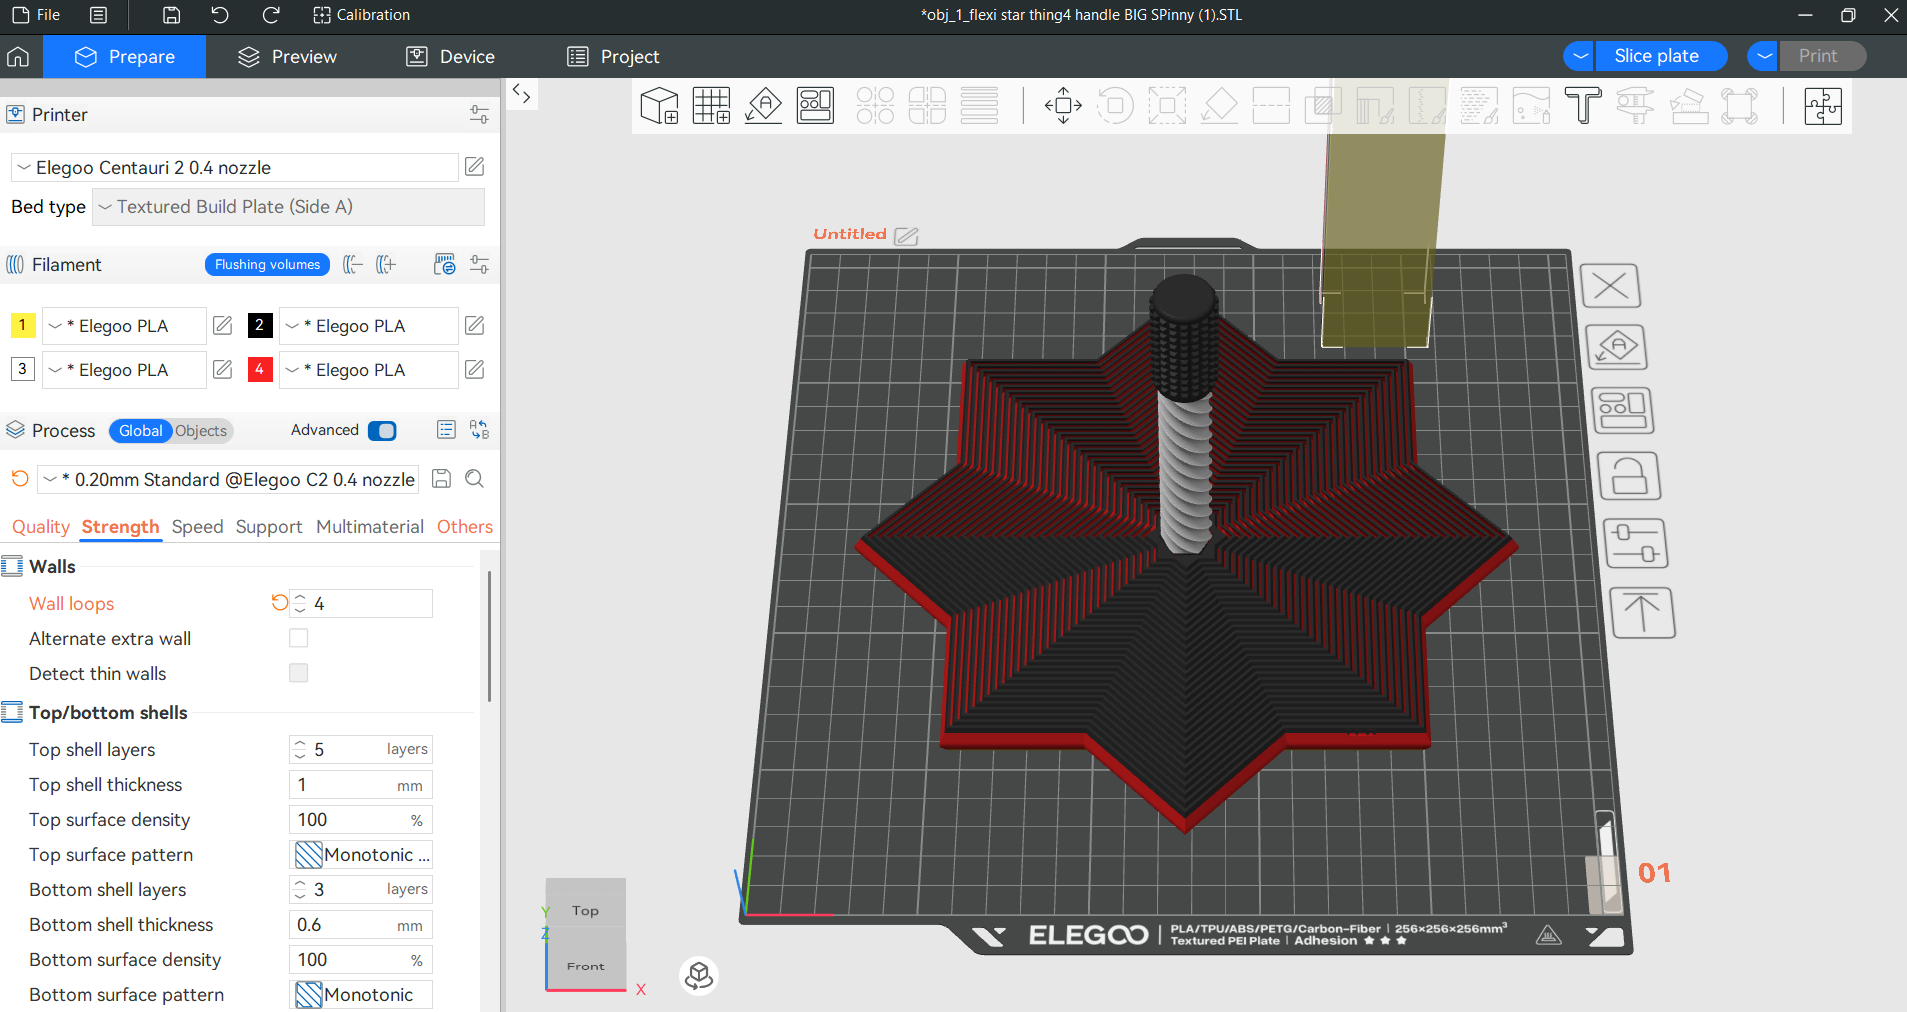
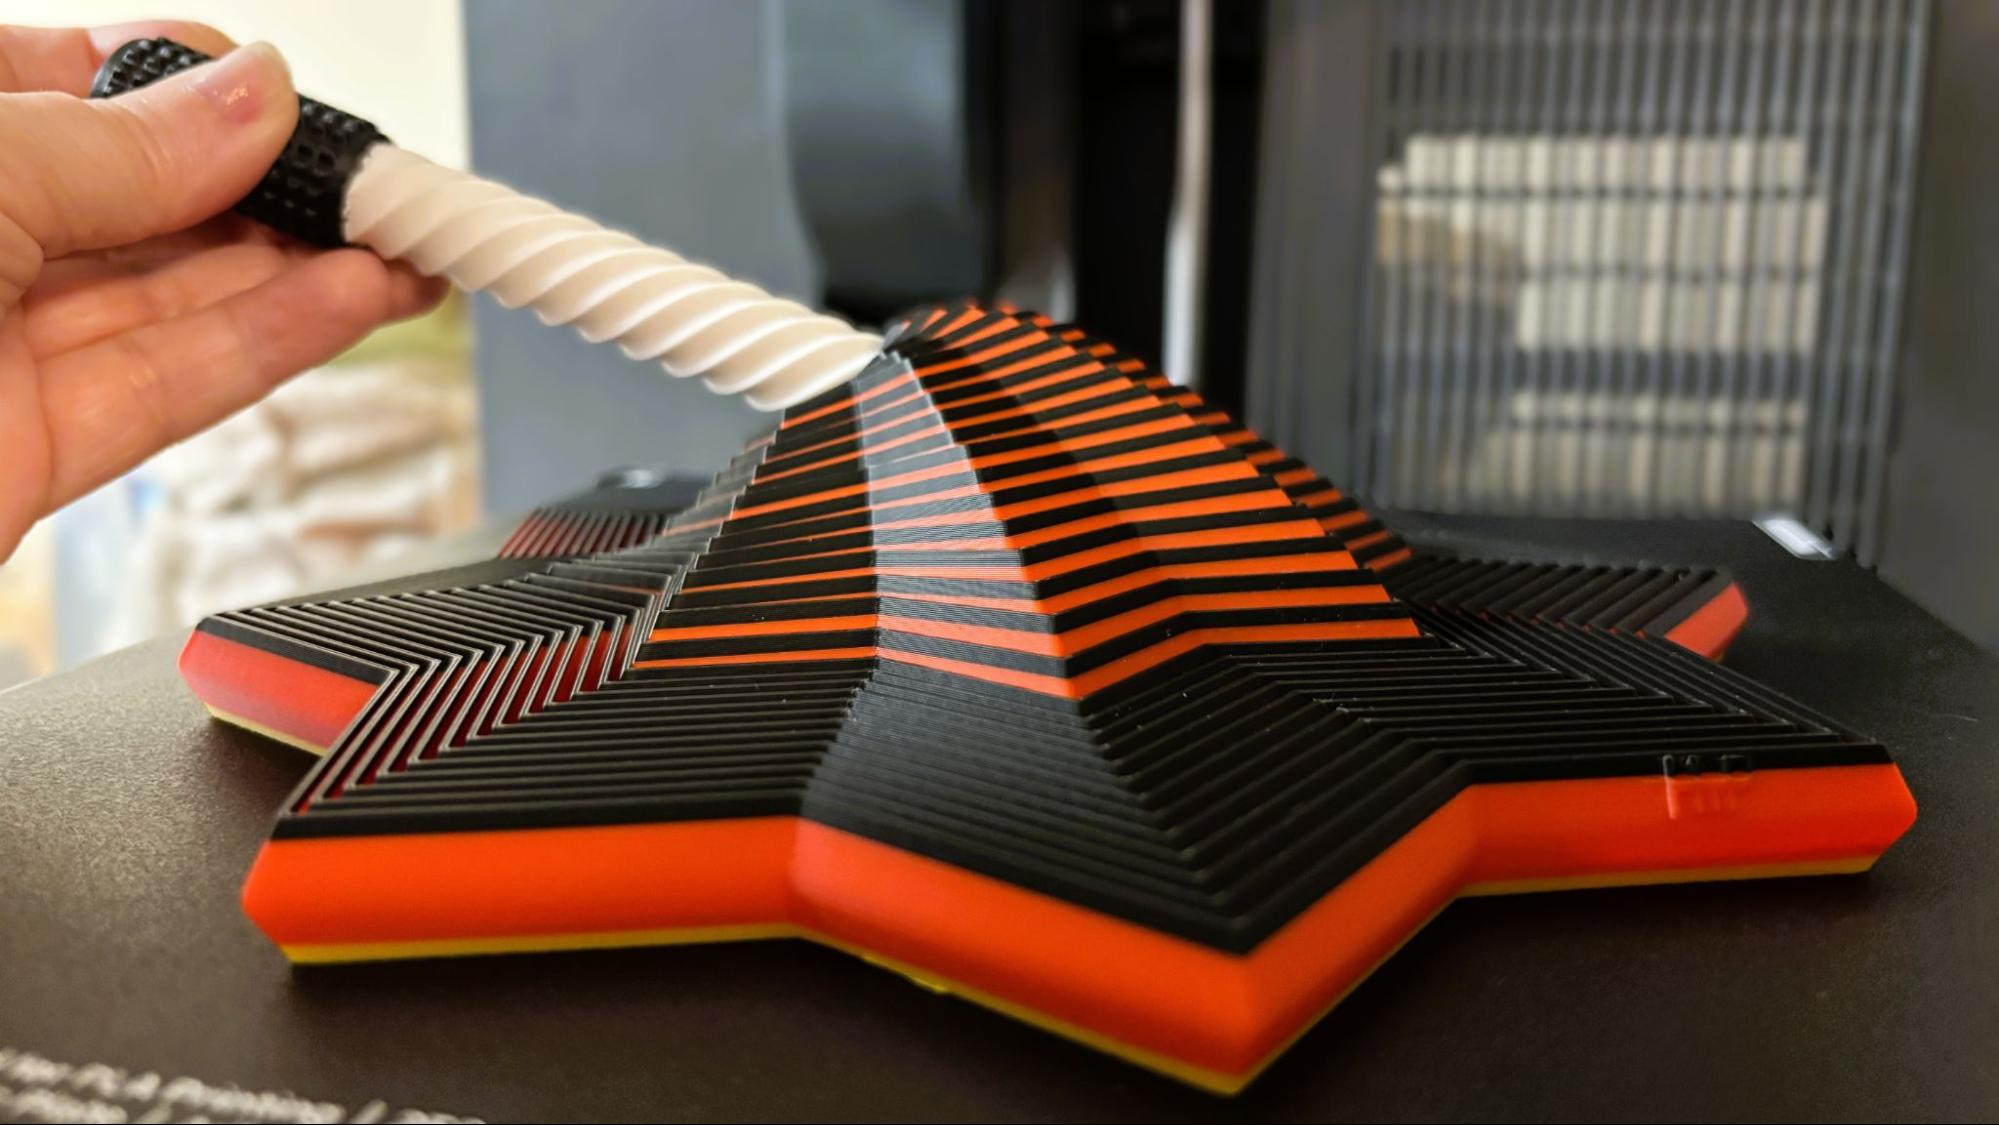
For a large multicolor print I chose a collapsible star fidget from Makerworld. I painted it in the slicer to use all four colors on the printer and it turned out very nice using Elegoo white, black, red, and yellow PLA. Using a .2mm layer height, and running at an average of 120 mm/s, the print completed in 5 hours and 13 minutes.
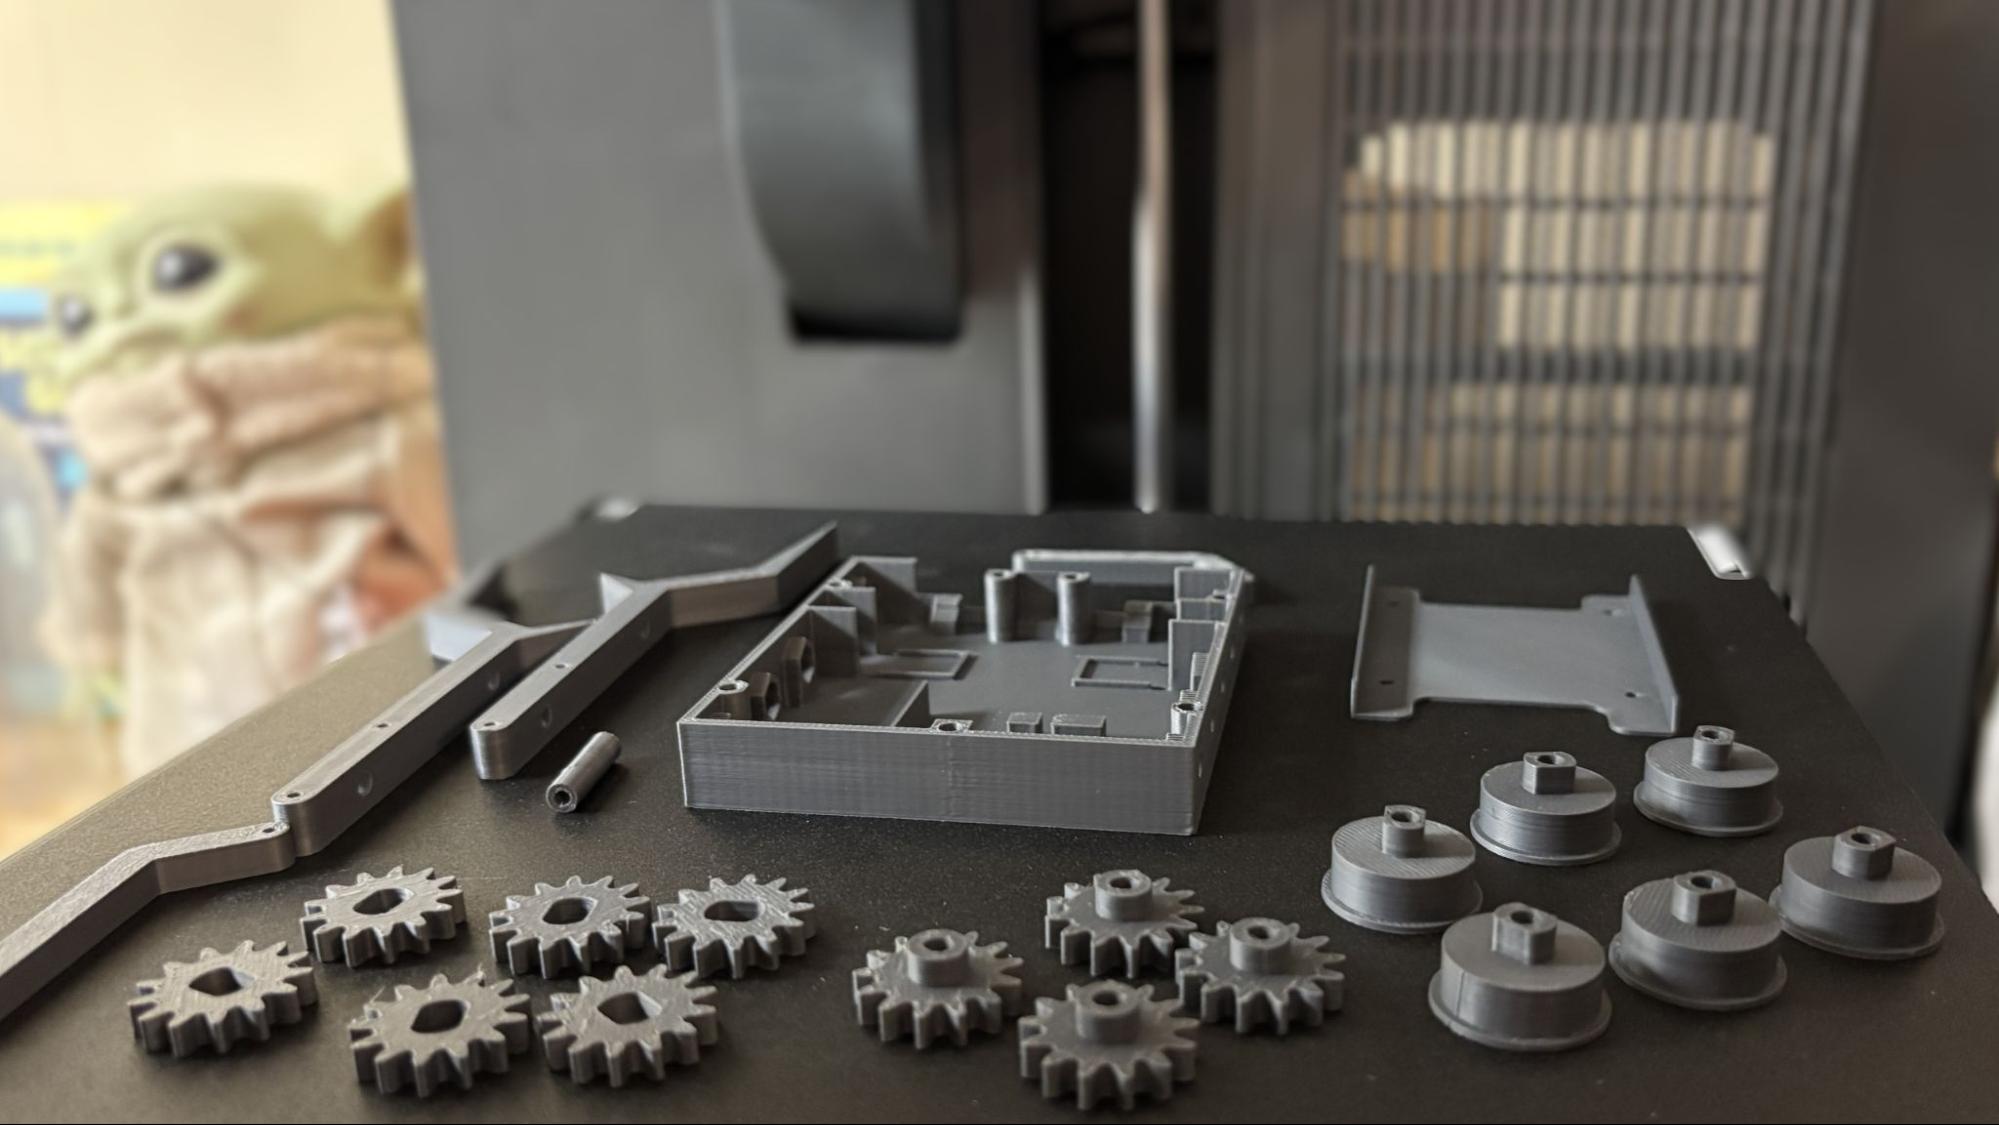
I decided to fill the smooth cool plate with a bunch of small pieces, and the results weren’t great, even after using some glue stick. Fortunately, after cleaning the plate and flipping it back over to the textured side, things worked much better. I printed Leonjong’s 6 wheel antweight combat robot from printables.com. By US classes it’s called a “fairy weight” robot and fits with room to spare on the Centauri 2’s build plate. The entire plate printed perfectly on the first try and looks terrific in Polymaker’s gray HT-PLA. The print took a little over four hours, with a .2mm layer height and an average print speed of 70 mm/s.
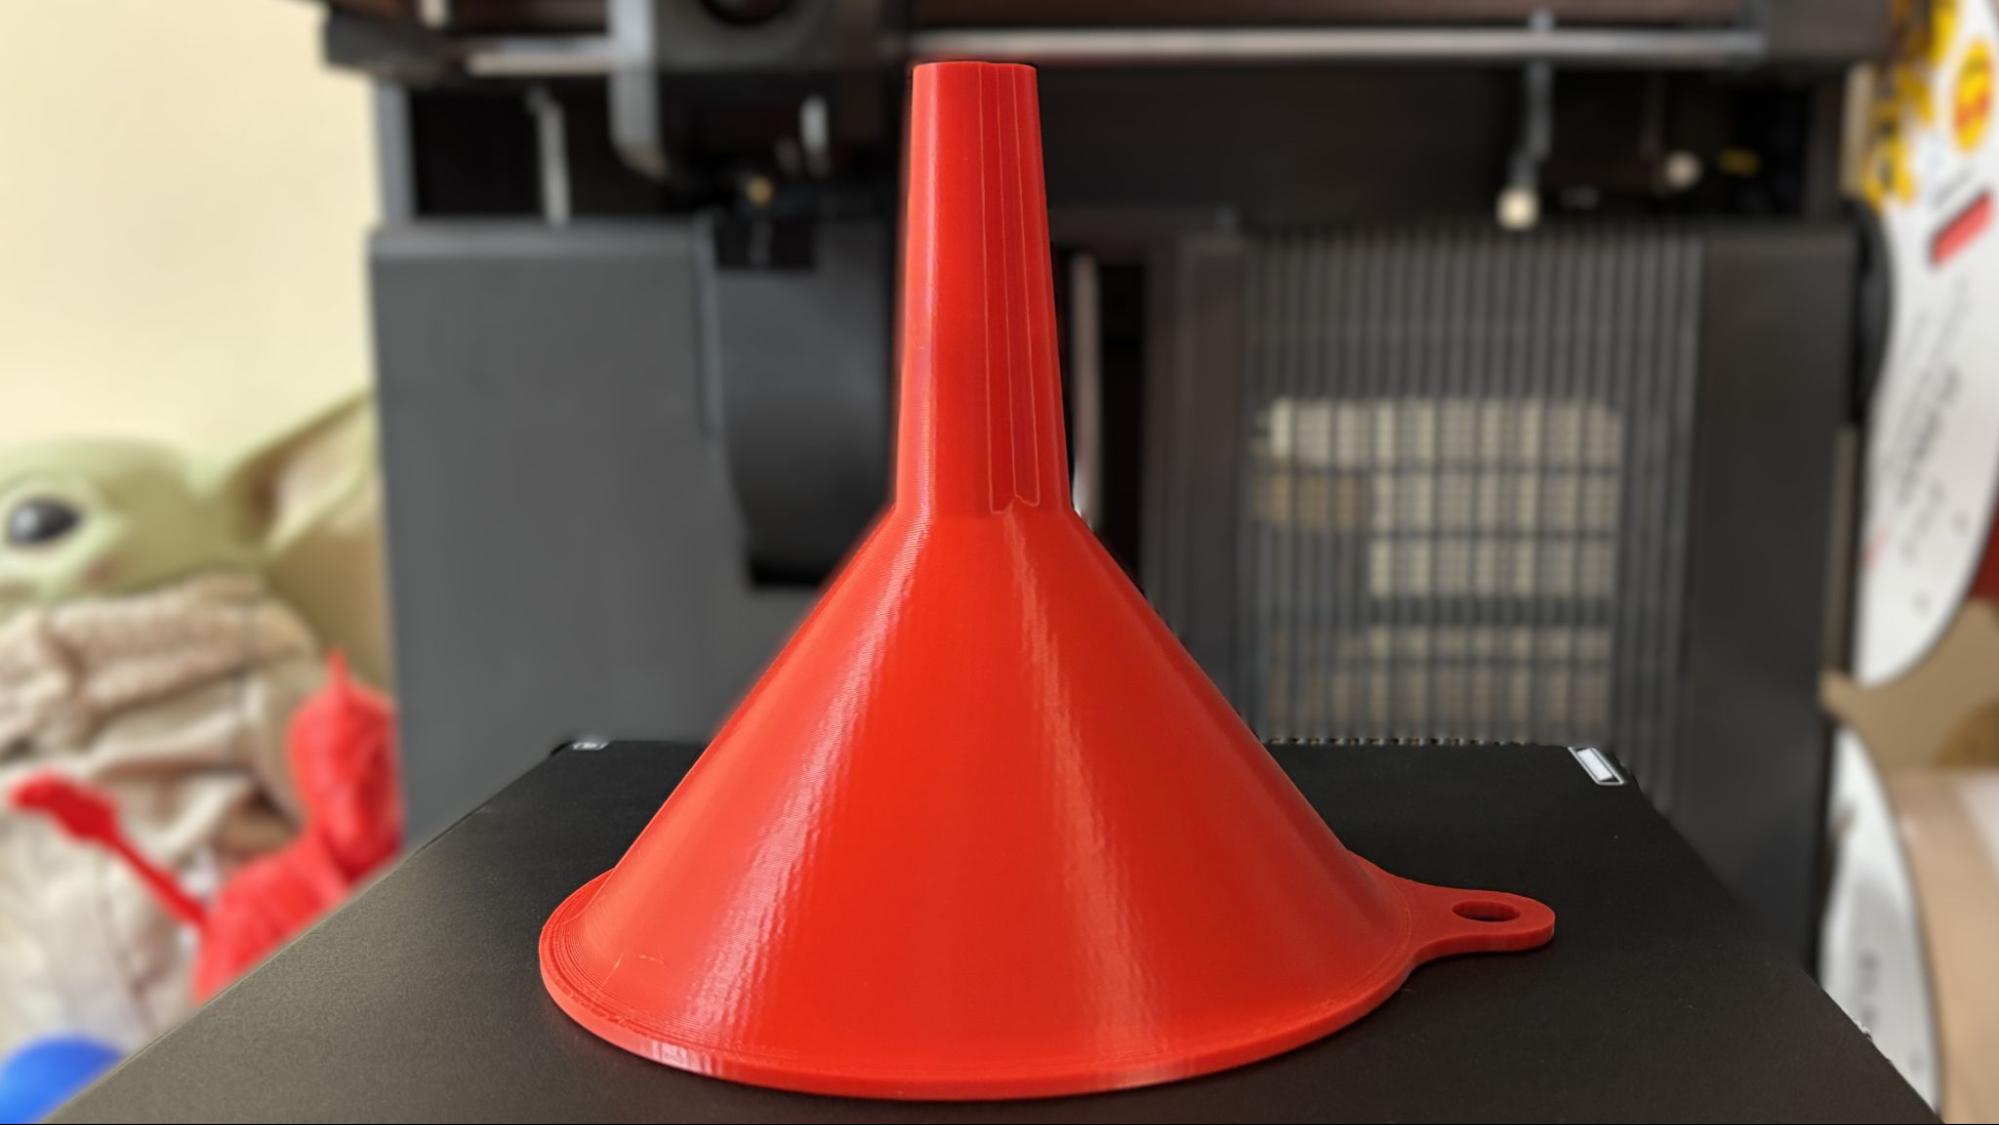
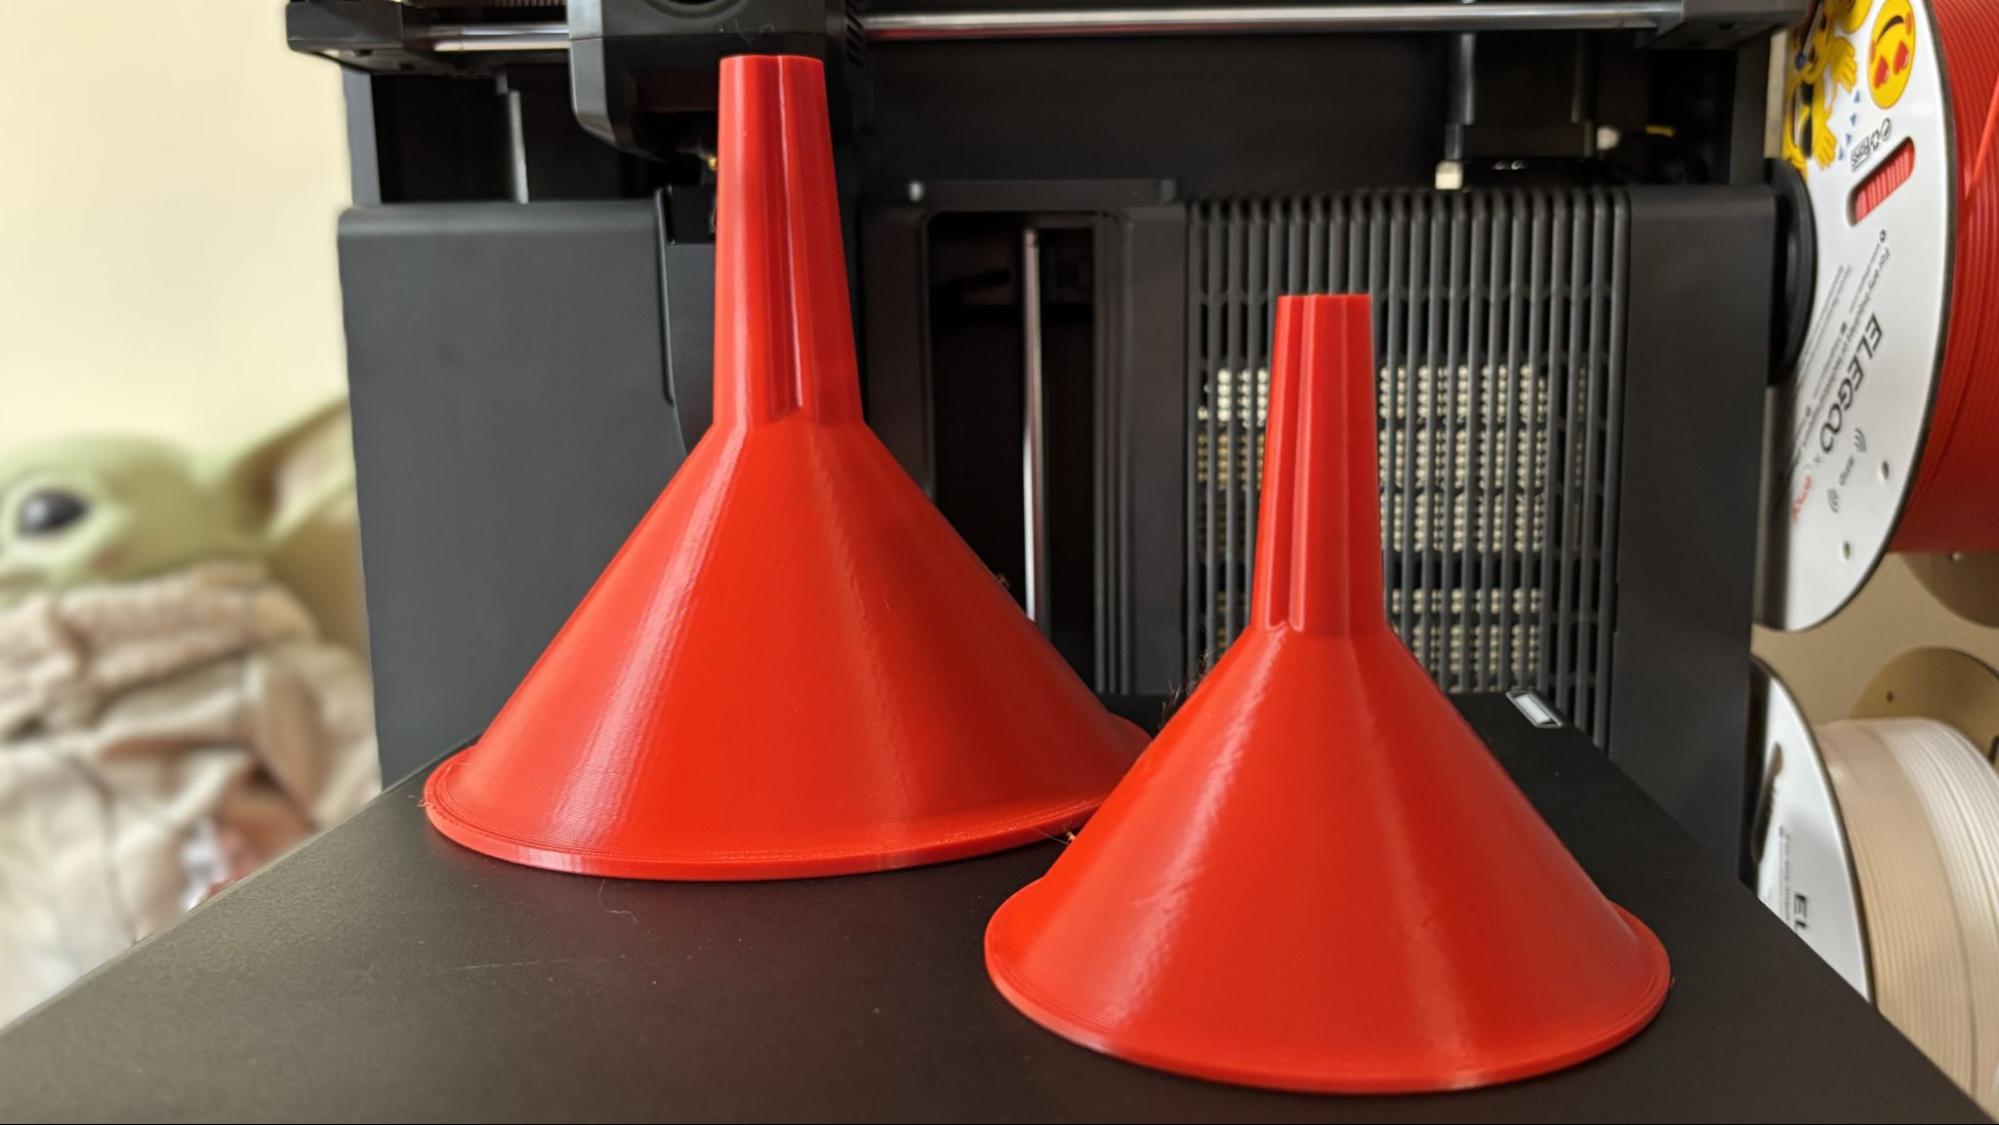
To try out PETG, I printed a set of three funnels from Makerworld using red Polymaker PETG and the default Anycubic PETG profile. The print came out perfect, with just a tiny bit of stringing across the mouths of the funnels. With a .2mm layer height, the medium funnel took 2 hours and 30 minutes to print with an average print speed of 90 mm/s.
For TPU, I tempted fate by trying some LW TPU that turned out to be way too soft for the extruder. It loaded just fine through the filament hub, but clogged in the gears almost immediately.
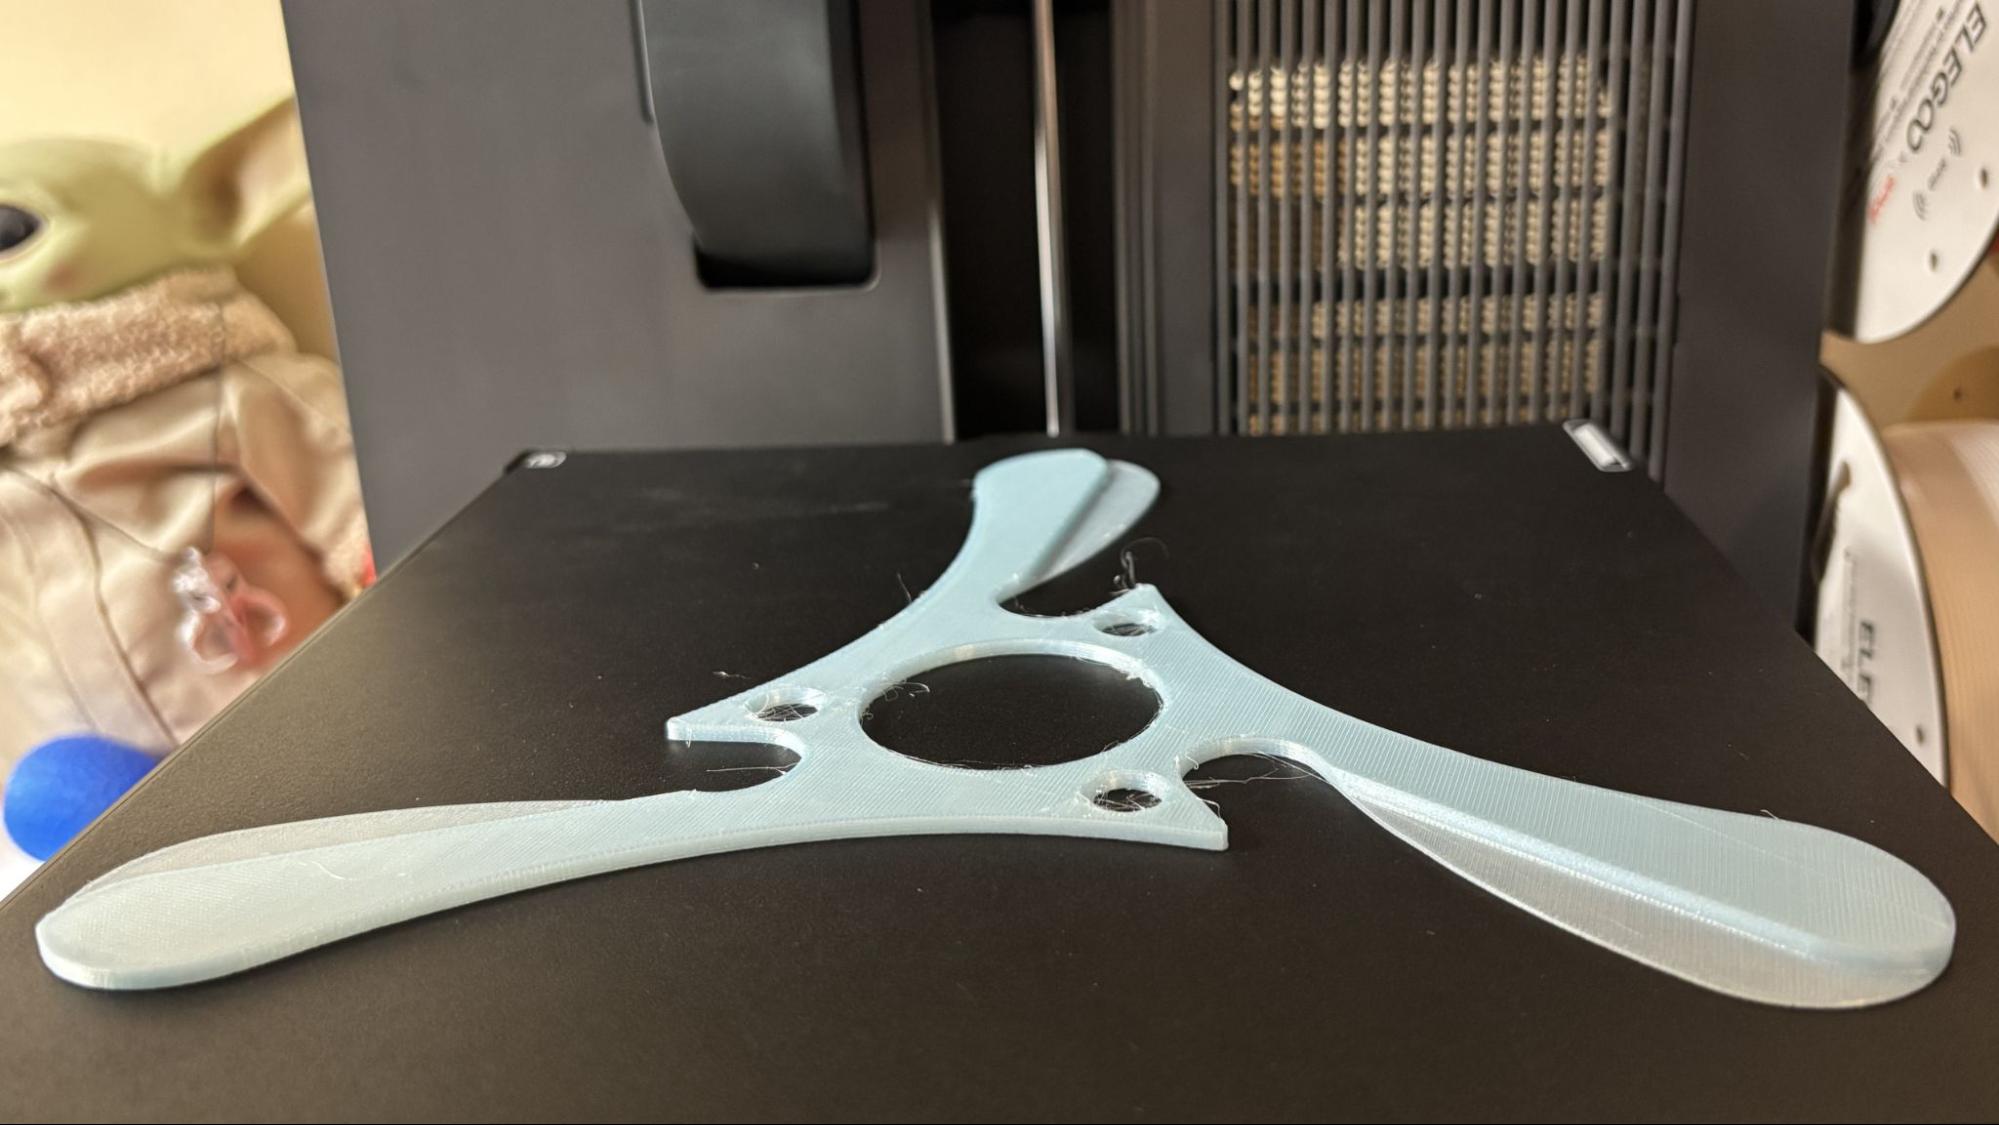
After clearing the problem, I printed a boomerang I found on Printables. Using a .2mm layer height and an average print speed of 50 mm/s, the print completed in 1 hour and 56 minutes. It has a few strings, but the boomerang looks great in Cookiecad pale blue elixir. Sadly, it didn’t really work when I tried tossing it around the yard. Maybe next time we’ll try PETG.
Boomerang by quibeckTom's HardwareBoomerang by quibeckTom's Hardware
Lastly, I had to try a print that would take advantage of the high hotend temperature the Centauri 2 can reach. Polymaker’s PET-GF is a nice, semi-technical filament that is right in the sweet spot for the open frame Centauri 2. Running at 350 °C and using a modified PETG profile with 1 mm of retraction was perfect. I printed steering parts for my husband’s RC dragster that we’ll show off at 3D Printopia this fall. Using a .2mm layer height and an average print speed of 65 mm/s, the parts took 1 hour 23 minutes to print. The quality of the parts is just perfect.
Currently on sale for $319, the Elegoo Centauri 2 Combo is the most budget-friendly four-color Core XY printer I’ve seen. From the well-designed UI to the rock-solid CANVAS 4-color system, the printer is really a joy to use, especially if your main interest is 3D printing colorful toys, decor, and gadgets.
For only $60 more, you can get the fully enclosed Centauri Carbon 2 Combo, which is a heck of a deal for a machine you won’t outgrow. For $10 more, you can get the single-color, fully enclosed Centauri Carbon, which is still our favorite budget 3D printer. But you have to admit, it’s quite a bargain when you compare any of the $899 Centauri printers to the current reigning champion Core XY machine, the Bambu Lab X2D, a machine with dual nozzles, five colors, and one of the best ecosystems around.
Judge Reed O’Connor of the U.S. District Court for the Northern District of Texas just shot down an ATF ruling requiring part kits that can readily be converted into functional weapons, frames or receivers, to be subject to the same regulations as complete guns. The case has a dramatic impact on the 3D printer market, as several states, including California, Colorado, New York, and Washington State, are taking action against ghost guns by putting bans and limitations on 3D printers. According to The Hill, the judge said that the rule “contradicts the actual historical tradition of personal gunsmithing” and its vagueness violates the Due Process Clause of the Fifth Amendment.
“After the Revolutionary War, ‘gunsmithing was a universal need in early America, [and] many early Americans who were professionals in other occupations engaged in gunsmithing as an additional occupation or hobby.’ Id. at 66. ‘Regulations on self-built arms are not longstanding. In fact, there were no restrictions on the manufacture of arms for personal use in America during the seventeenth, eighteenth, or nineteenth centuries.’ Id. at 78. Thus, the Court cannot conclude that the Final Rule’s imposition of ambiguous and far-reaching regulations, which would restrict access to component parts thereby inhibiting home gunsmithing, comports with the Second Amendment,” O’Connor wrote in his legal opinion [PDF].
The Bureau of Alcohol, Tobacco, Firearms, and Explosives (ATF) enacted this rule in 2022, which required retailers to run background checks on anyone purchasing parts kits that could be used to build a firearm. It also clearly defined what a firearm frame or receiver is and noted which gun parts are required to have a serial number. Gun sellers and gunsmiths were also required to add a serial number on the 3D-printed guns and other non-serialized firearms, as well as extend their records from two decades to the entirety of their license. These rules were supposed to help keep “ghost guns” in control, which are increasingly being used in crimes and are harder for the authorities to trace.
The U.S. Supreme Court actually upheld this ATF regulation in March of last year, after gun rights groups and manufacturers challenged it. They alleged that this ruling overstepped the authority that Congress placed on the ATF, but the majority, in a 7-2 vote, said that the agency was within its rights to do so. But as for the constitutionality of the order, Justice Neil Gorsuch wrote in the majority opinion, “Future cases may present other and more difficult questions about ATF’s regulations. But we take cases as they come and today resolve only the question posed to us.” It’s likely the O’Connors ruling will be challenged before the U.S. Court of Appeals for the Fifth Circuit, before eventually making its way before the Supreme Court once more.
The restrictions have caused some uproar in the 3D printing community, especially as the proposed rules could make it harder or even impossible for enthusiasts to print parts that might look like guns. These could also cause issues among open-source printers and small manufacturers, especially as they often do not have the resources needed to implement the regulations that these states are considering. Nevertheless, 3D printing manufacturers and platforms recognize the threat of ghost guns, and some of them have started using AI to detect and eliminate gun designs.
Thanks to the 60th Anniversary Sale event taking place at retailer Best Buy, we've spotted a host of great deals on some of our favorite tech gadgets. Falling back to the lowest price we've seen since Prime Day earlier this year, Bambu Lab's excellent P1S 3D printer and AMS color printing module combo bundle is back to just $499, saving $50 off the normal retail price we see for this combination. That's $50 you can put towards some reels of filament to start you on your 3D printing journey, or to just stock up on some new colors if you're a seasoned 3D printing veteran.
We had the chance to review the Bambu Lab P1S and awarded this printer an Editor's Choice award after our extensive testing. The P1S comes semi-assembled for an easy 15-minute setup out of the box. The printer features automatic bed leveling, an abundance of presets in the slicer software, and exceptional print speeds with up to a 20000 mm/s² acceleration limit. Thanks to the P1S's fully enclosed print space, the ability to produce high-temperature prints with fewer errors is increased, plus the P1S sports an ample build volume of 256 x 256 x 256 mm for your creations to come to life.
P1S with AMS Combo: was $549 now $499 The P1S is an enclosed 3D printer, making it ideal for high-temperature filament printing. Fast prints are standard thanks to the speedy 20000 mm/s² acceleration limit. In this combo deal, the P1S comes with the AMS color printing unit that can produce 4-color prints. Multiple AMS units can be joined to produce up to 16-color prints.
The P1S has a new younger sibling in the P2S, which is why we've seen some lovely discounts on this excellent printer. The P1S still uses a proprietary .4mm nozzle on its direct-drive extruder and has easy automatic print bed levelling for a quick setup process. Plus, for hassle-free print removals, there's a PEI textured spring steel sheet. Bambu Labs' P1S has multiple wireless options, including both Wi-Fi and Bluetooth support, with a microSD card slot for loading your print creations locally. You can navigate the menus and settings with the built-in LED screen, and thanks to the included AMS unit in this bundle offer, you can have up to four different color filaments installed for multi-color printing.
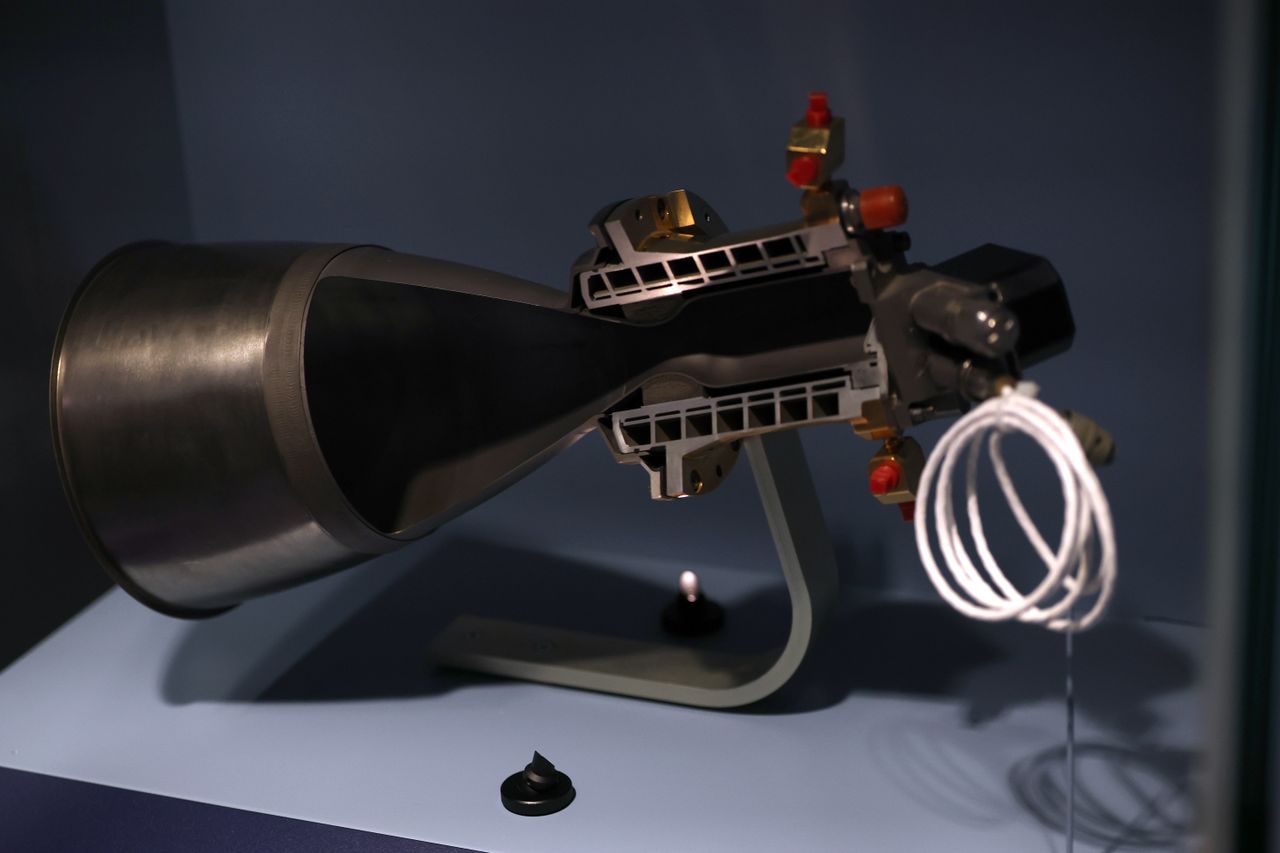
It's a safe bet that 3D printer aficionados would definitely own an industrial SLM (Selective Laser Melting) printer if they could, as the creative possibilities granted by them are endless. One such possibility is making actual working rocket engines, as Indian startup Othisis just demonstrated with a stationary test-fire of its fully cryogenic rocket engine, after a few failed attempts.
As a broad description, SLM printers work by depositing a layer of microscopic metal powder on a base, and then firing a laser that melts the powder into solid at specific places. The base then drops down a fraction of a millimeter, a new layer of powder is deposited, and the process repeats. All told, this results in layers around just 0.05 to 0.06 mm thick, made of metals and alloys that traditional consumer 3D printers can't quite handle. Here's an illustrative video of the process.
🚨 Bengaluru-based Othisis has successfully hot-fired its 5 kN fully cryogenic, 3D-printed rocket engine.This engine has a total impulse of 100 kNs and will be used to launch and land their reusable hopper rocket planned for later this year. pic.twitter.com/JqHumMDFHjAugust 12, 2026
Othisis' engine doesn't yet have a name, but it's a 5 kN fully cryogenic design, meaning that it uses both liquid oxygen (LOX) and methane as propellants, kept chilled in liquid state. As expected these days, the firm intends this design to be a VTVL (vertical take-off, vertical landing) reusable design. The Othisis design uses the chilled-fuel loop for cooling, plus both LOX and methane can be theoretically manufactured in-situ from CO2 and water.
Additionally, the burn is stronger than the commonly used Kerolox, while leaving behind almost no residue, lowering maintenance time and improving reusability turnaround. Drawbacks include lower fuel density (thus the need for larger tank sizes), trickier storage due to the low temperature, and potential hazards for handling.
Othisis has reportedly signed MoUs (memorandum of understanding) to carry payloads into space, even though it's only been formally in business for two years. The company is the brainchild of Syed Affan, the creator of the Rocketry India Discord server, who founded the company while pursuing his undergraduate degree.
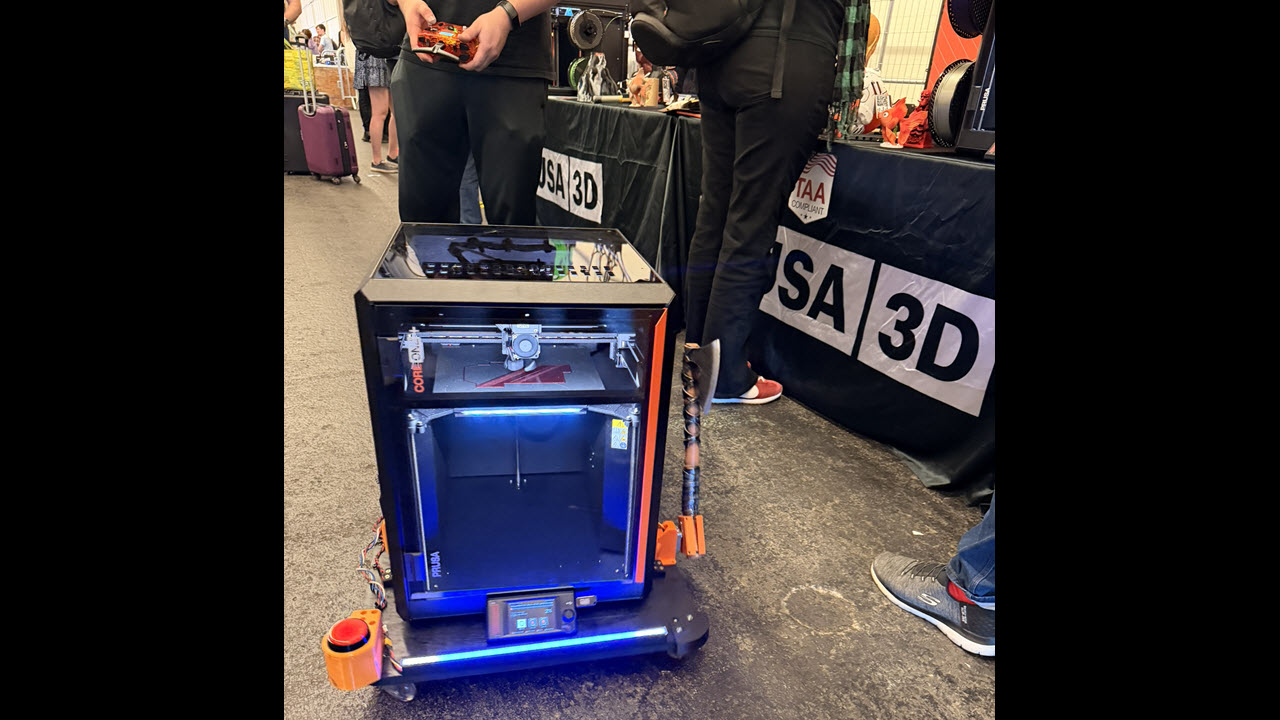
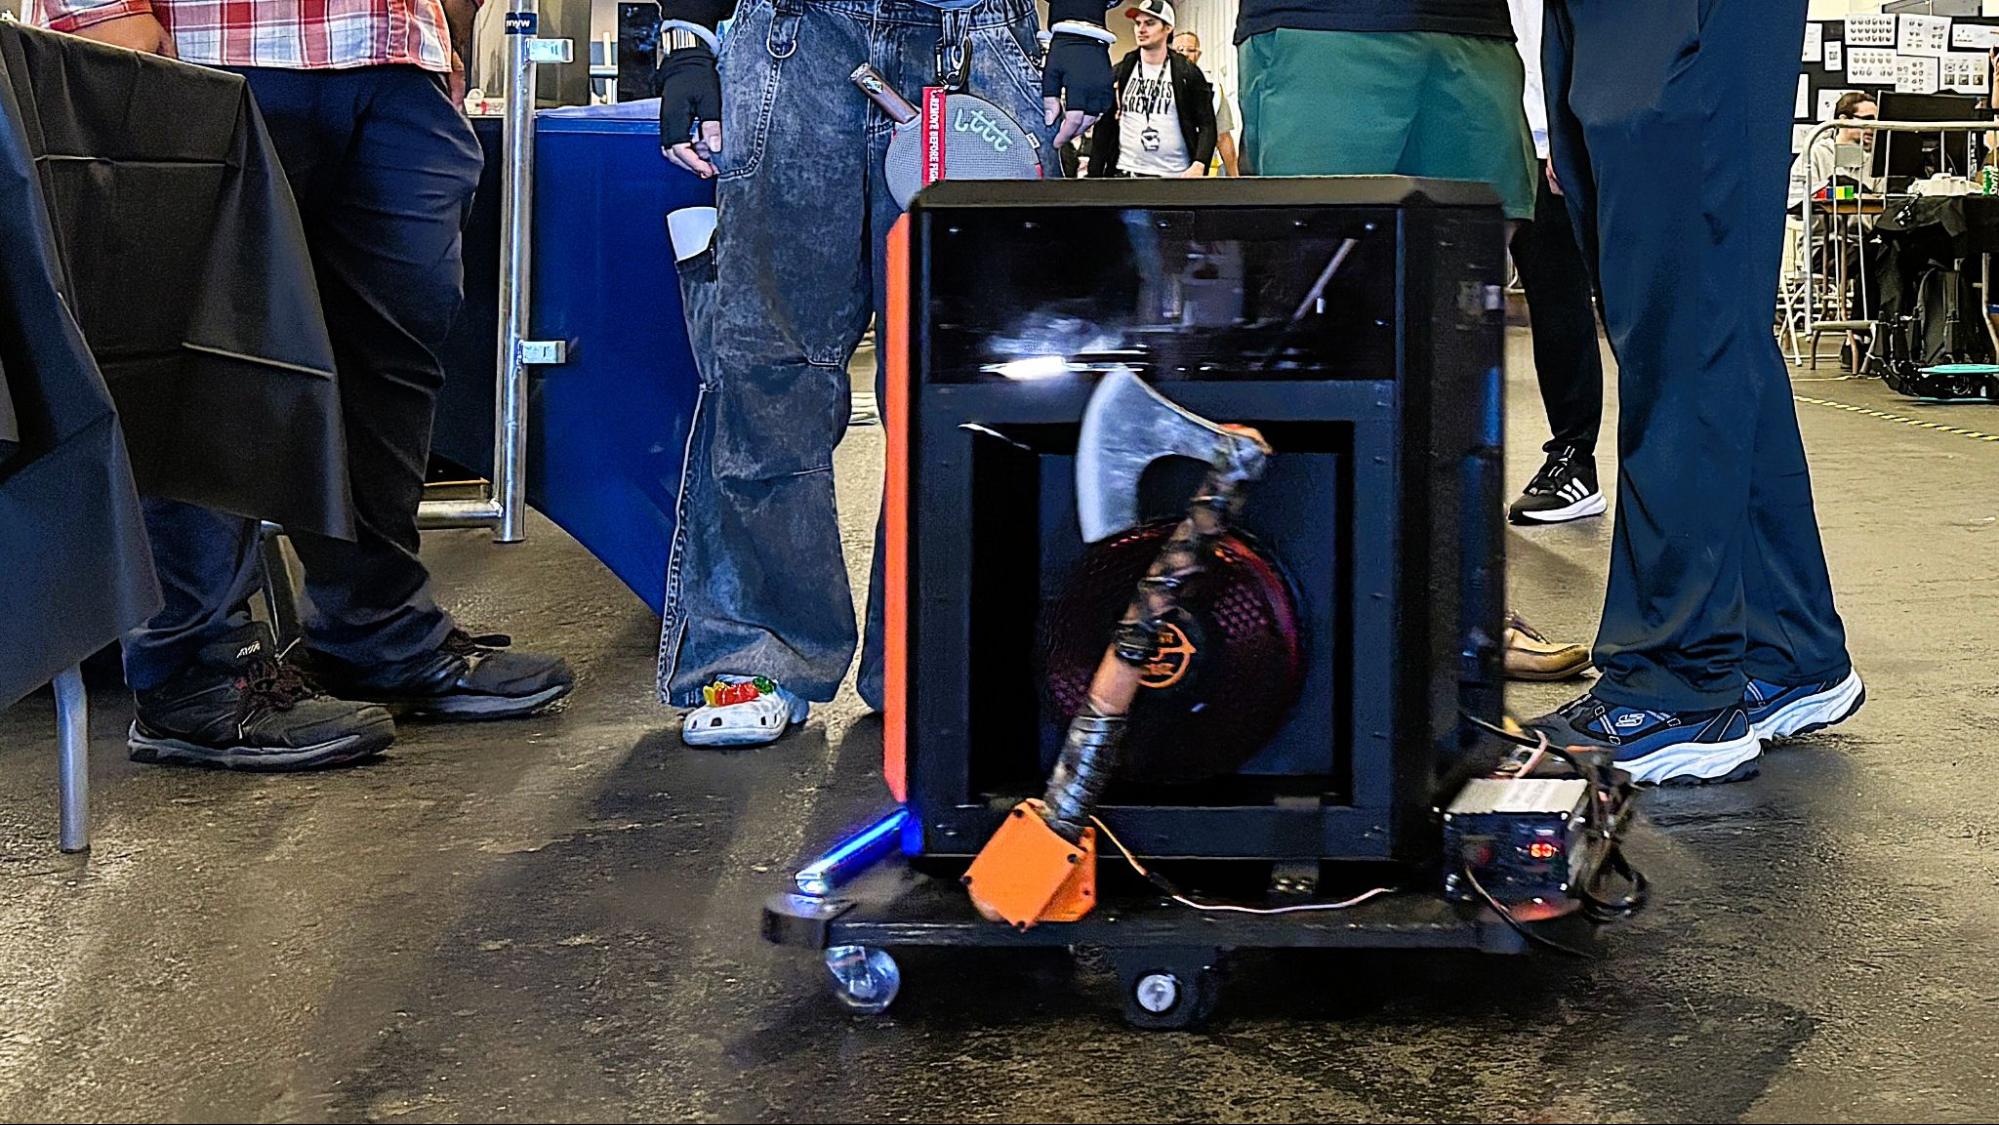
The decidedly quirky maker festival marked its fourth year a few weeks ago, bringing together inventors, makers, artists, cosplayers, YouTubers, and yes, a number of sponsors. Founded by science YouTuber William Osman, the festival has become a must-see event for the maker community.
Denise Bertacchi with her Open Sauce project. (Image credit: Tom's Hardware)
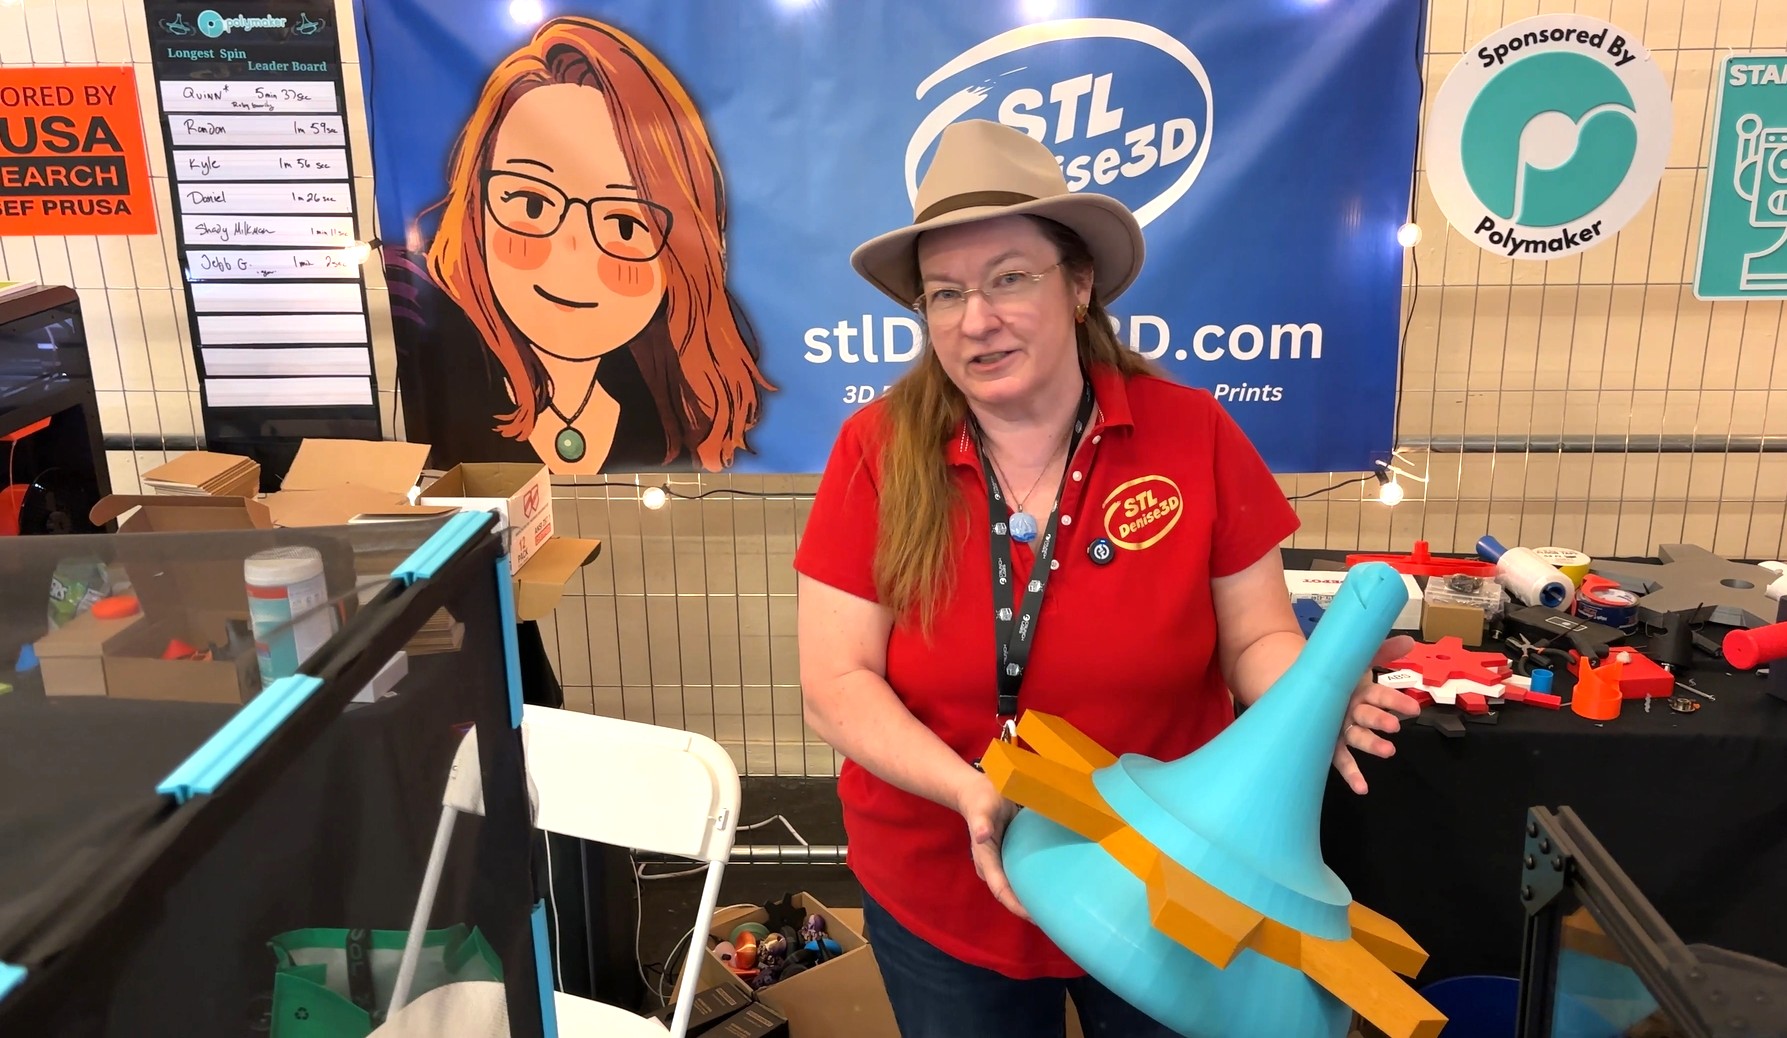
I attended this year’s festival as an exhibitor, with my “freakishly large, 3D-printed fighting tops.” For full disclosure, Prusa Research sponsored my travel costs and also partnered with me on a contest hosted on Printables, where I provided the example model and was on the judging panel. Polymaker sent an insane amount of filament for printing the tops and arenas.
We received some amazing and creative entries; even YouTuber and maker Jeff Geerling stopped by to join in on the fun.
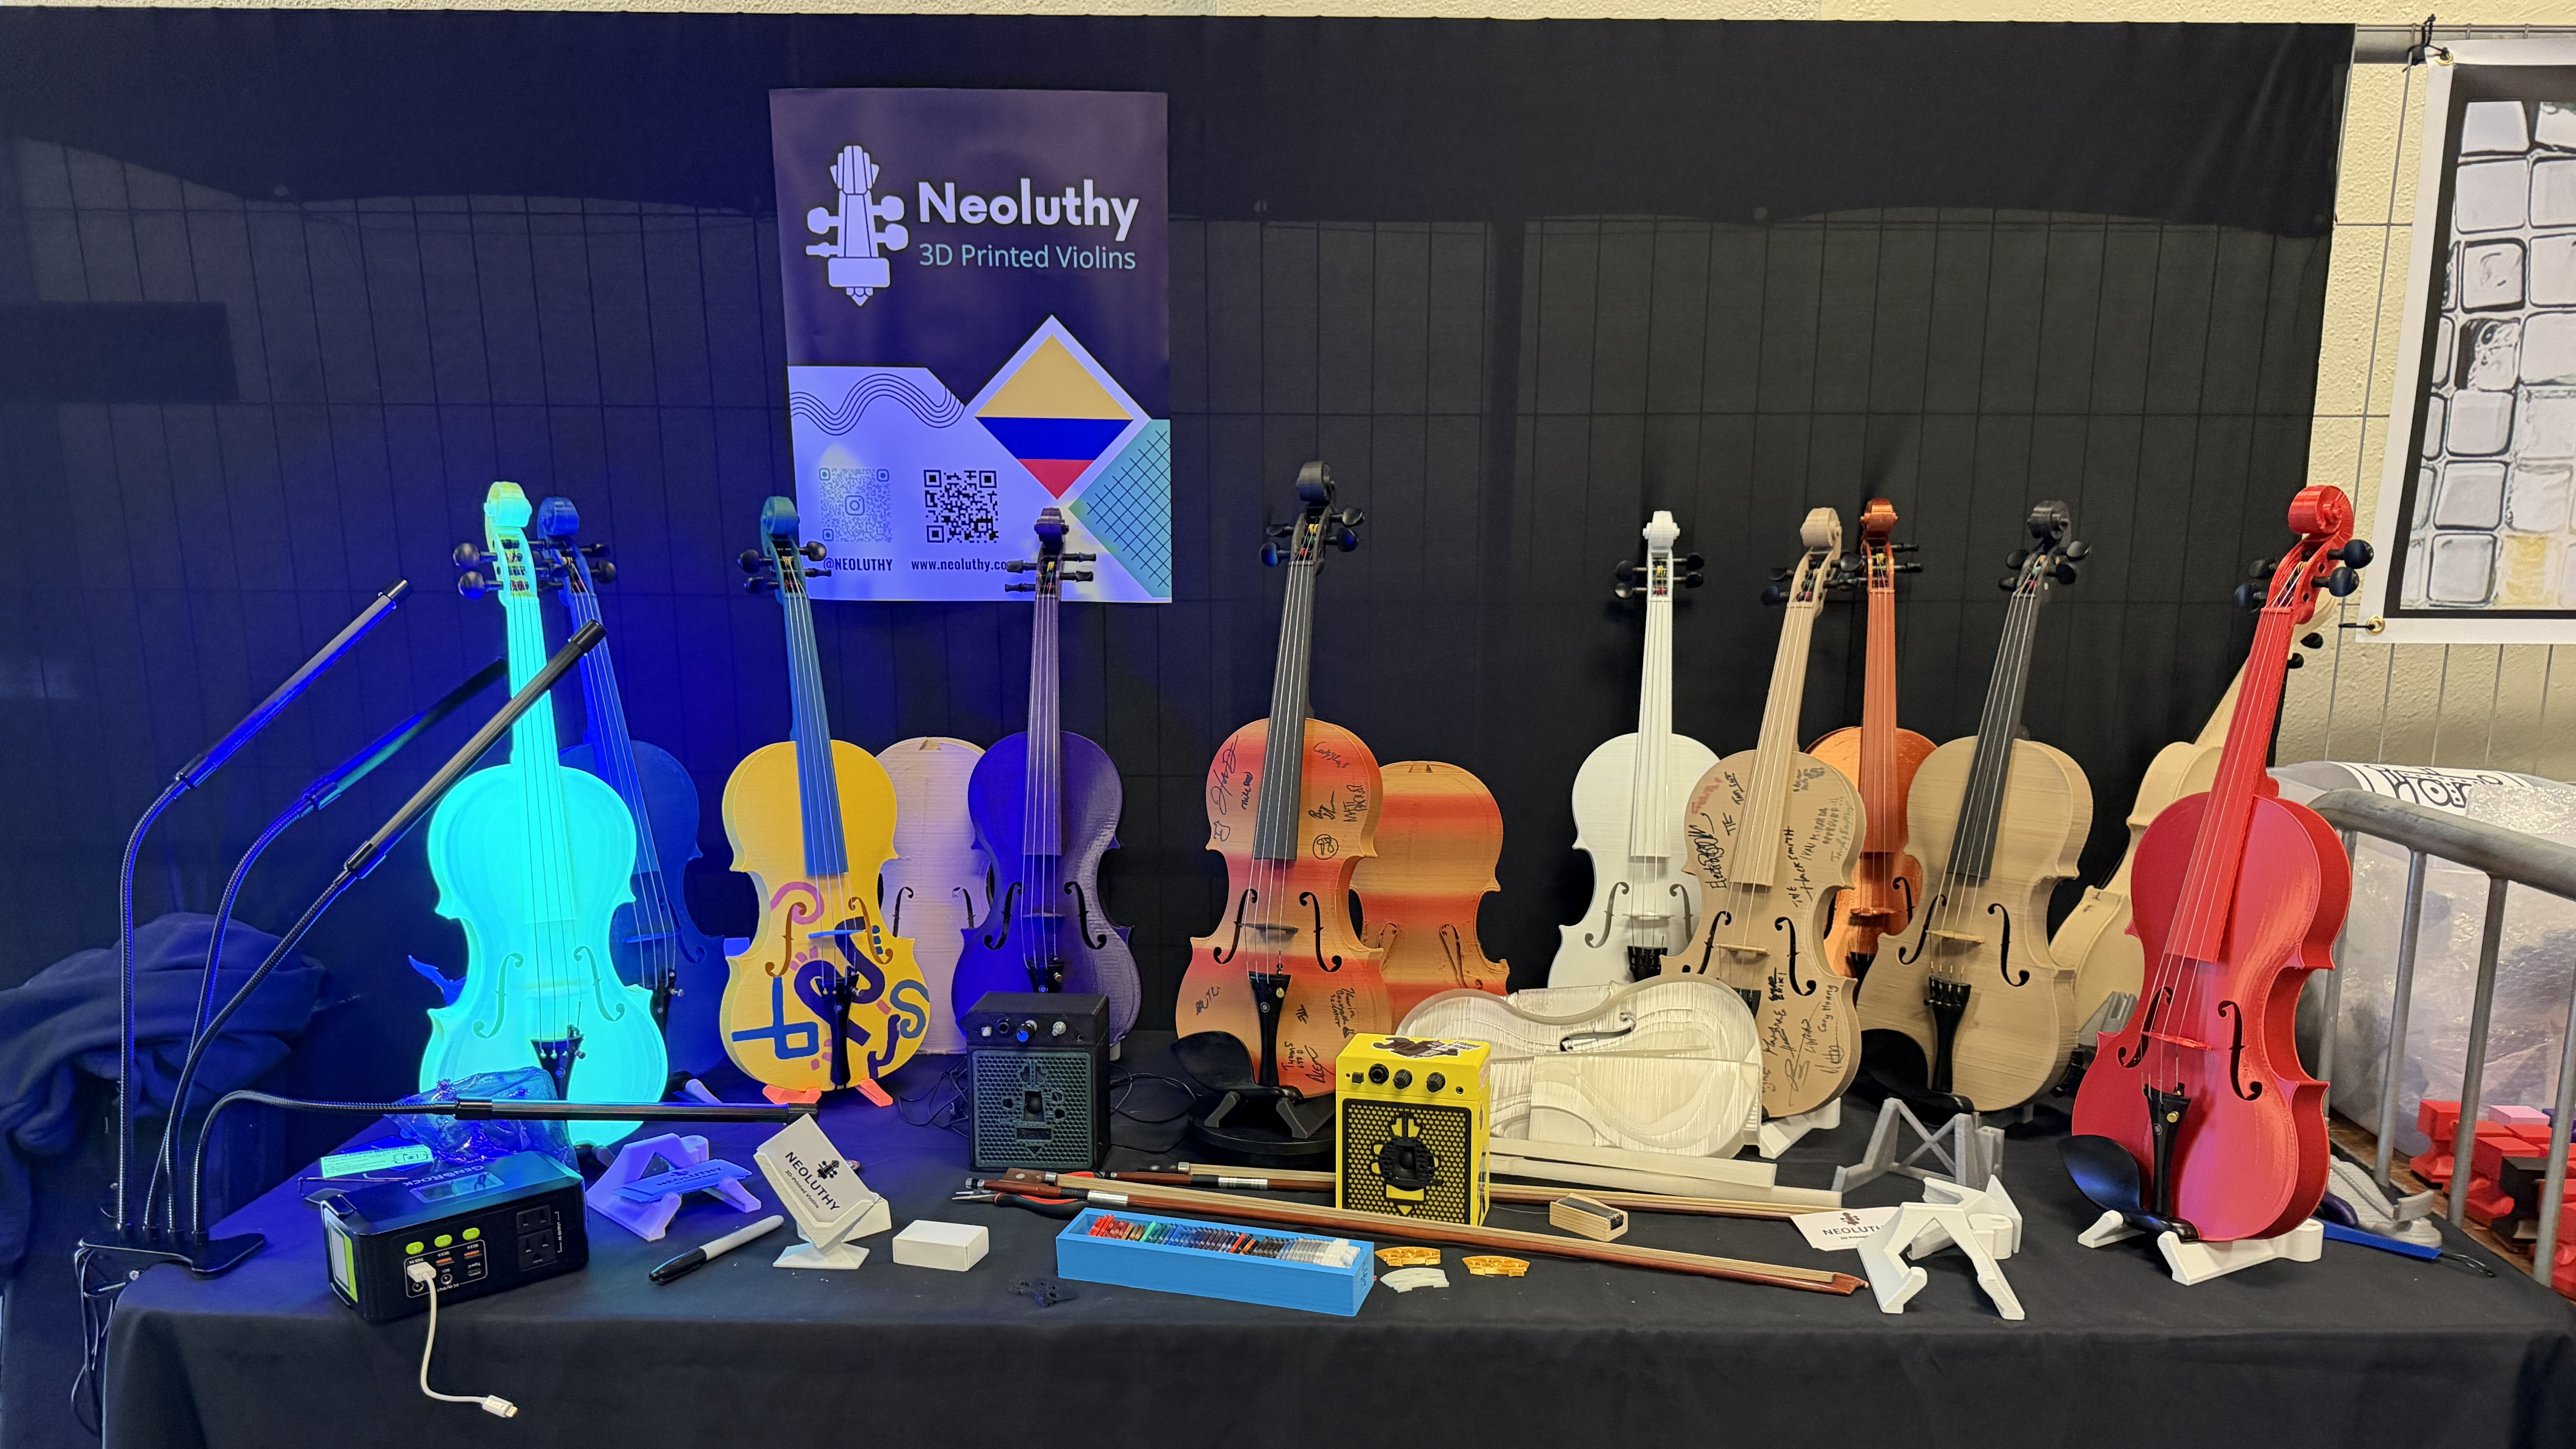
PLA and wood PLA 3D-printed violins by Daniel Quicazán, founder of Neoluthy. (Image credit: Tom's Hardware)
Besides the obvious 3D-printed robots, 3D-printed printers, and 3D-printed violins (see above), a lot of exhibits used 3D-printed parts as an easy method to prototype and manufacture their project. Here are a few gems we found on the show floor.
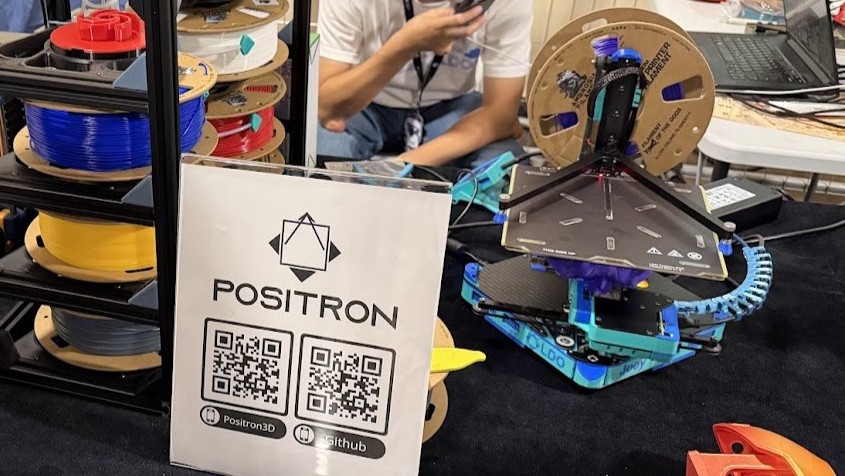
Positron 3D
Tom's HardwareTom's Hardware
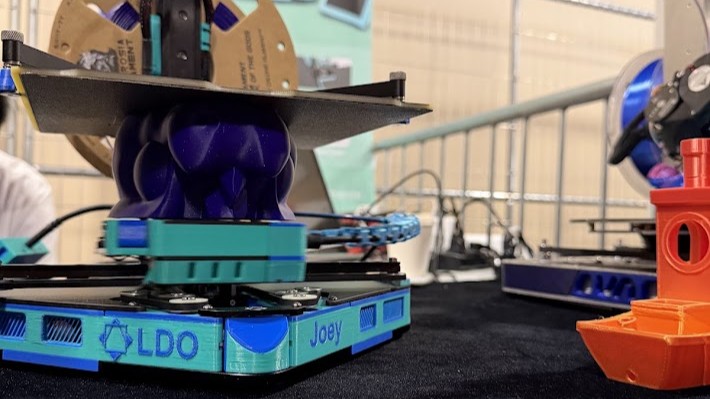
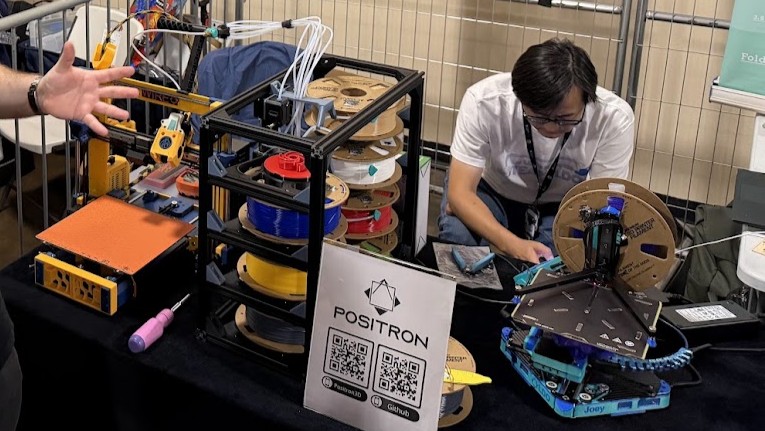
Even with a modest display, you still can't help but notice Positron 3D's amazing LDO Positron upside-down 3D printer. Designed to fit into a 1kg filament box, this printer can be folded down to 200 × 200 × 70 mm in size, making it easy to store or travel with.
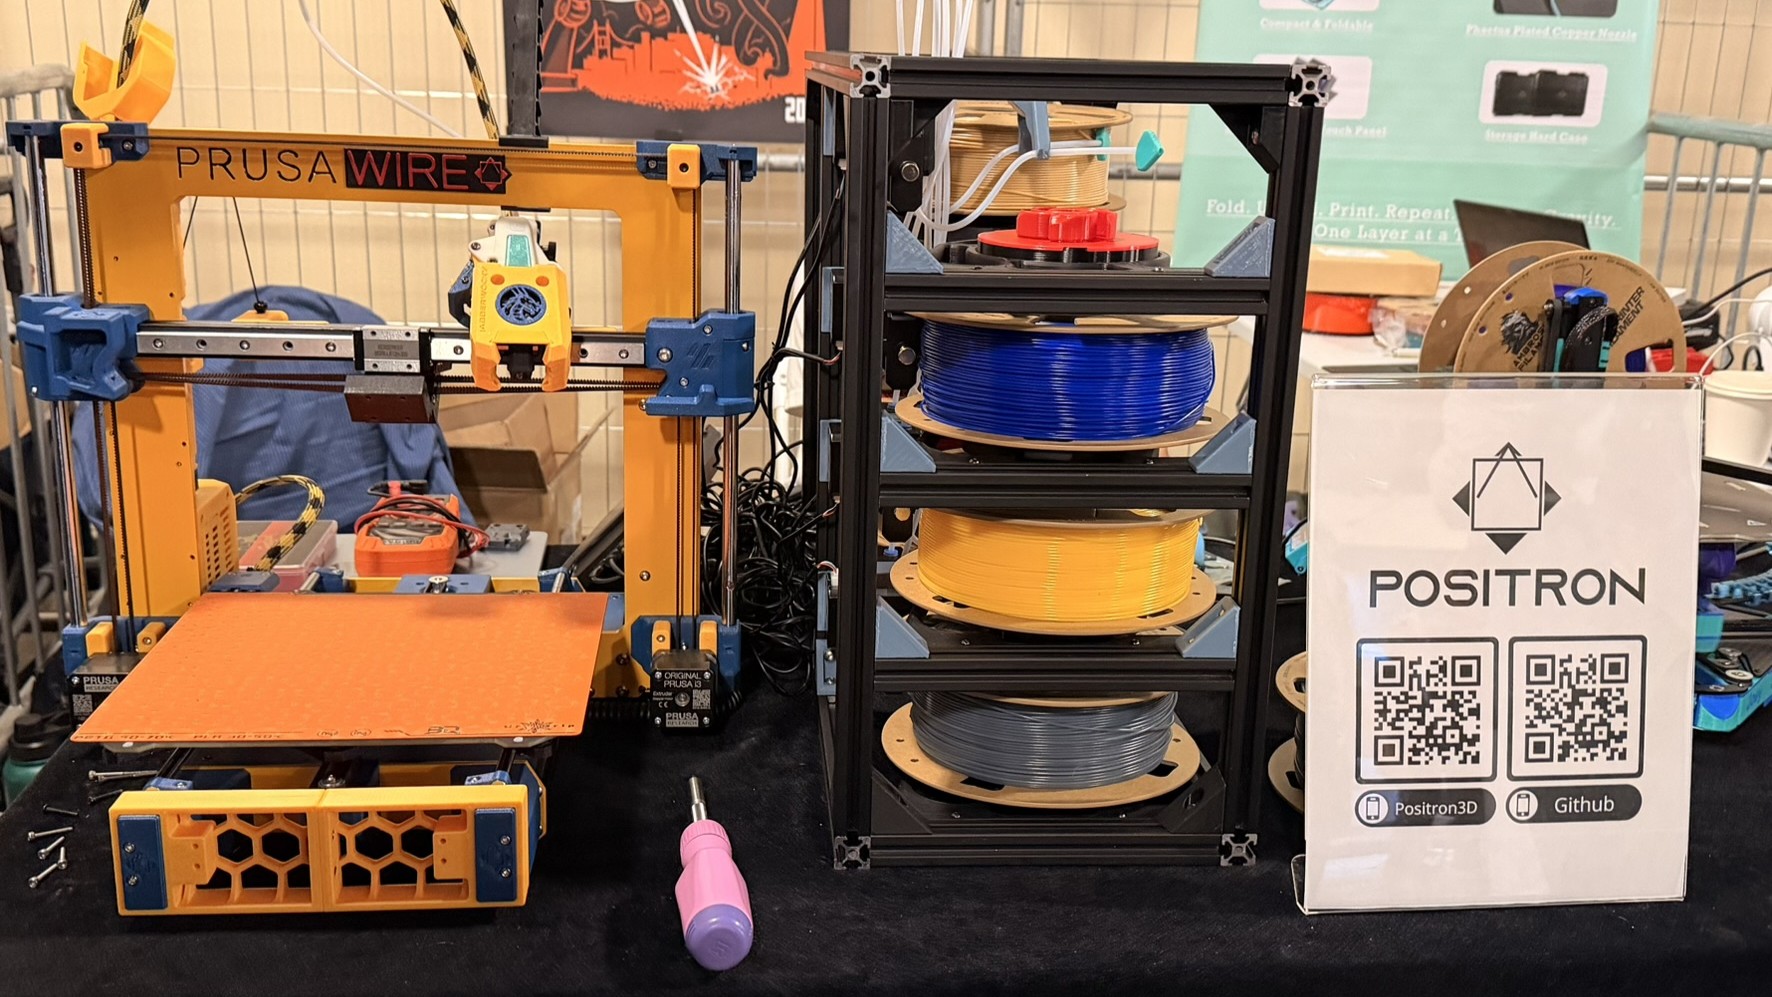
PrusaWire
Tom's HardwareTom's HardwareTom's Hardware
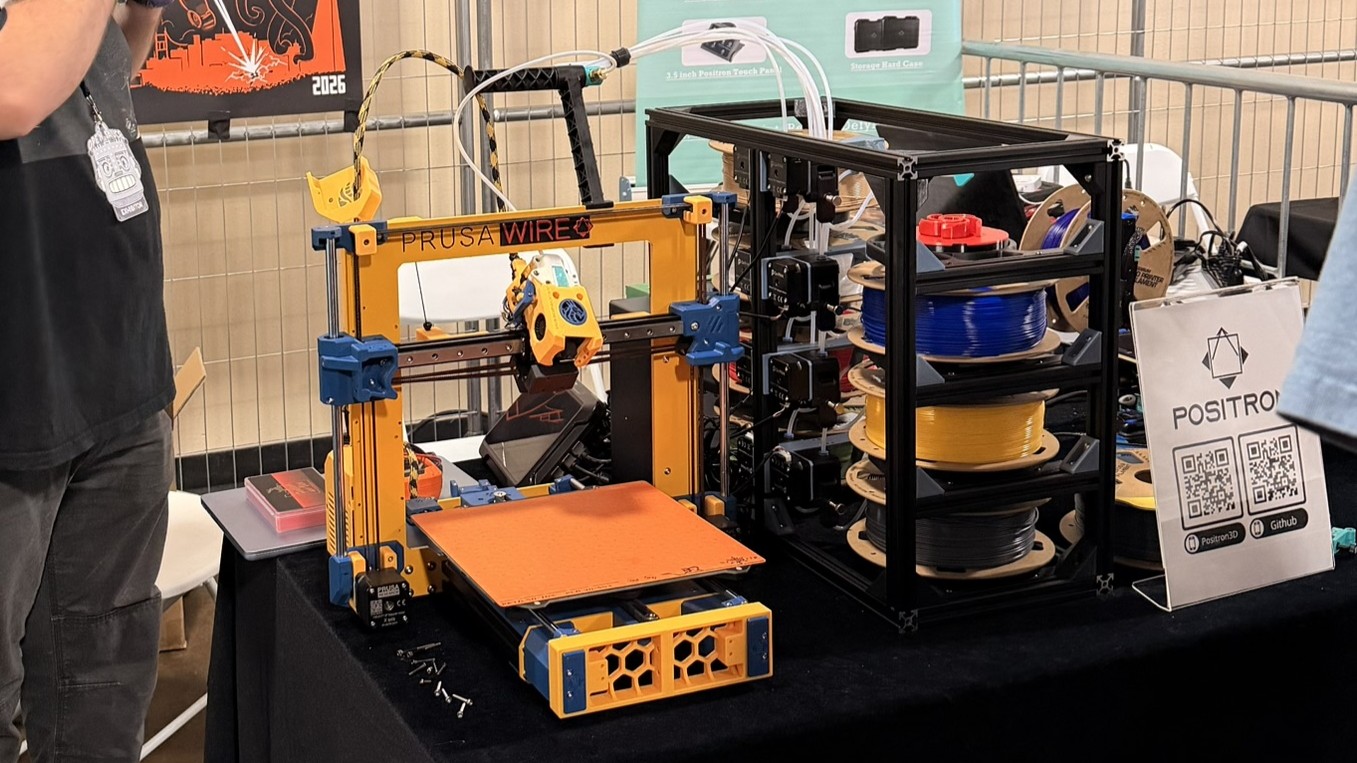
Also from Positron, 3D printing enthusiast @joescalon brought his Prusawire R1 project to the show. For the full assembly guide and 3D configurator, go here.
Unlayered 3D
Tom's HardwareTom's Hardware
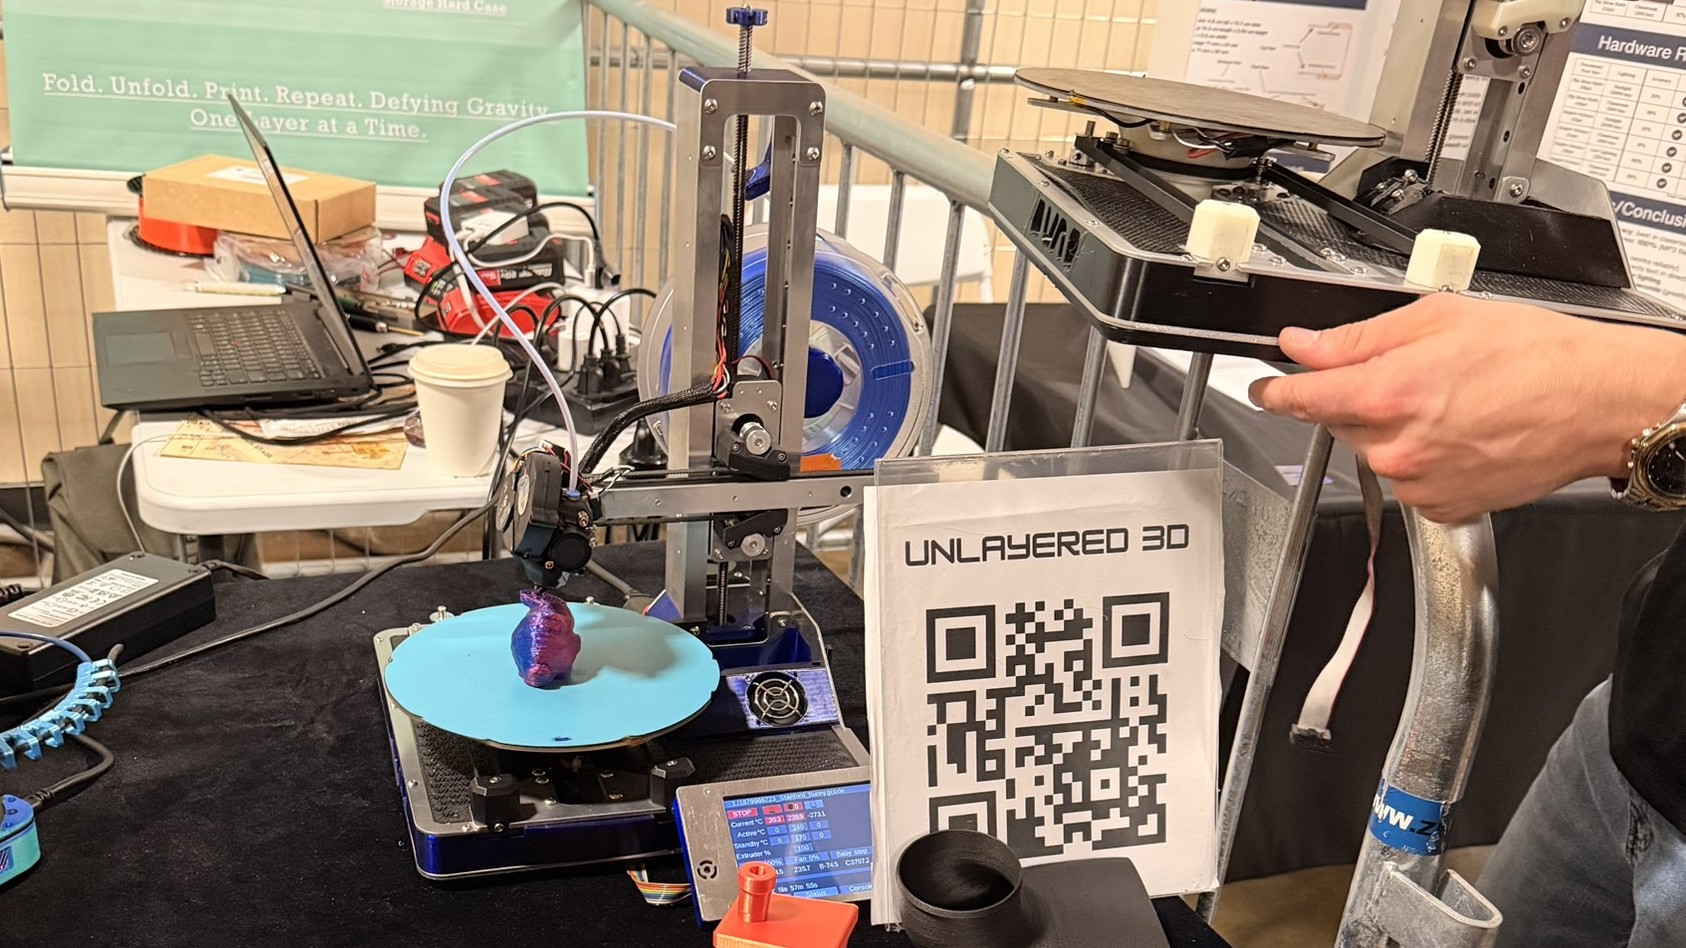
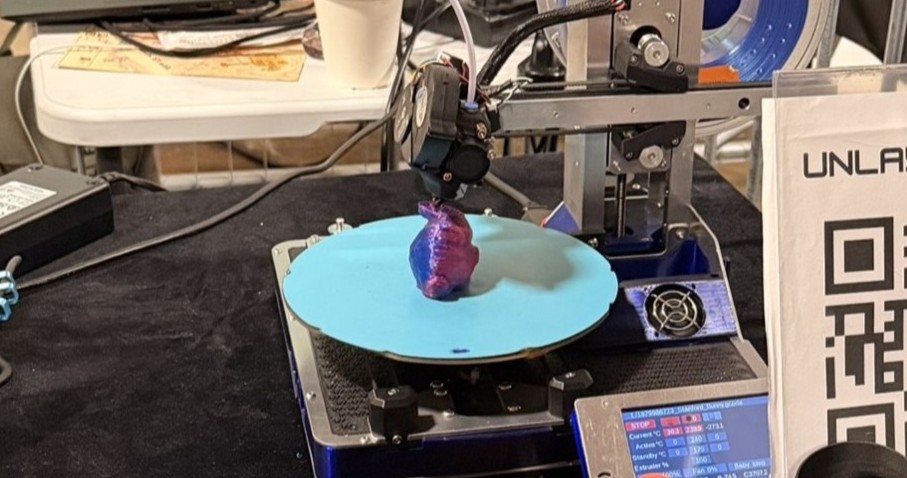
Although still in the development phase, seeing Unlayered 3D's non-planar 5-axis 3D printer in action is very impressive. It defies the traditional FDM layered printing process with its tilting print head and rotating bed feature, eliminating the need for supports. This results in a stronger, smoother output.
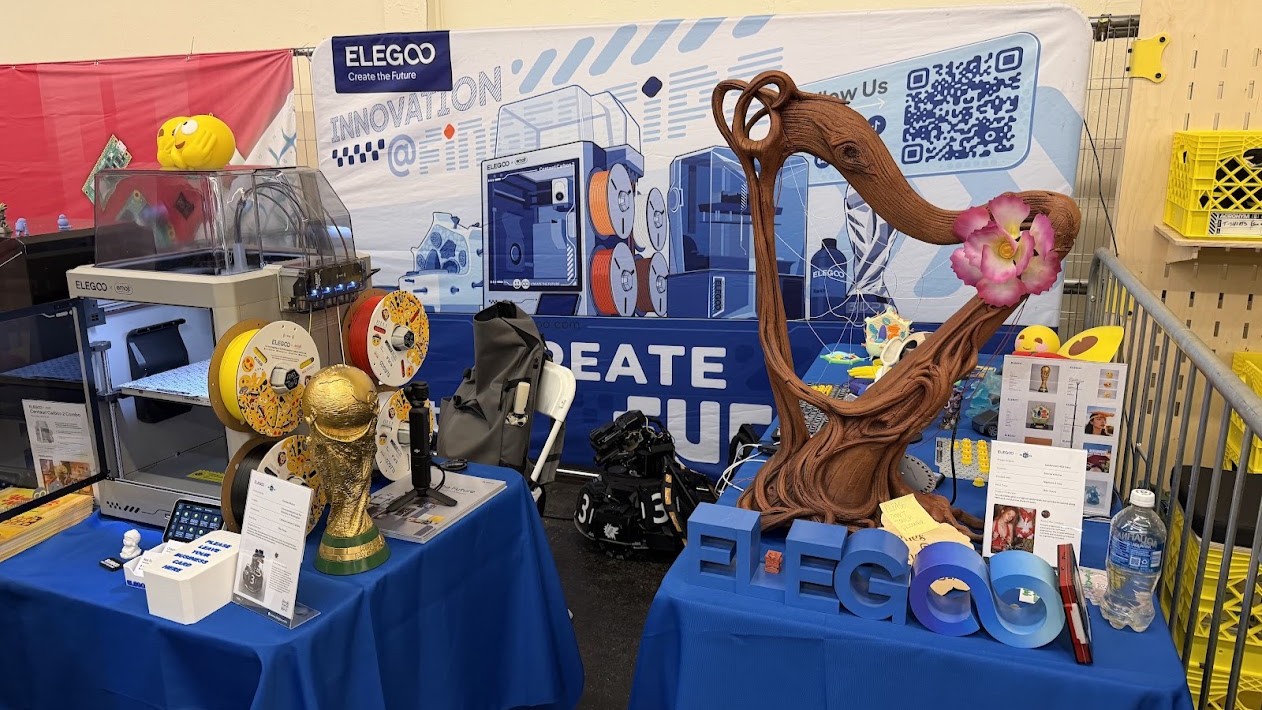
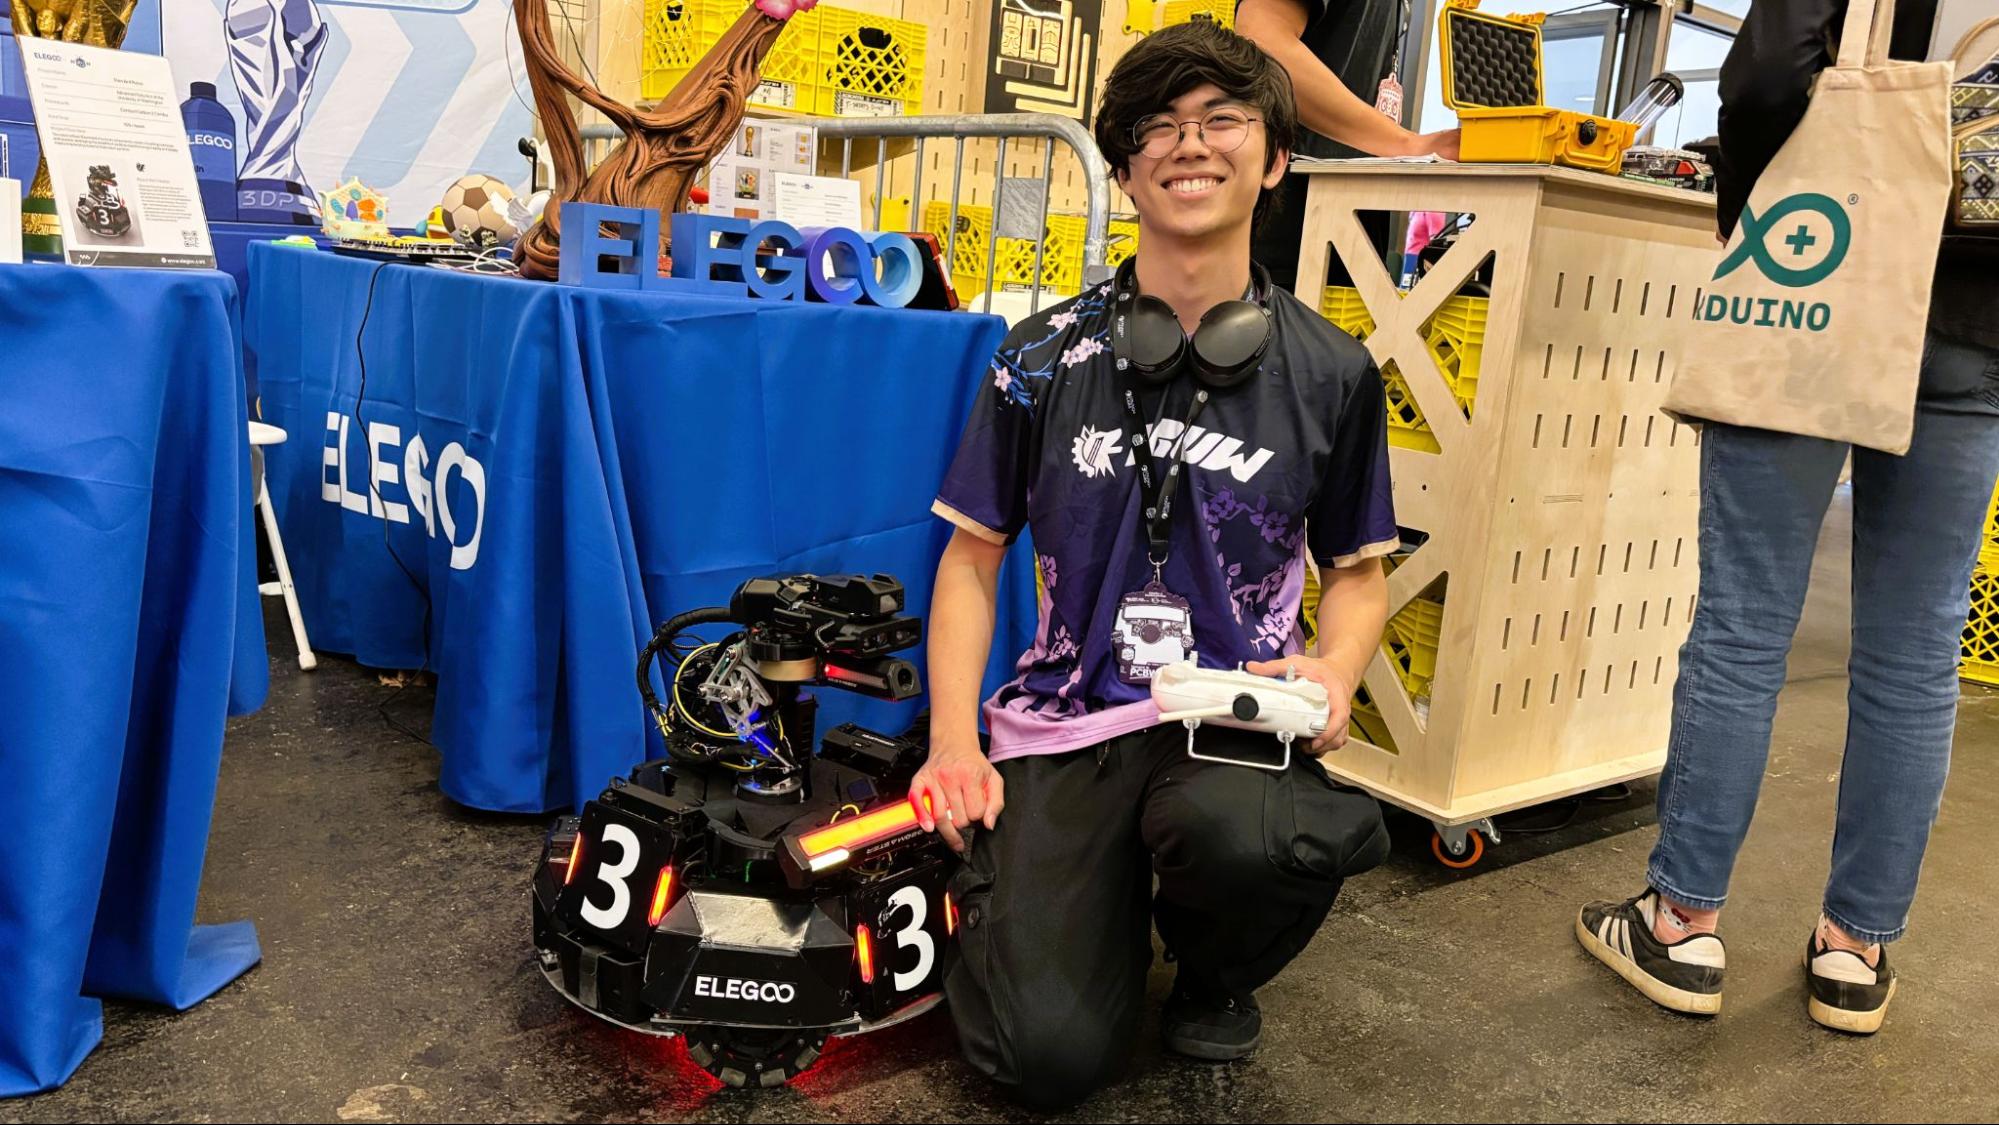
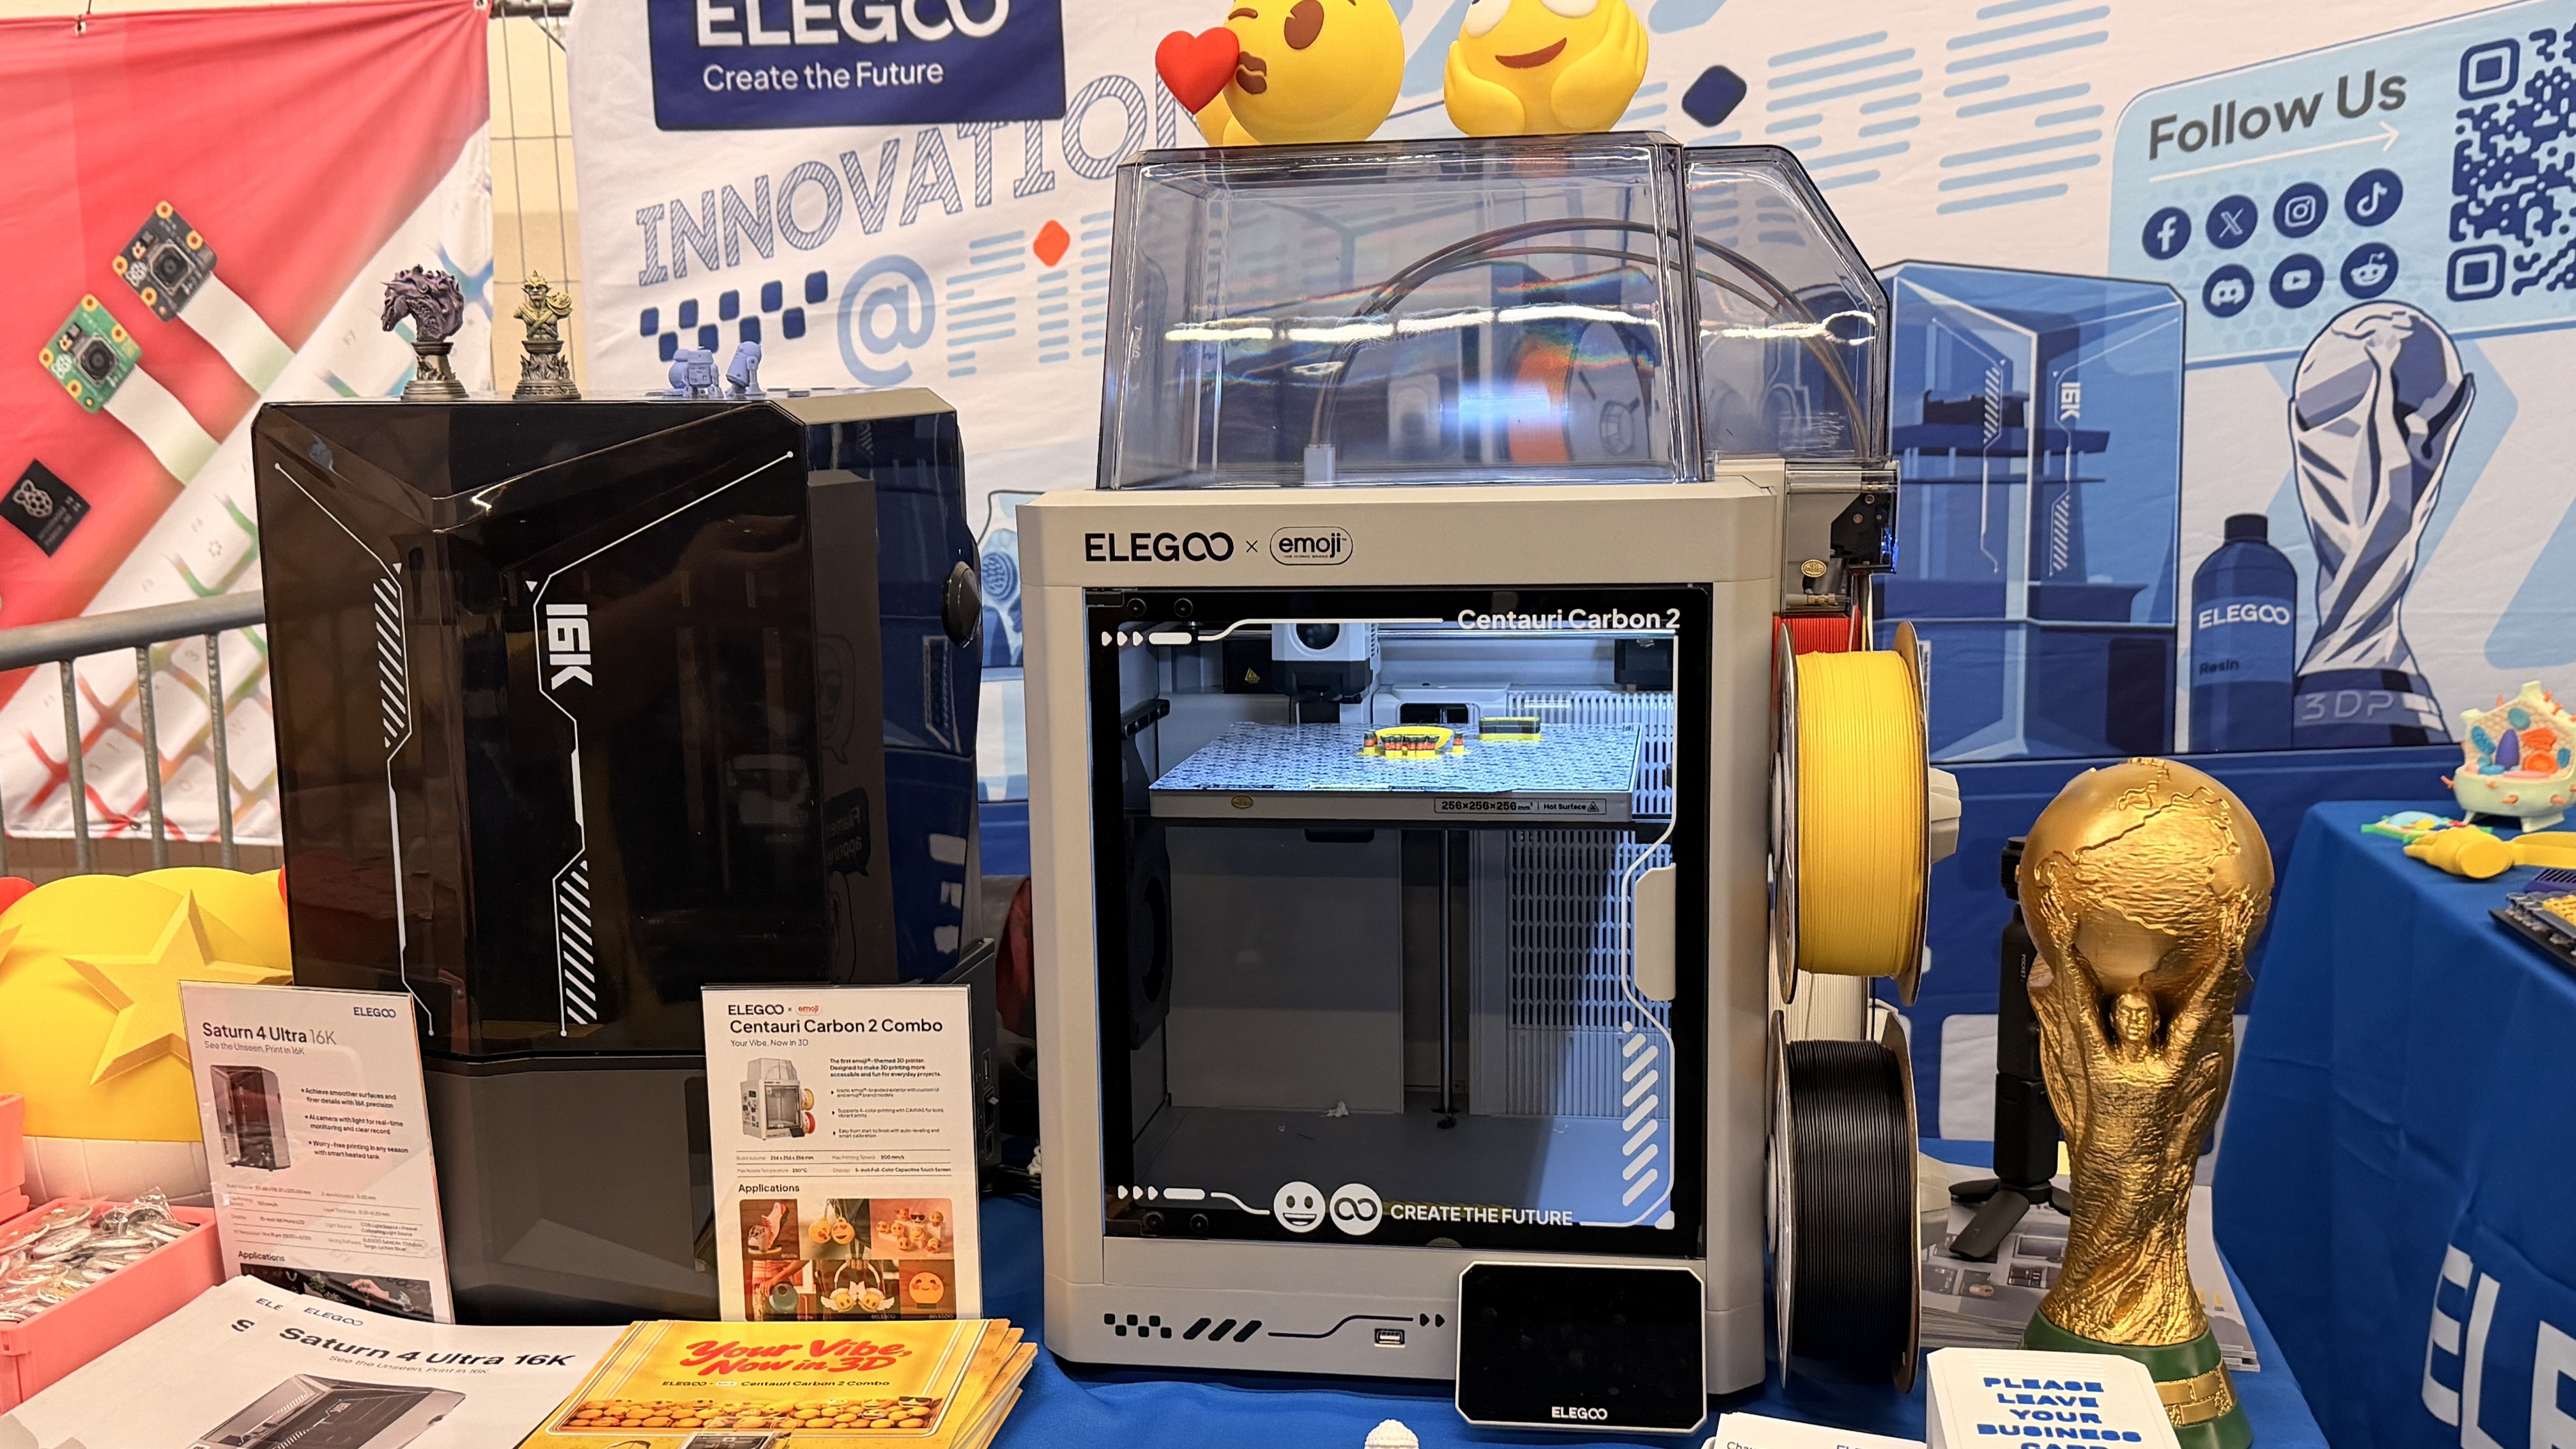
Elegoo booth featured some amazing creations, like a functional “web harp” and a battle bot built by the University of Washington Advanced Robotics team using the Centauri Carbon 2 and Elegoo filaments. They had an emoji x Centauri Carbon 2 on display with many emoji-themed props for visitors to use for selfies.
Snapmaker: U1 toolchanger
(Image credit: Tom's Hardware)
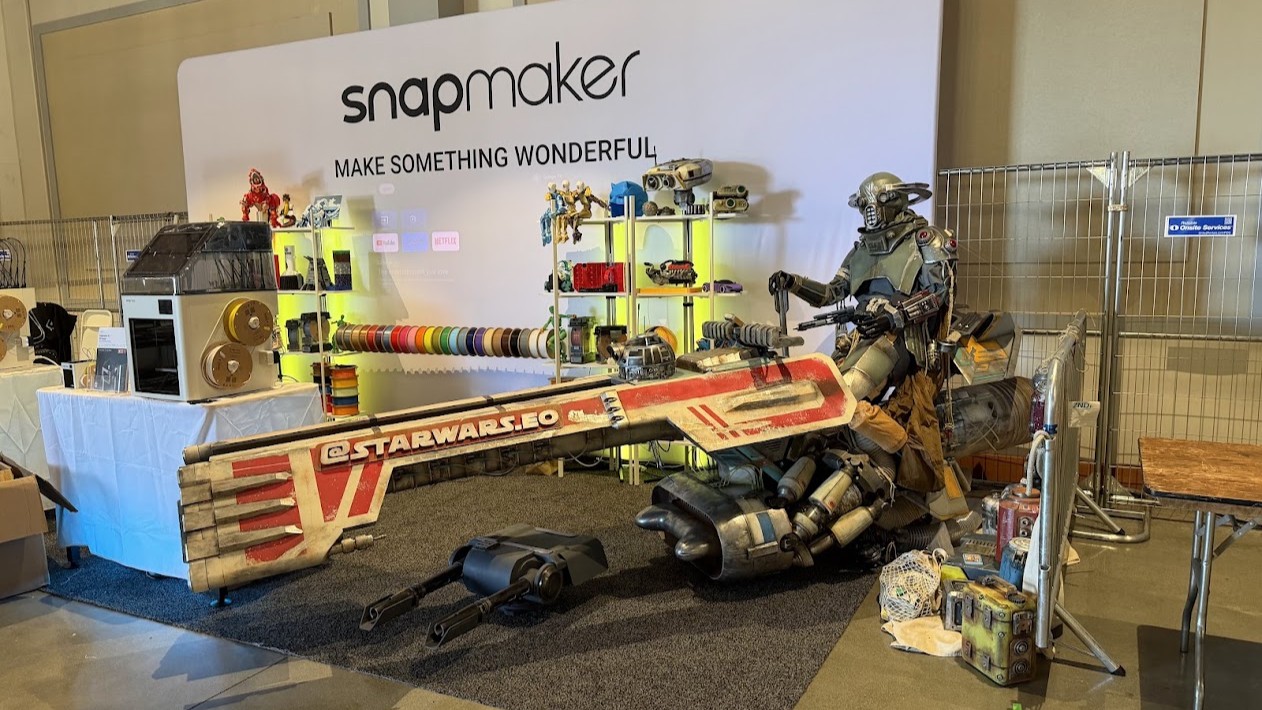
Snapmaker brought their U1 toolchanger, which printed this mostly 3D-printed, fan-made Star Wars speeder bike, built with an electric scooter cleverly hidden underneath so it appears to float along the road. See it in action here.
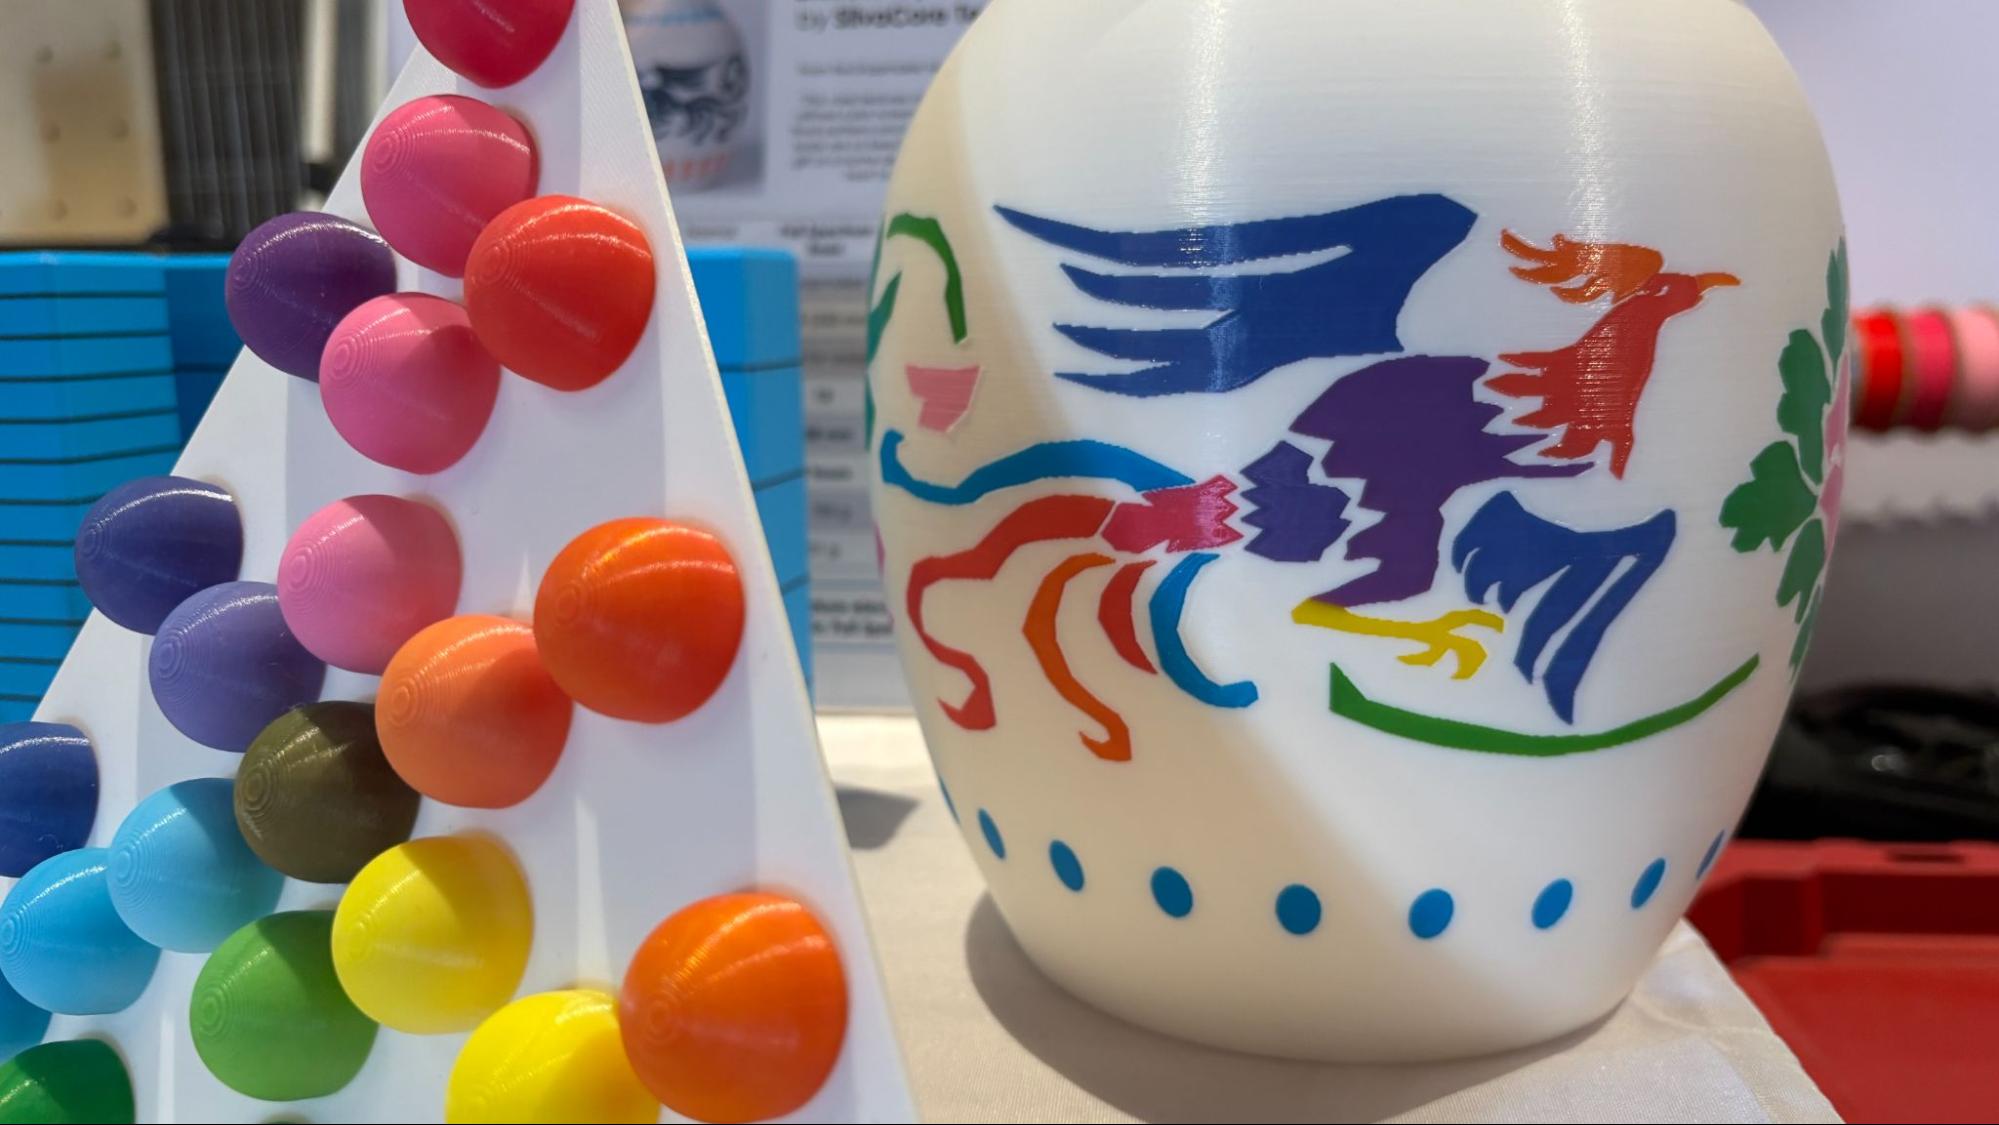
Snapmaker sponsors Full Spectrum, which printed this eight-color vase using only four filaments. (Image credit: Tom's Hardware)
The Snapmaker team also showed off the latest from the Full Spectrum project, which can mix four filaments into an unlimited color palette with no obvious layer lines by using subdivided layers. We’ll be checking that one out soon.
Three for UV
UV printing is an industrial technology just now landing on home users’ desktops in the form of somewhat affordable machines. It’s like a cross between 2D photo printing and resin 3D: it uses UV-cured ink to print photographic color on nearly any material you can place inside the machine’s compartment. This can be flat stickers and photos or “2.5D textures” that are generally limited to a few millimeters in height. Some machines are even venturing into full color 3D printing.
The tech is very new, with most machines still at the prototype stage or lurching its way through Kickstarter.
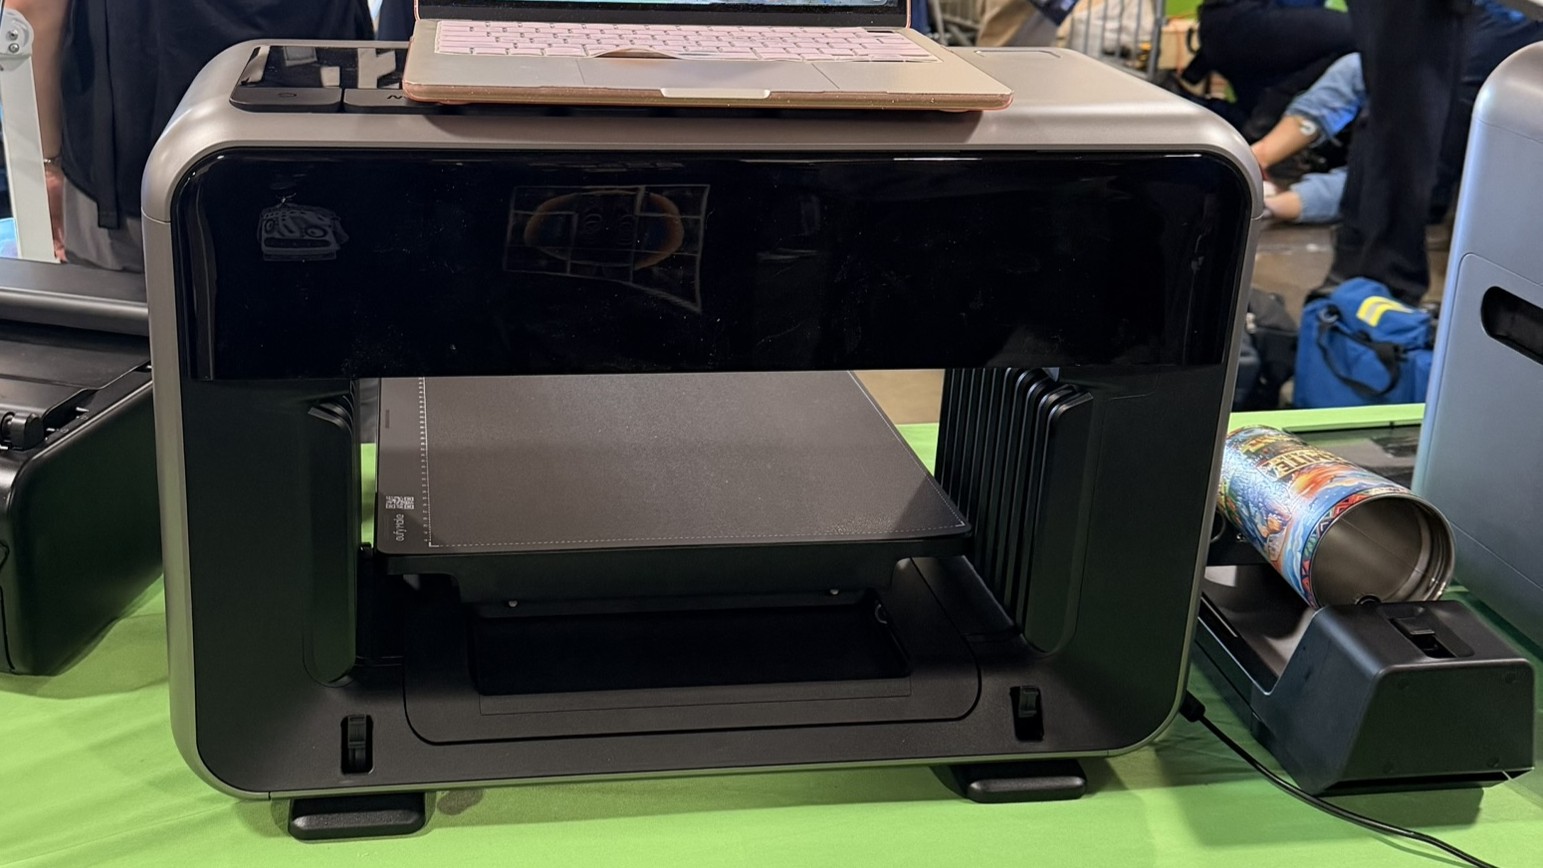
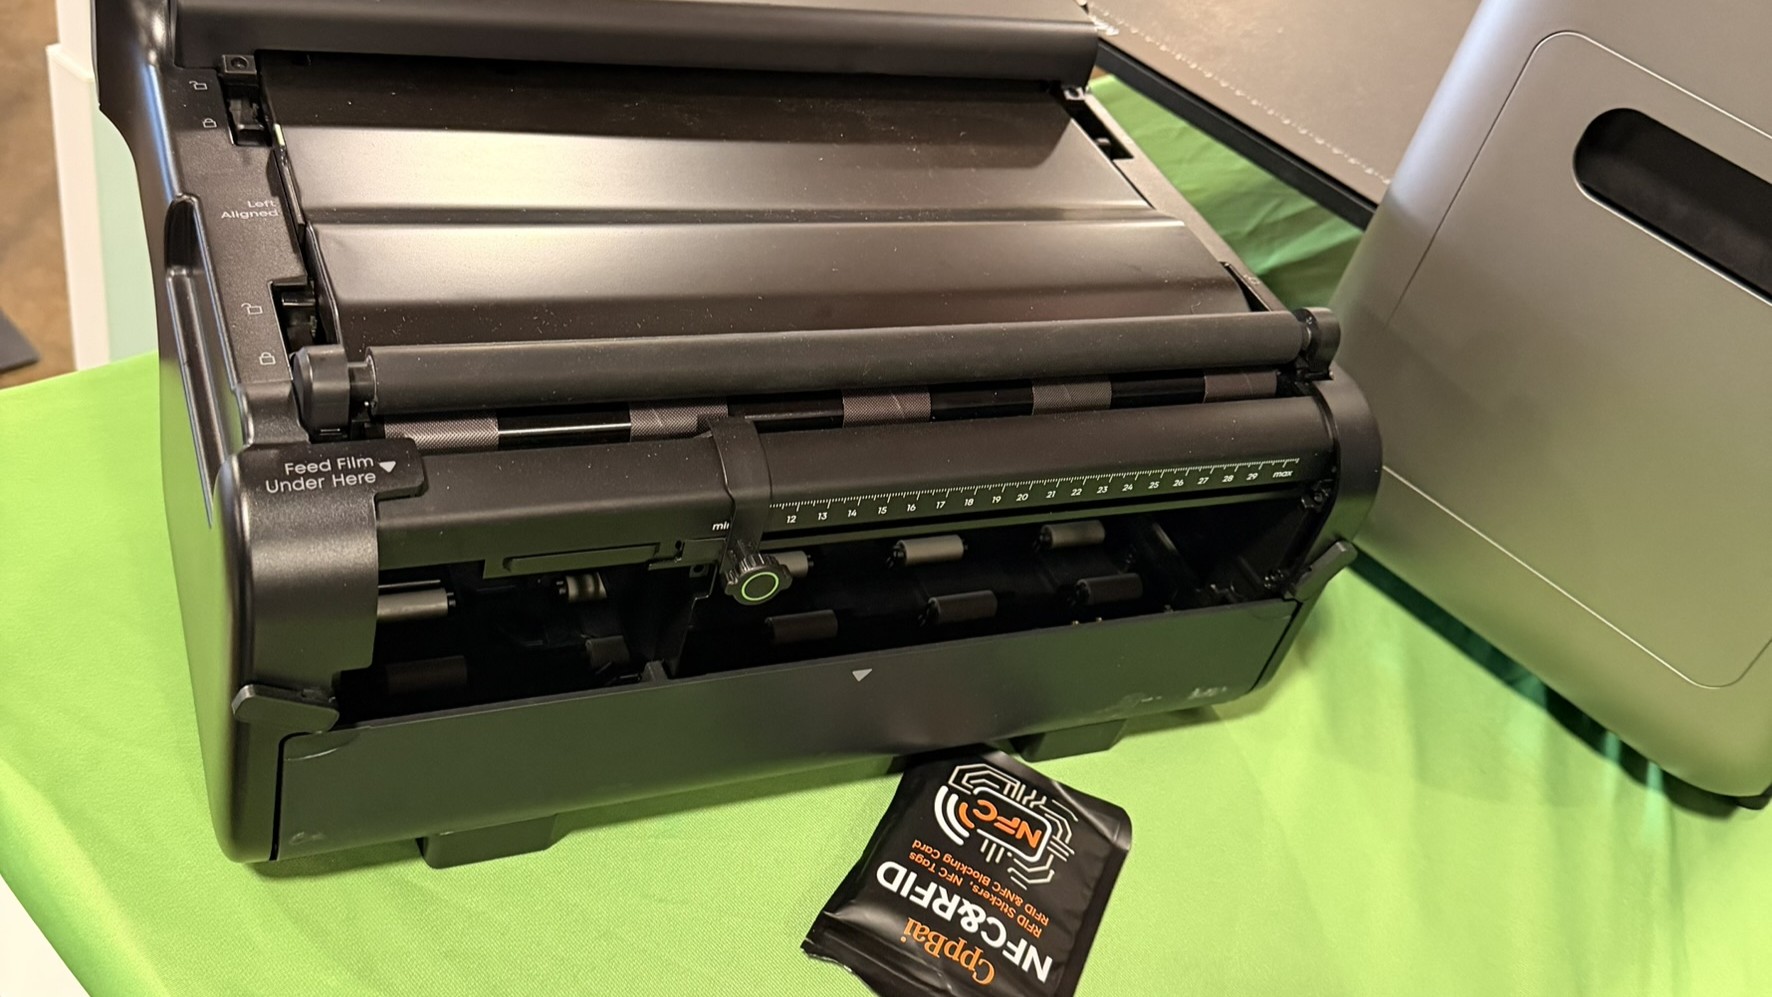
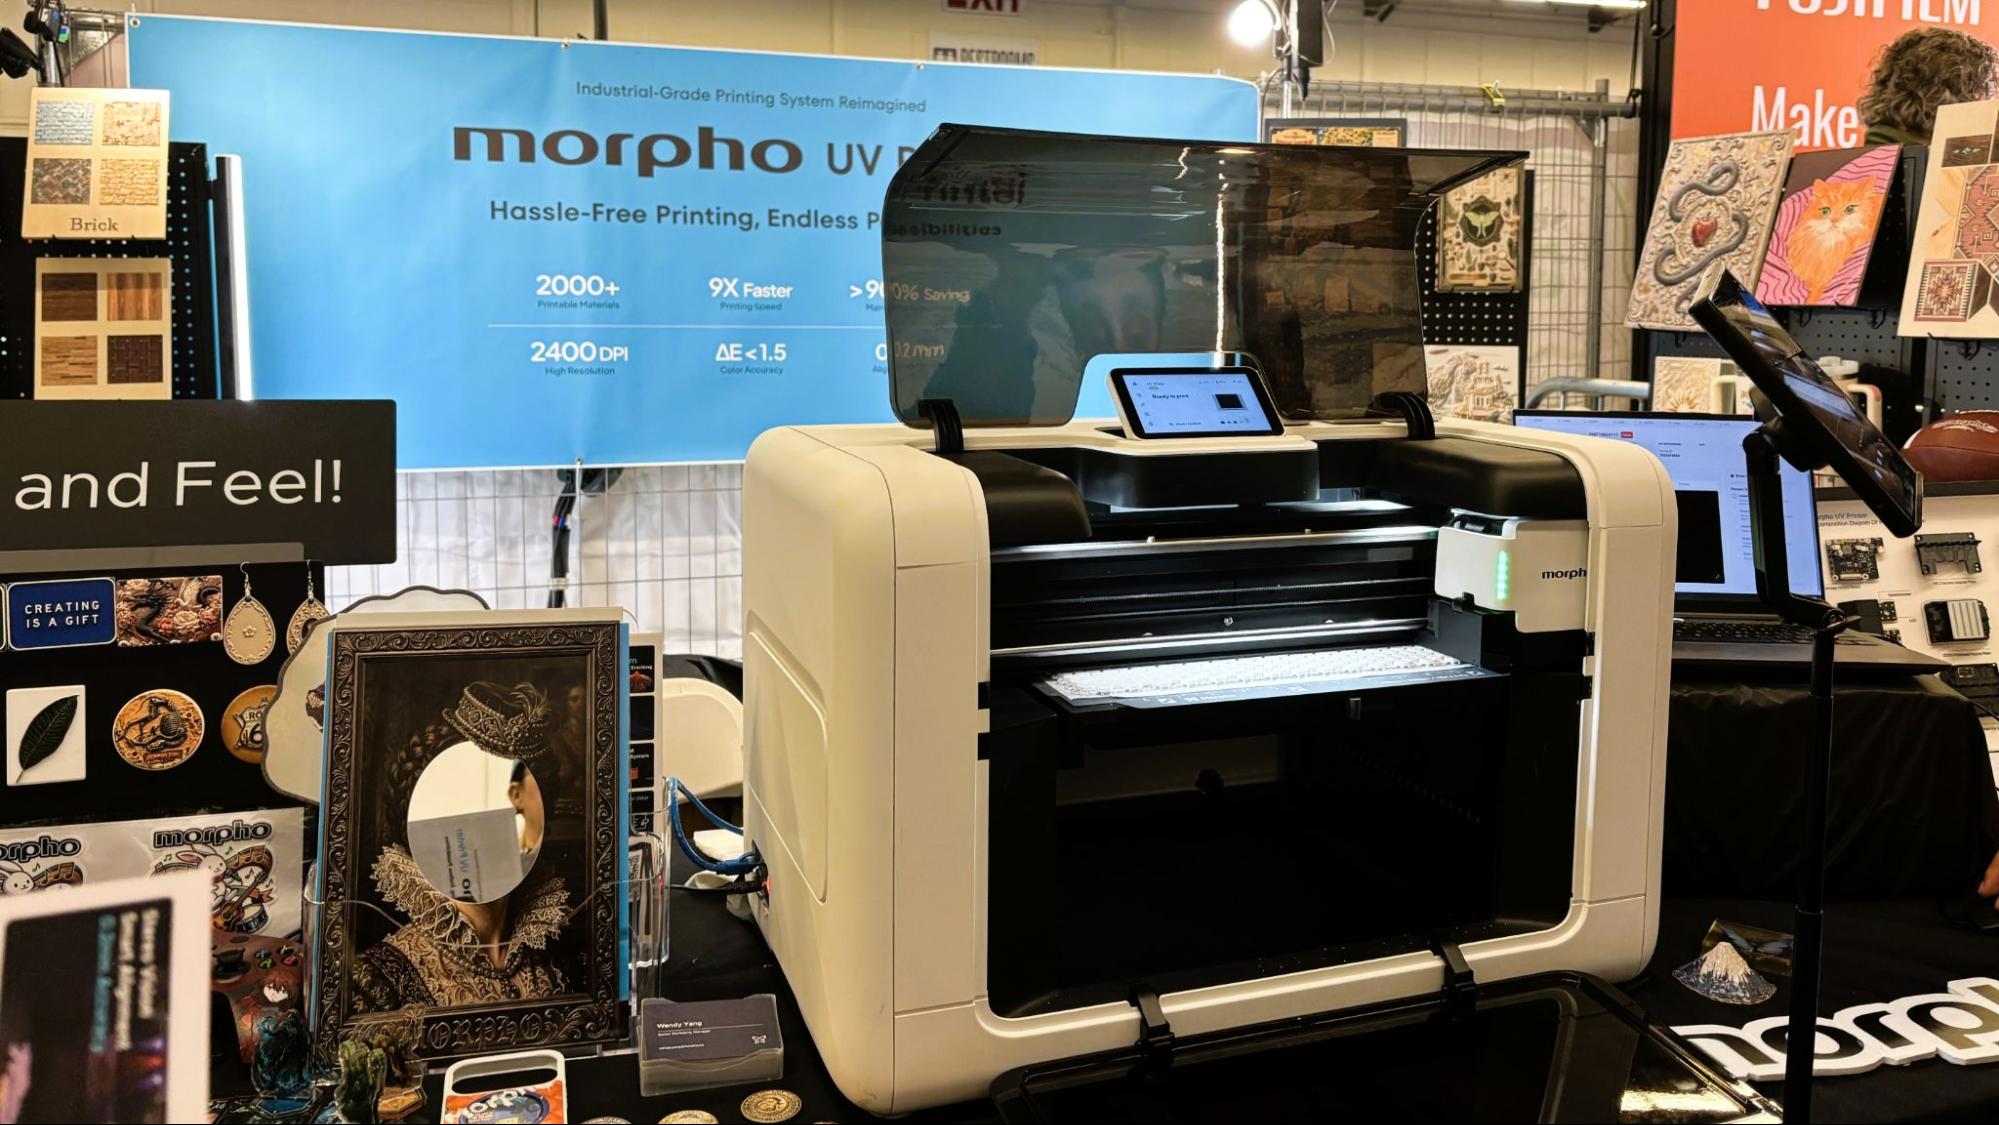
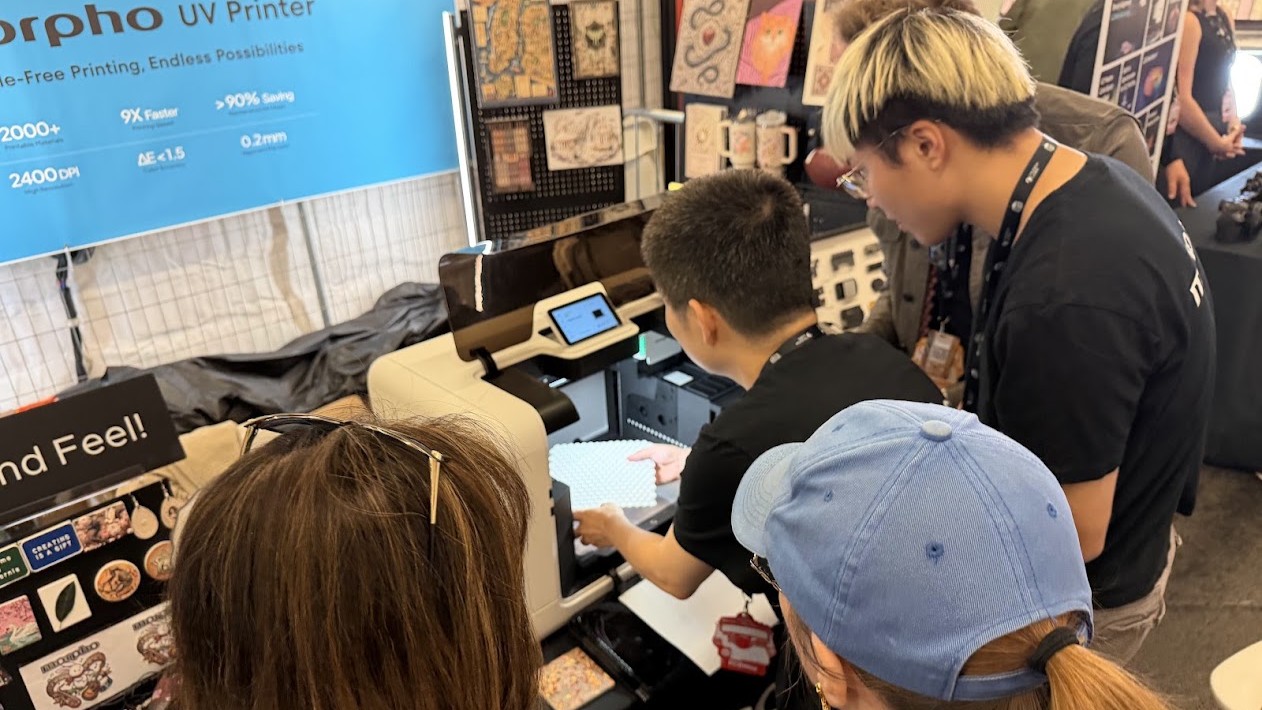
We are aware of five companies making the attempt to shrink these $50,000+ machines down to something a small business or garage-based entrepreneur can wrap their budgets around. Three of the companies were at Open Sauce: xTool, EufyMake, and Morpho.
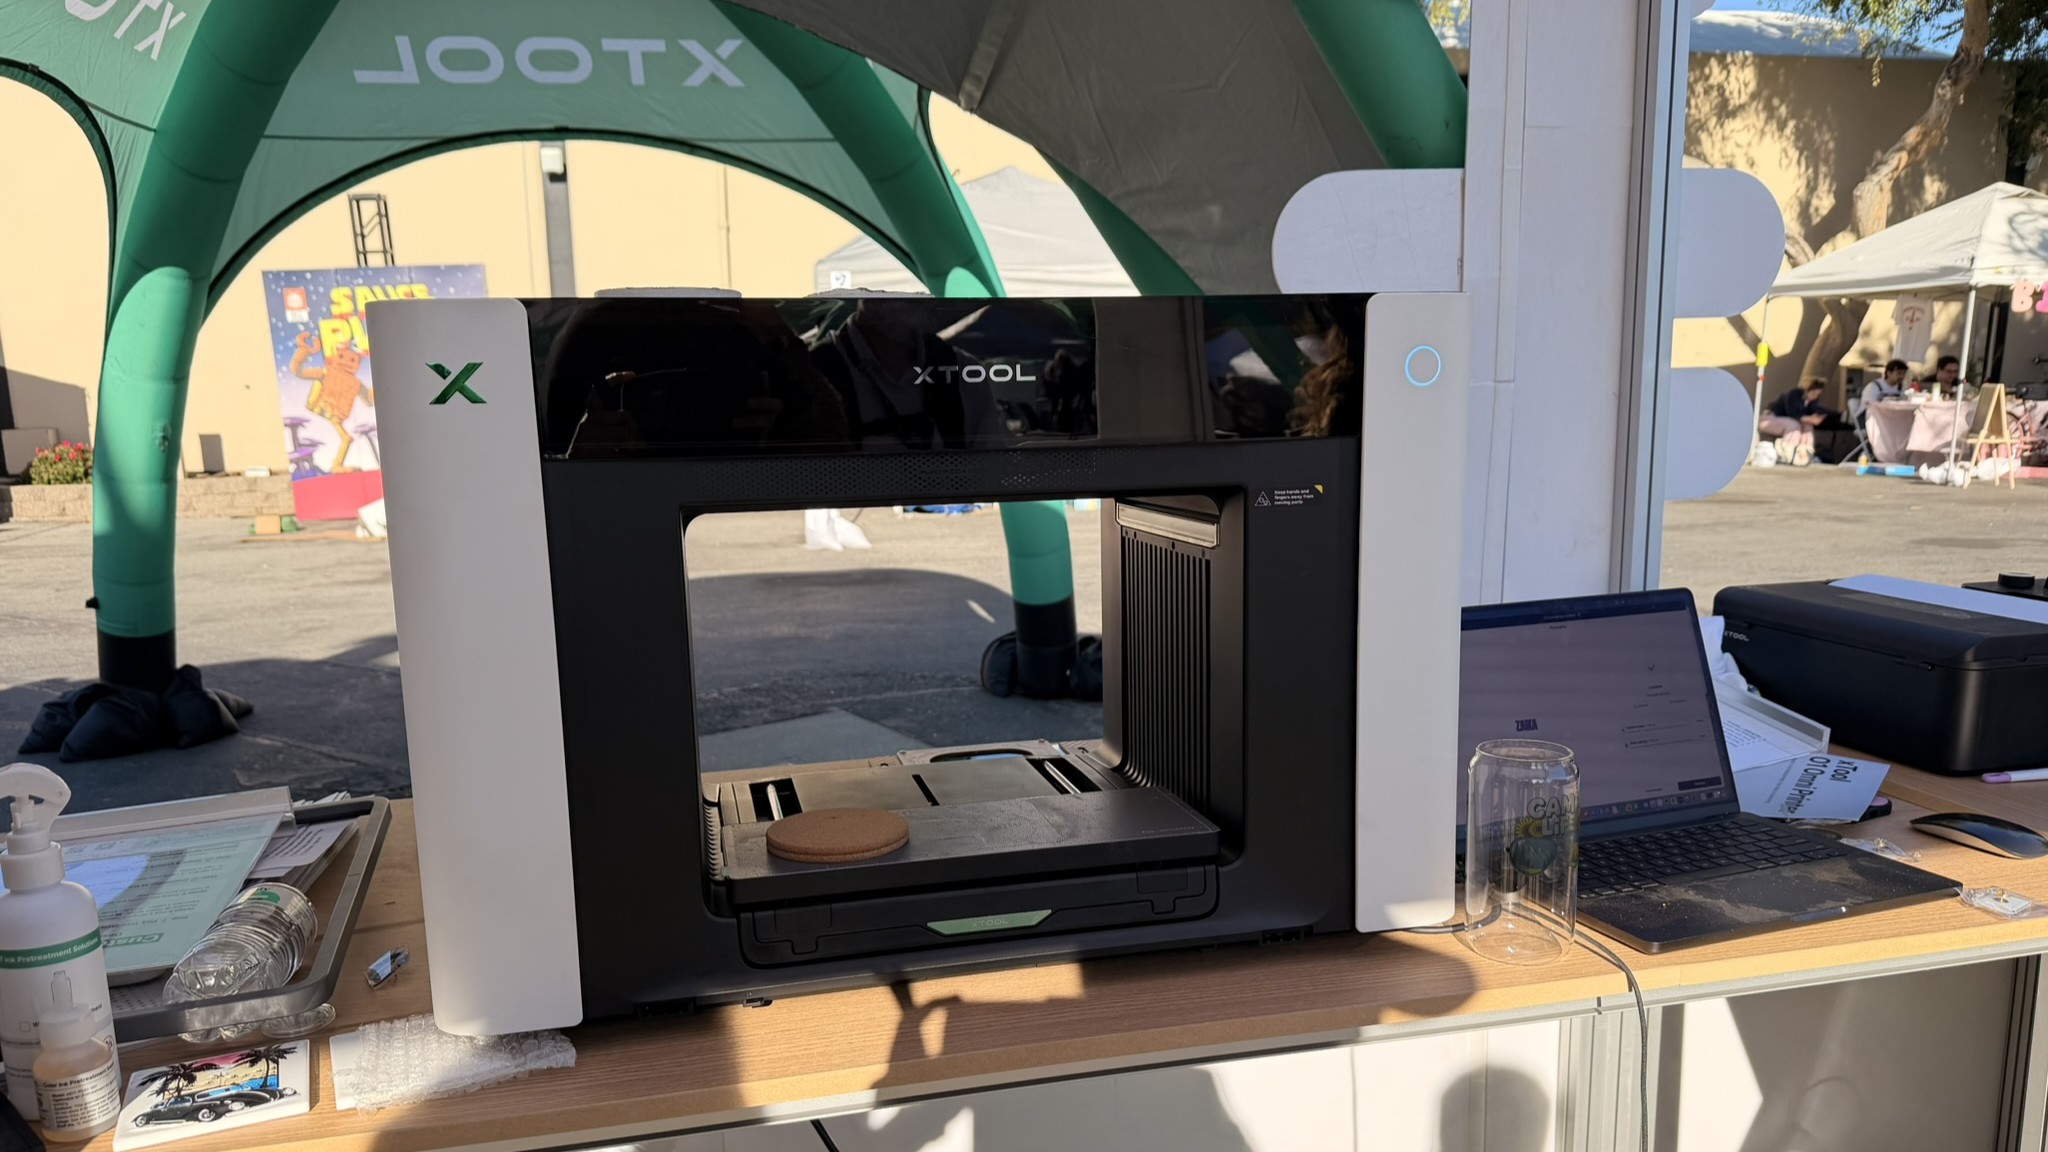
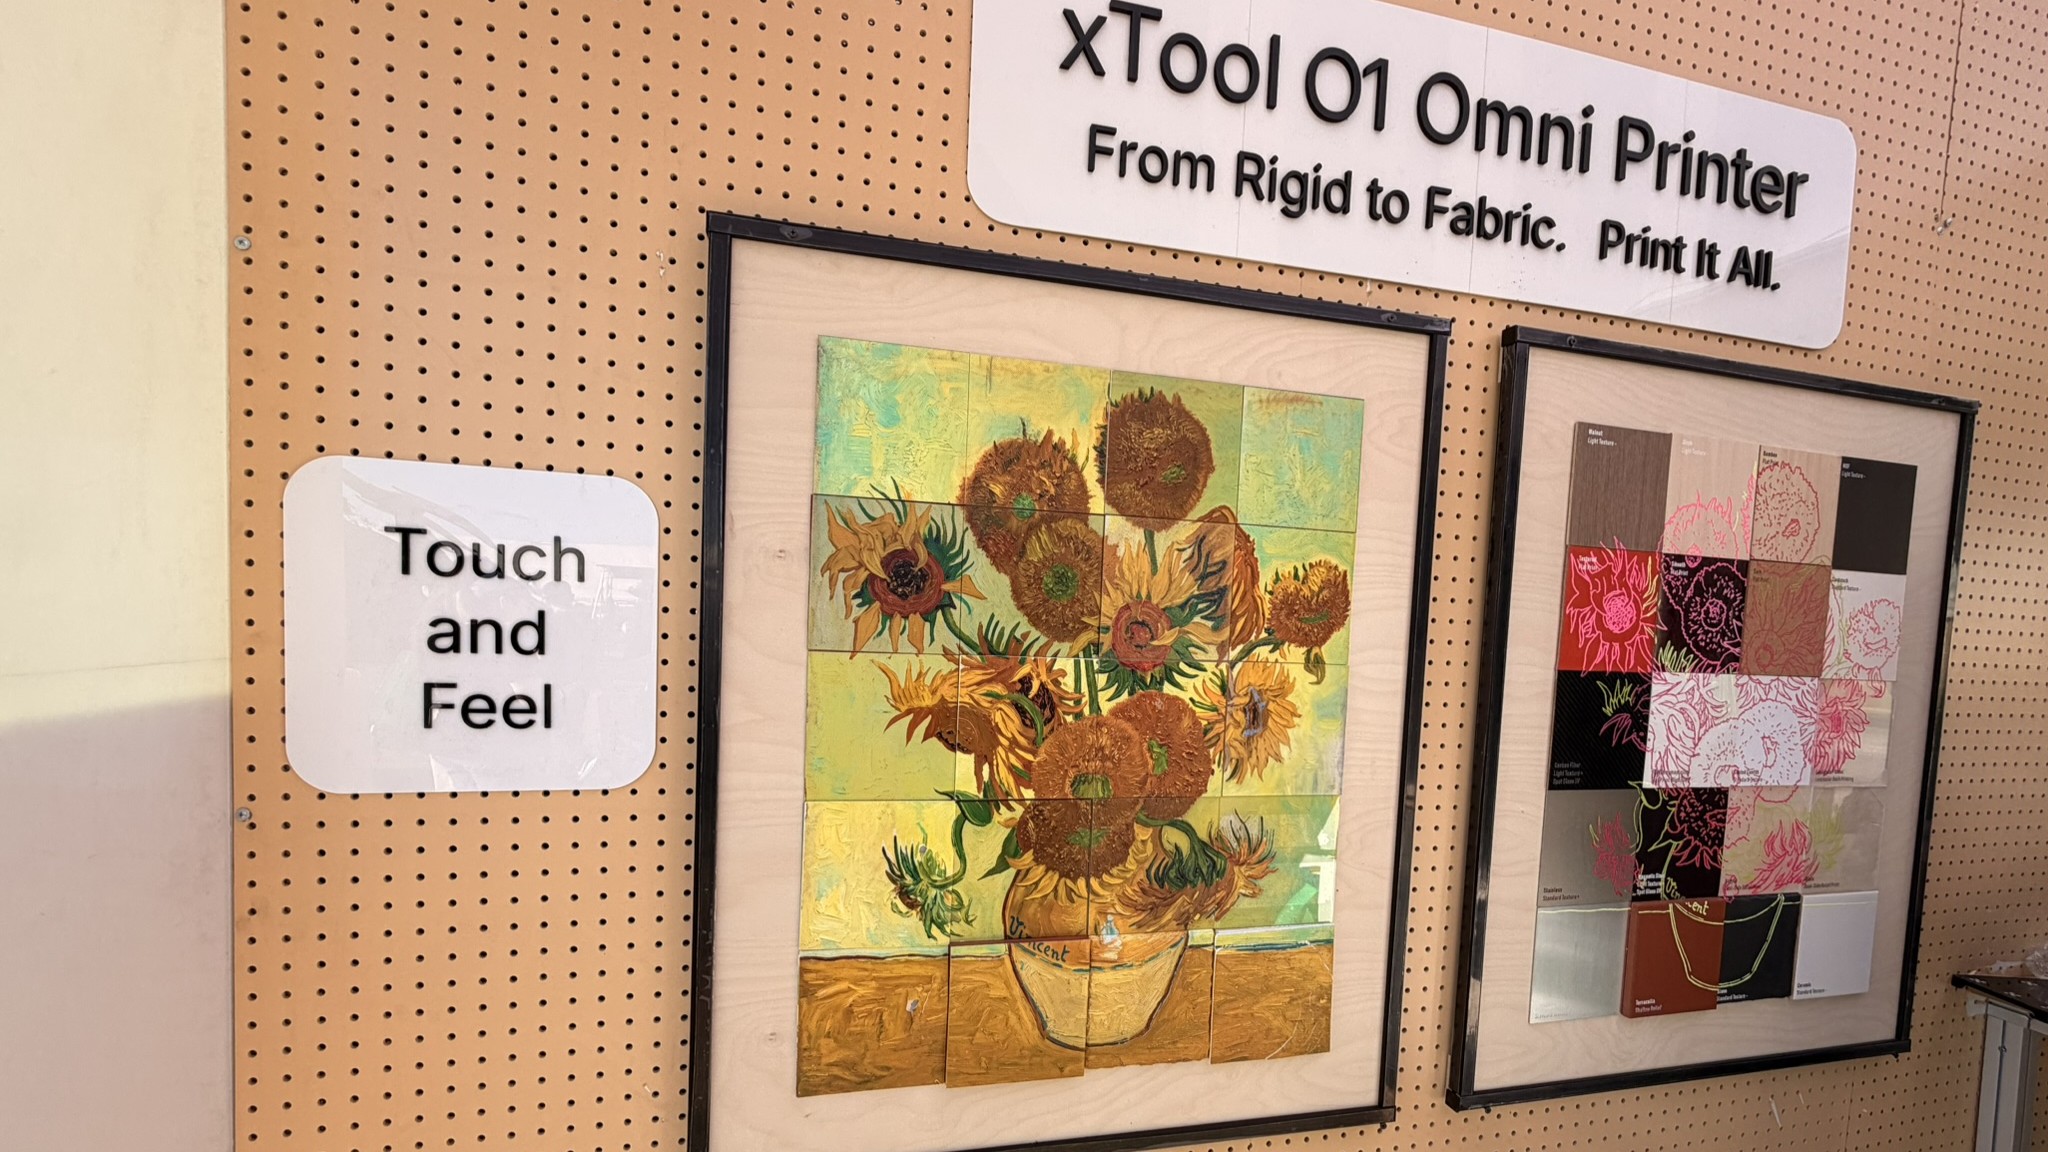
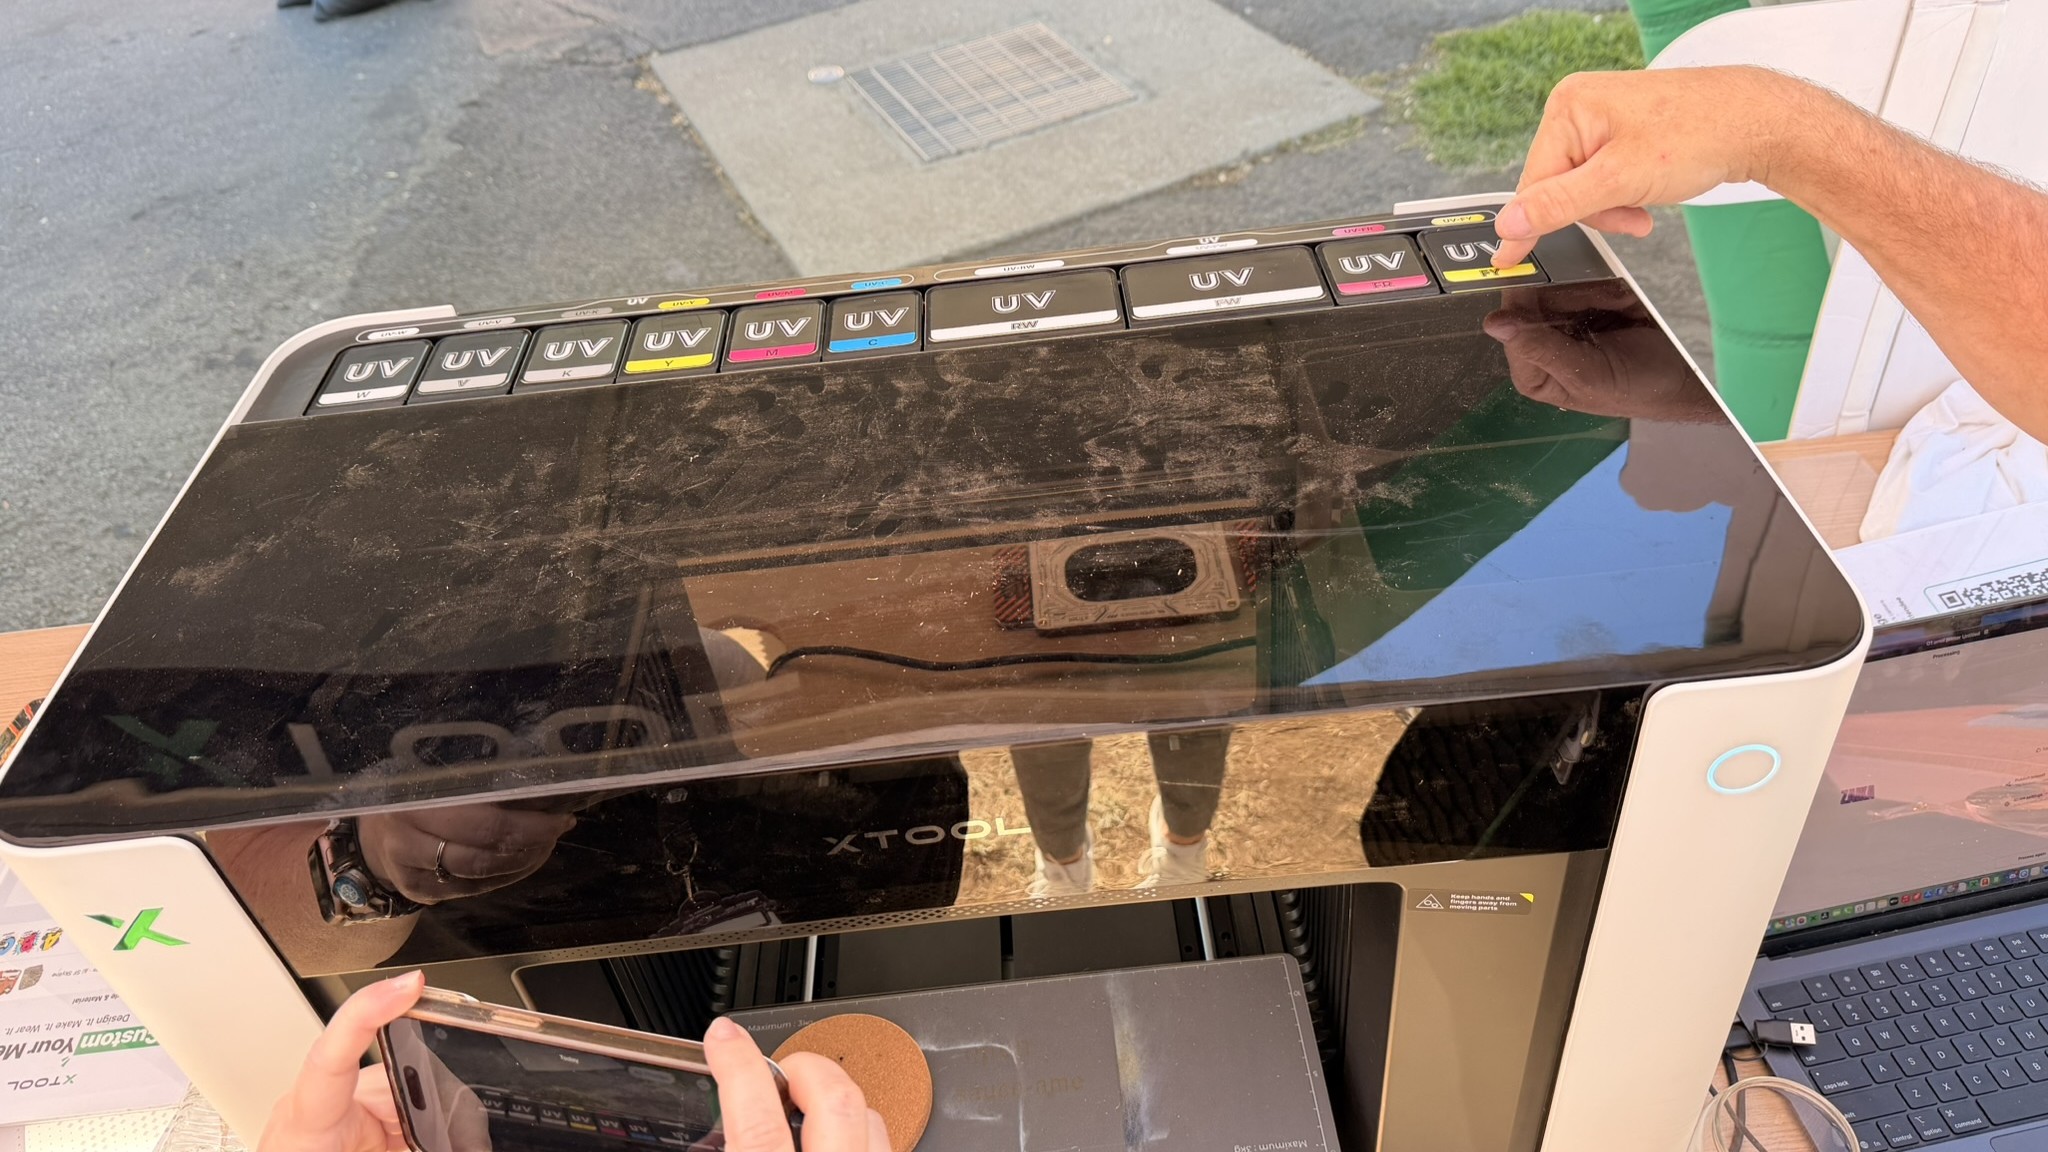
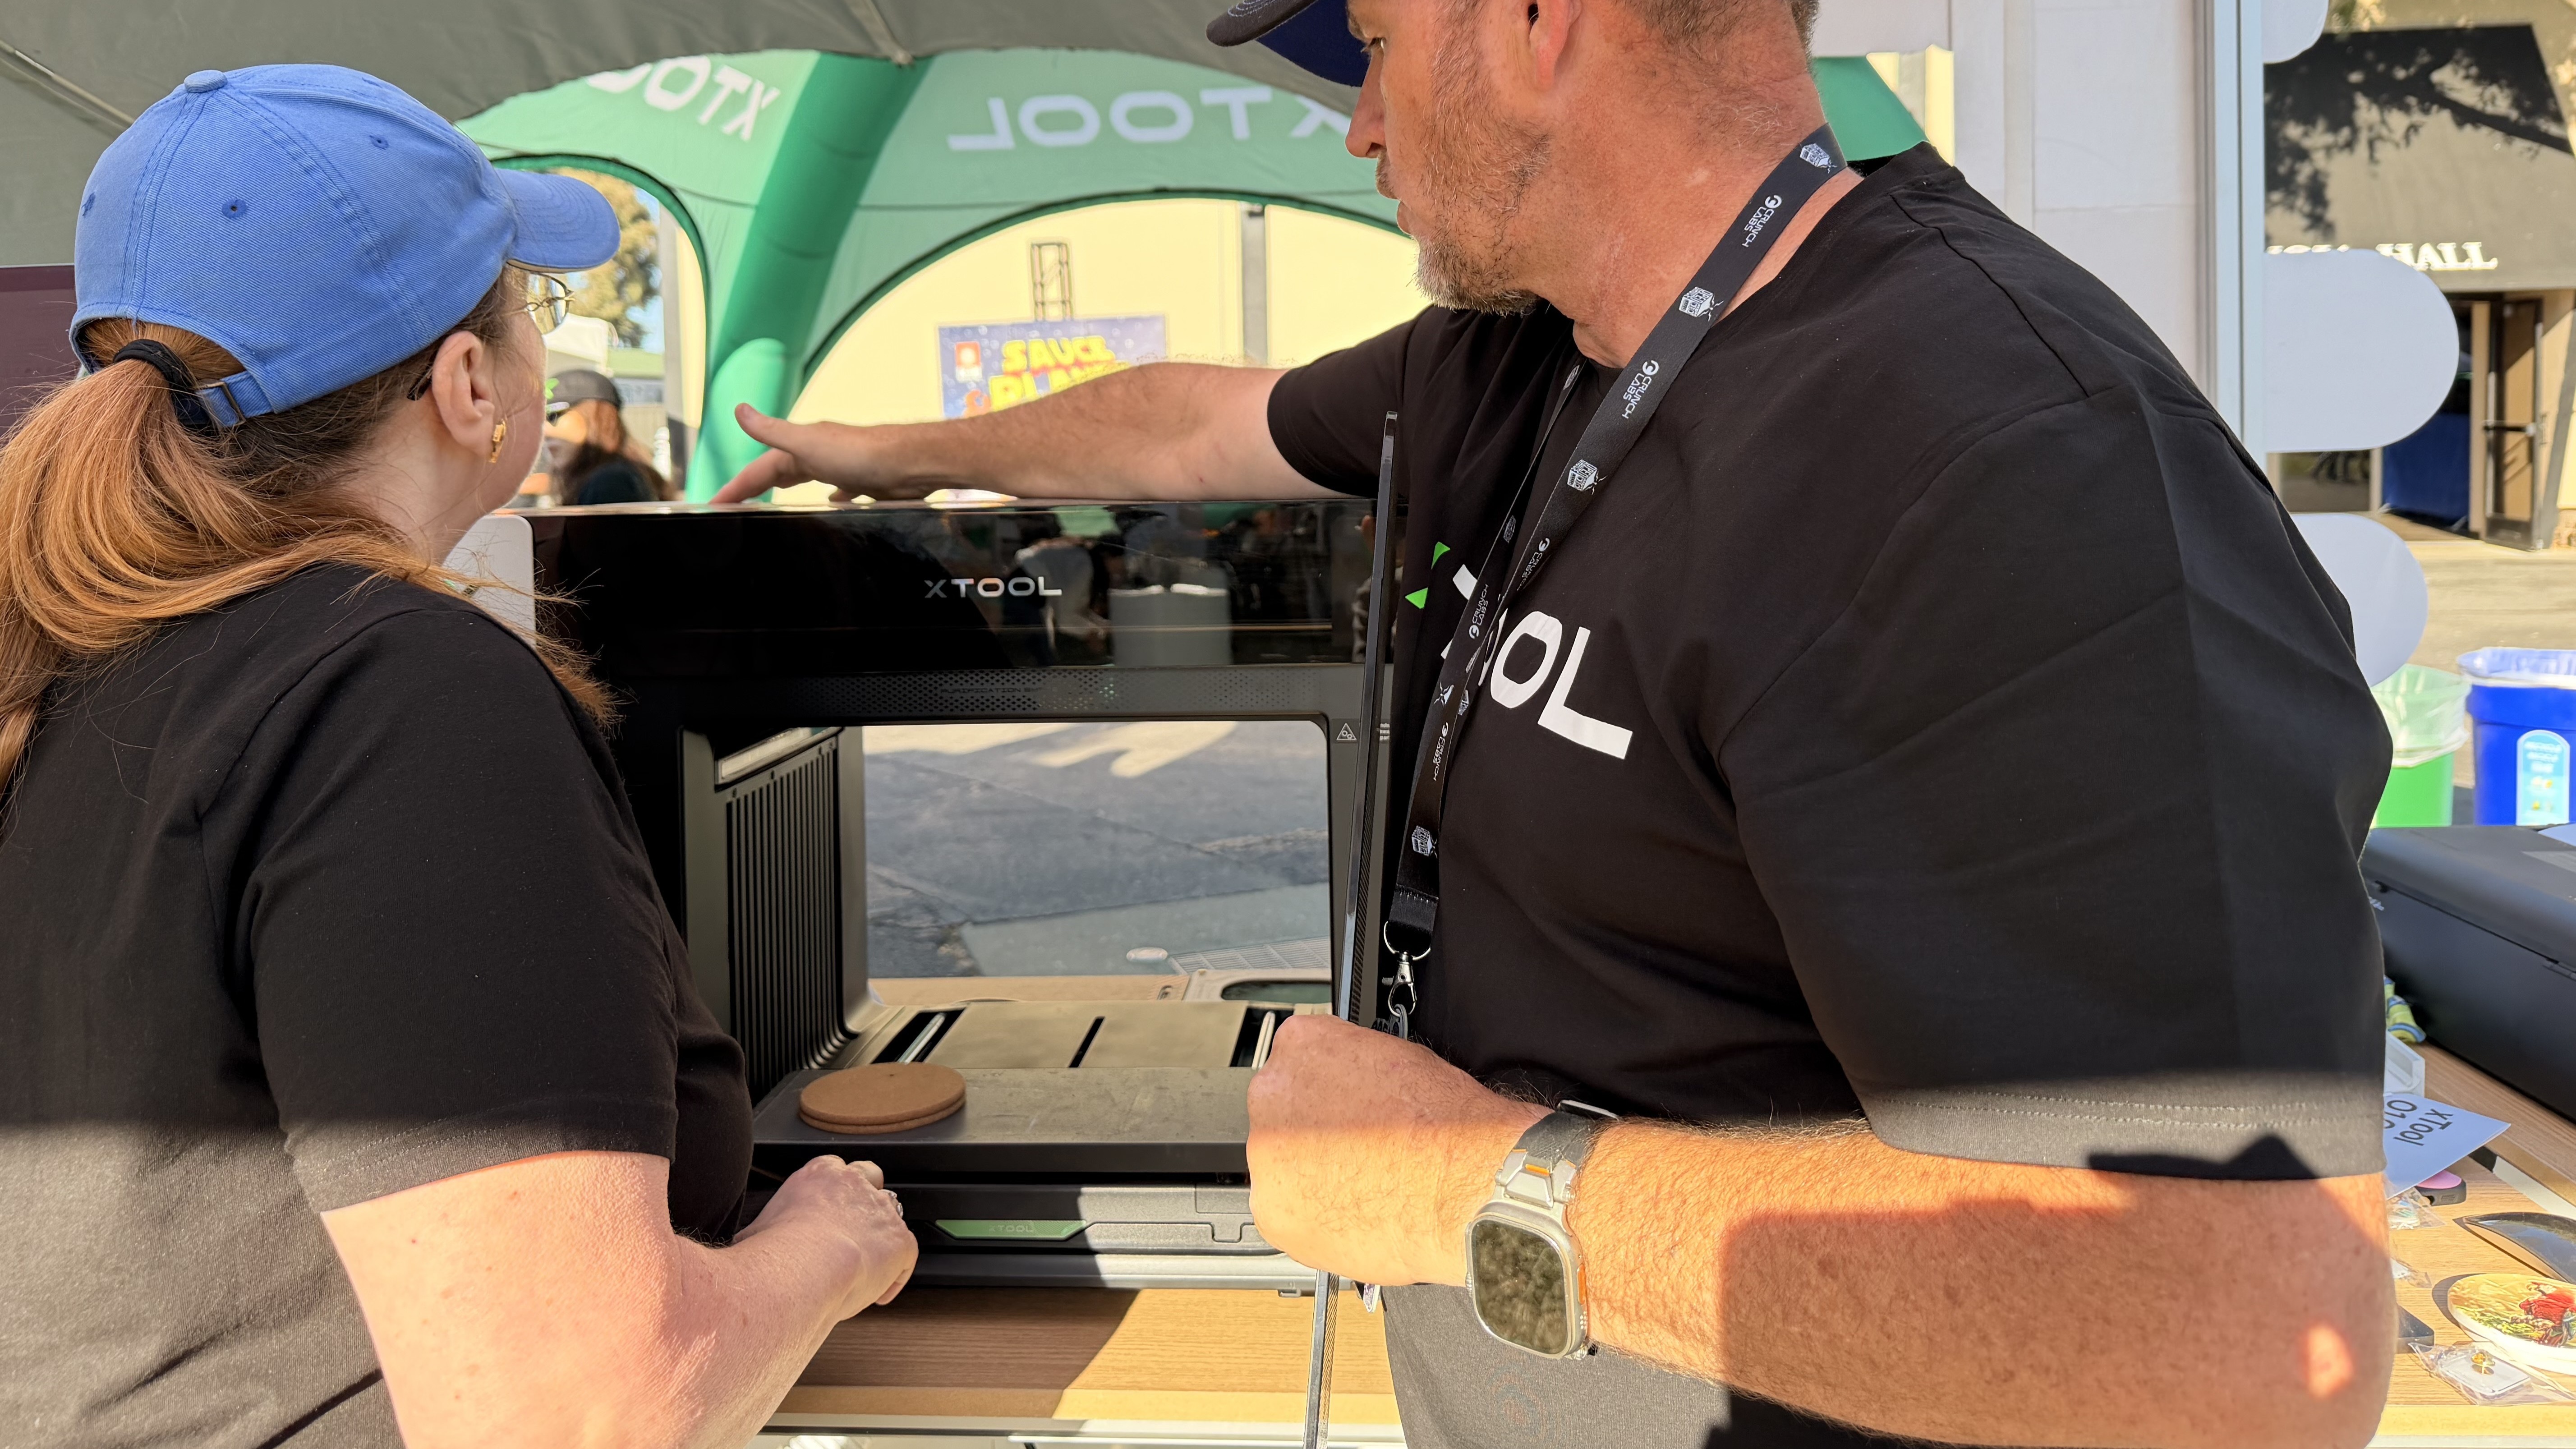
xTool had the largest visible presence of any of the sponsoring companies, with a huge display of hands-on stations in front of the outdoor stage, which it sponsored. The company brought out all its lasers and creator tools, with plenty of team members standing by to run demos. I was particularly interested in the new xTool O1 Omni, a four-in-one UV printer that can print on any material you can stuff in the print zone.
We’re waiting on a production-quality review unit for the Omni, which should be arriving soon. However, this one looks pretty good and is backed by xTool’s tremendous experience in similar categories. Machines start at $1,699 for a single UV head and go up to $3,969 for the works.
EufyMake: E1
Tom's HardwareTom's HardwareTom's Hardware
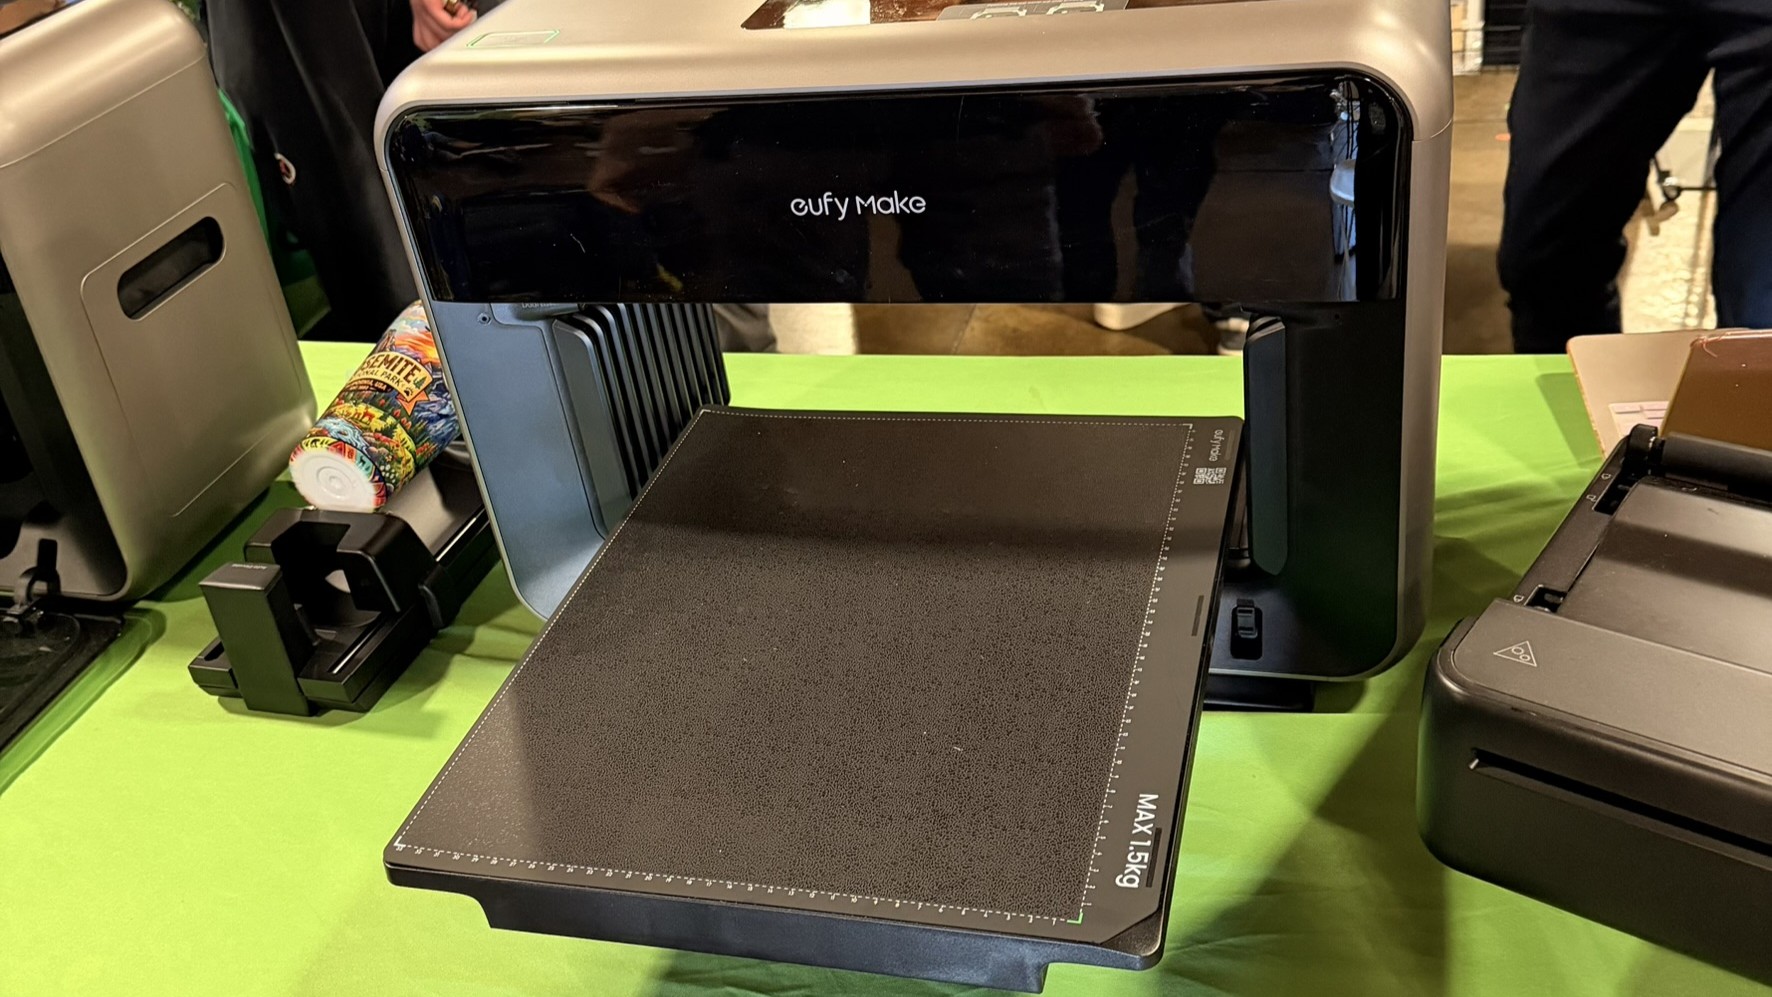
EufyMake, formerly known as AnkerMake, was the first company to get a desktop UV printer to market. Unfortunately, being first is not always best when it comes to technology, and the company had some supply chain issues when their Kickstarter was overwhelmingly successful. We reviewed the E1 last November.
Morpho
Tom's HardwareTom's HardwareTom's Hardware
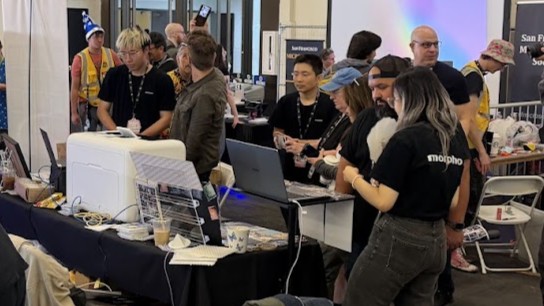
Morpho is the dark horse in this race, with one of the best-looking machines we’ve seen. The unknown startup took a modest booth in the main hall and brought their founder and CEO, Brett Wang, to personally demo the unit. Wang comes from DJI, where he was the former VP of R&D and founder of the company’s camera division. If that sounds familiar, Bambu Lab’s CEO, Dr. Tao, headed up consumer drones for DJI before launching his own 3D printer company. We’re looking forward to reviewing this open-source UV printer as soon as it’s ready.
But this was Open Sauce, and though we love to see what's coming to our retail shelves, the real draw is the projects. From the experimental to the unexpected, they are all incredible creations.
Resin Printing in a Flash
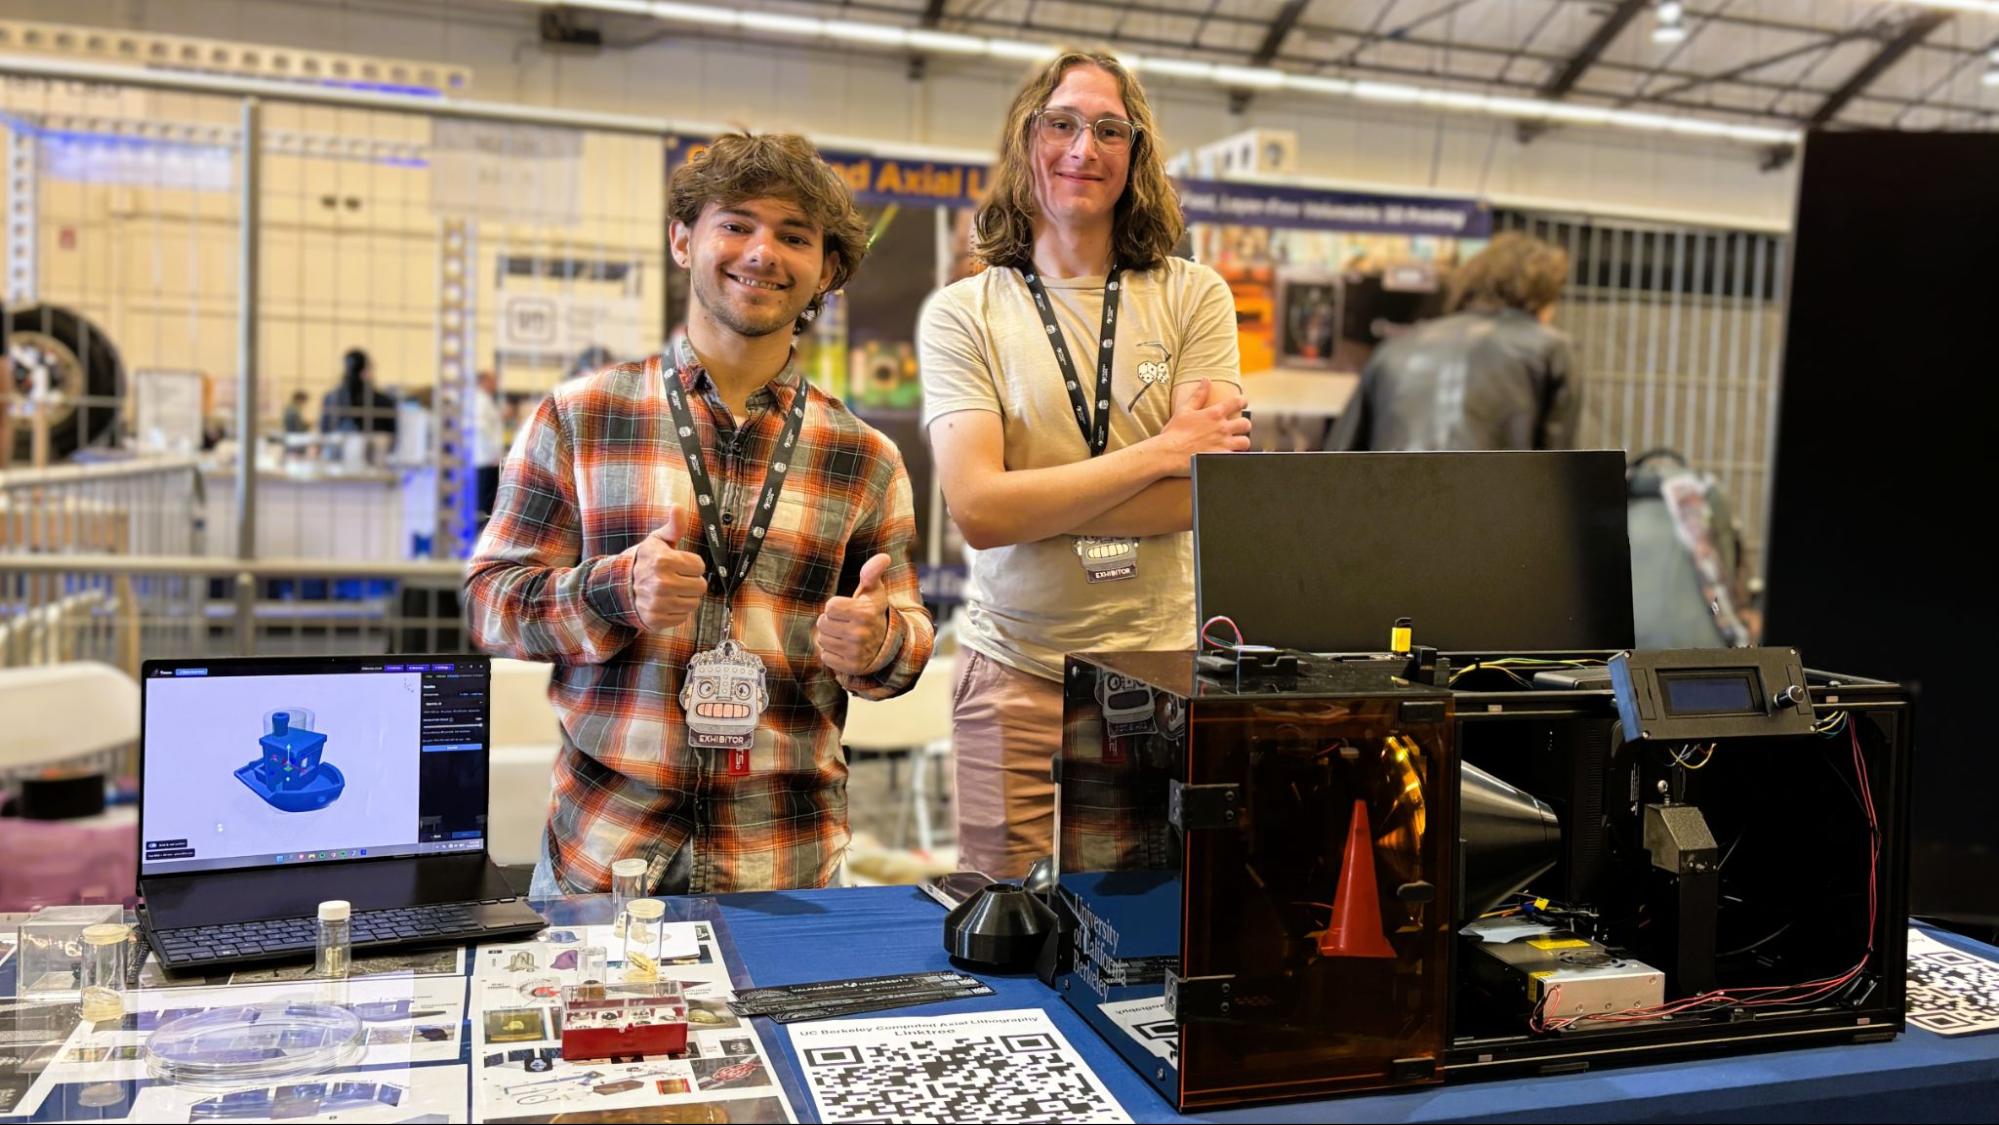
The UC Berkeley OpenCAL V2(Image credit: Tom's Hardware)
Students from UC Berkeley showed off an experimental method of resin printing their department has worked on since 2017. Dubbed OpenCAL, the open-source resin printer uses a video projection method to project an entire model at once, and flash-cure it in a special resin in just a few minutes.
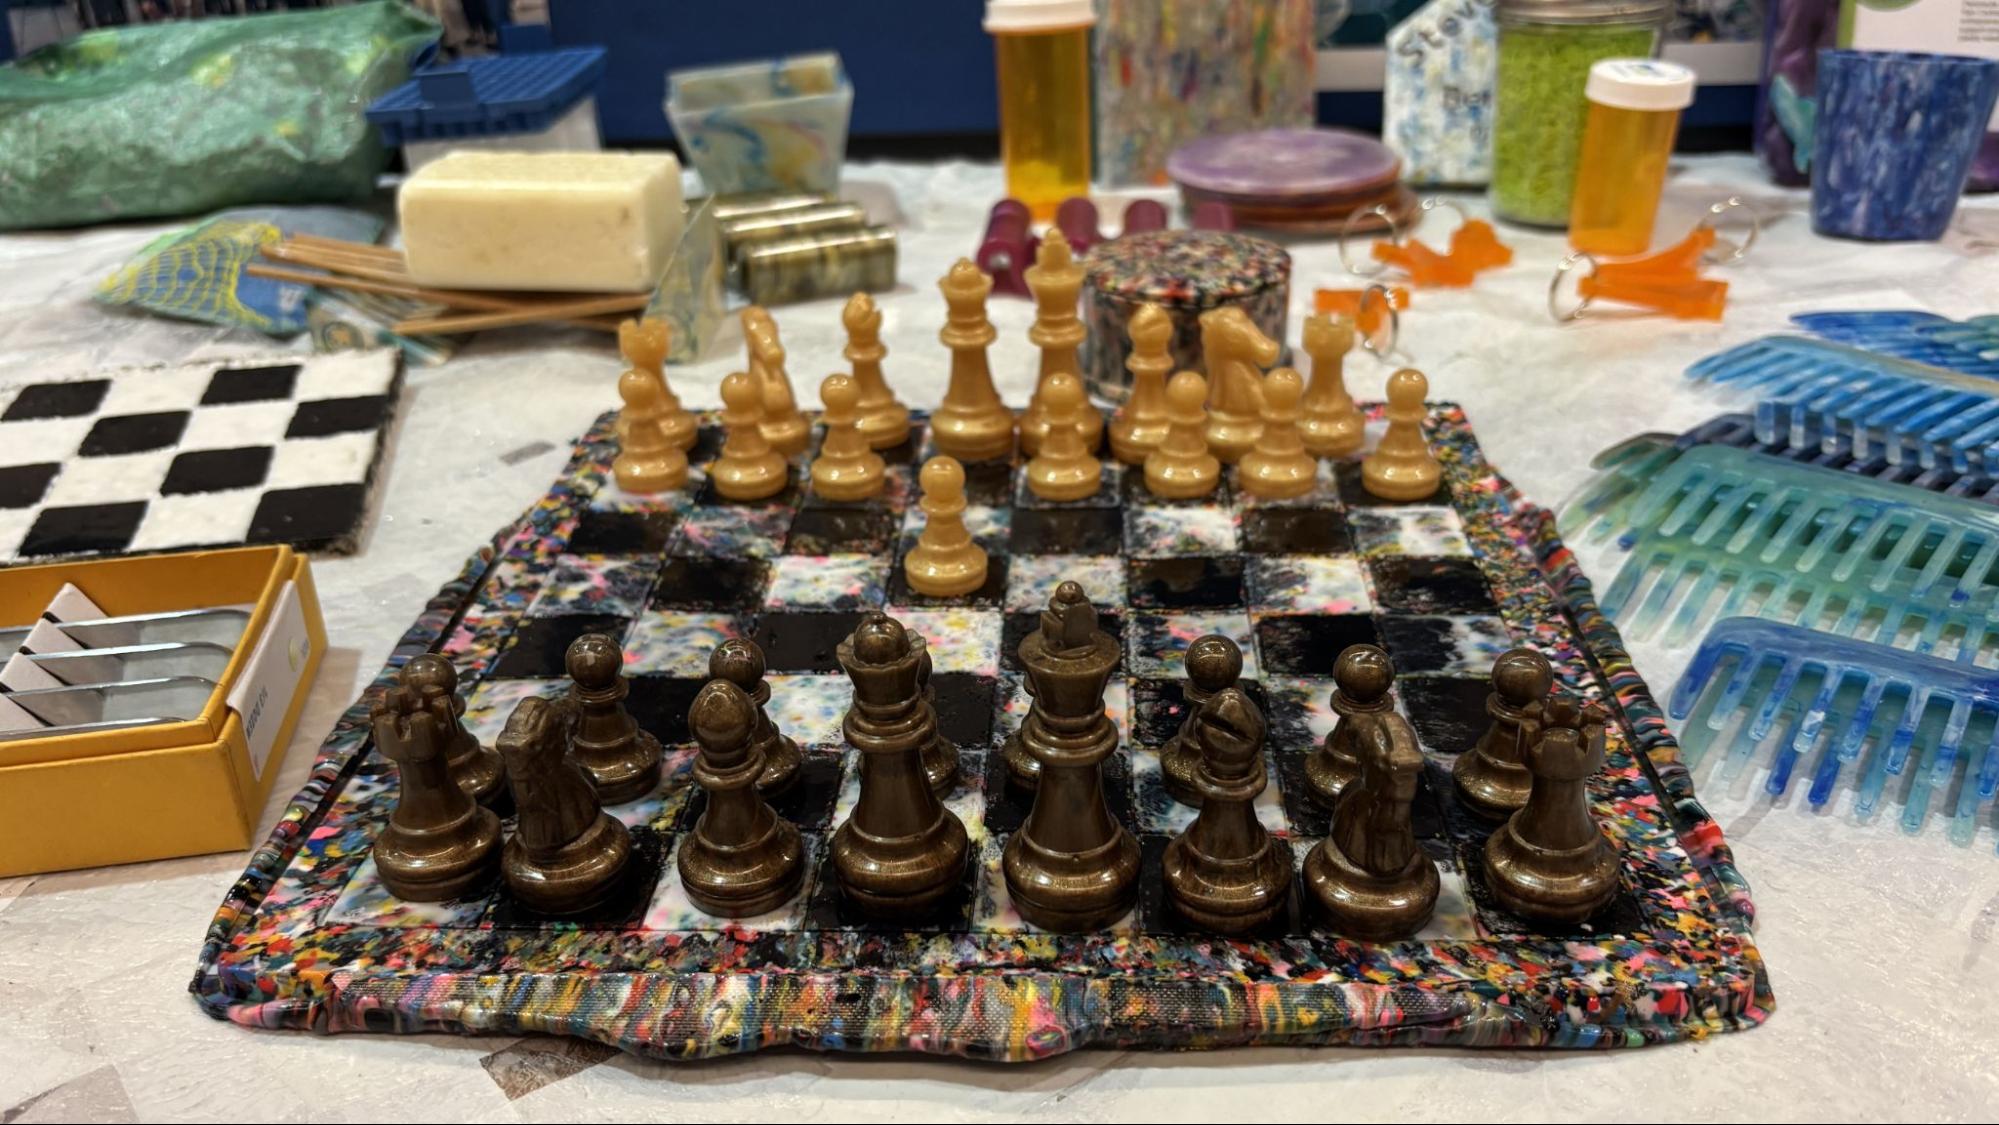
Recycled plastic chess board and pieces.(Image credit: Tom's Hardware)
Some projects were a little less high-tech, but just as worthy. Peninsula Precious Plastics showed how they support STEM and the arts with a focus on sustainability. They demonstrated how plastic can be shredded, melted, and injection-molded into new products. This certainly gives me some ideas for recycling my failed prints.
Mini 3D Printers
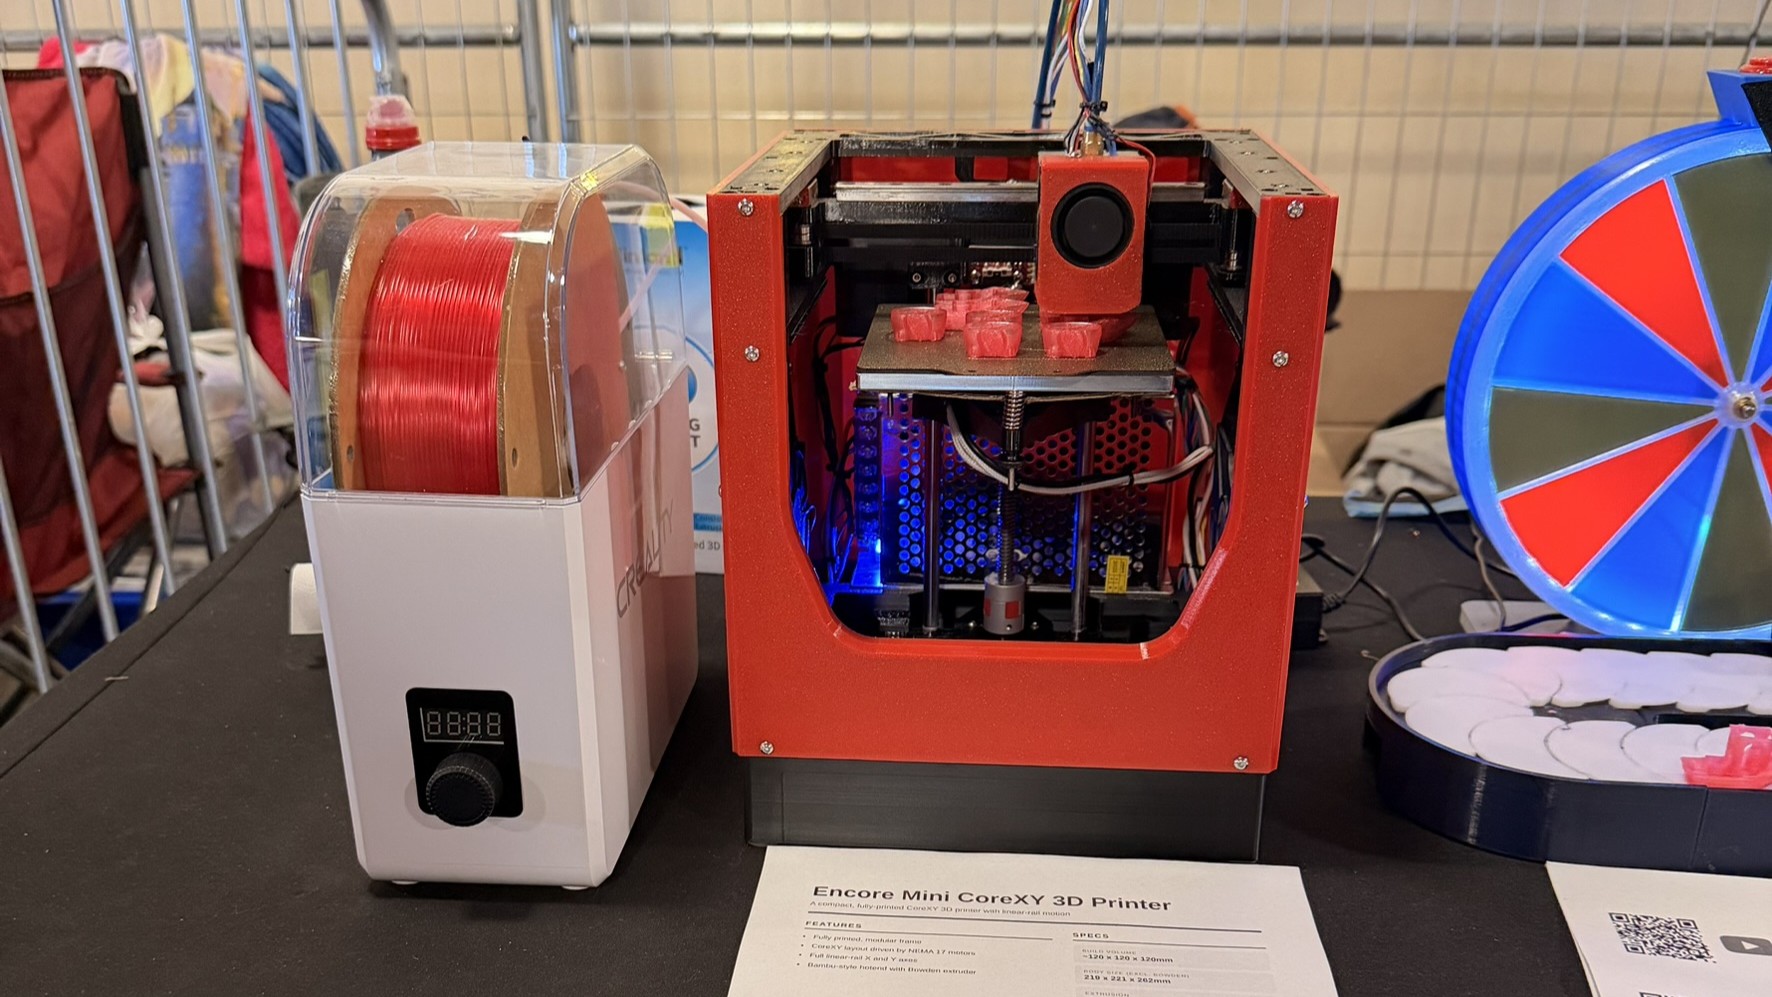
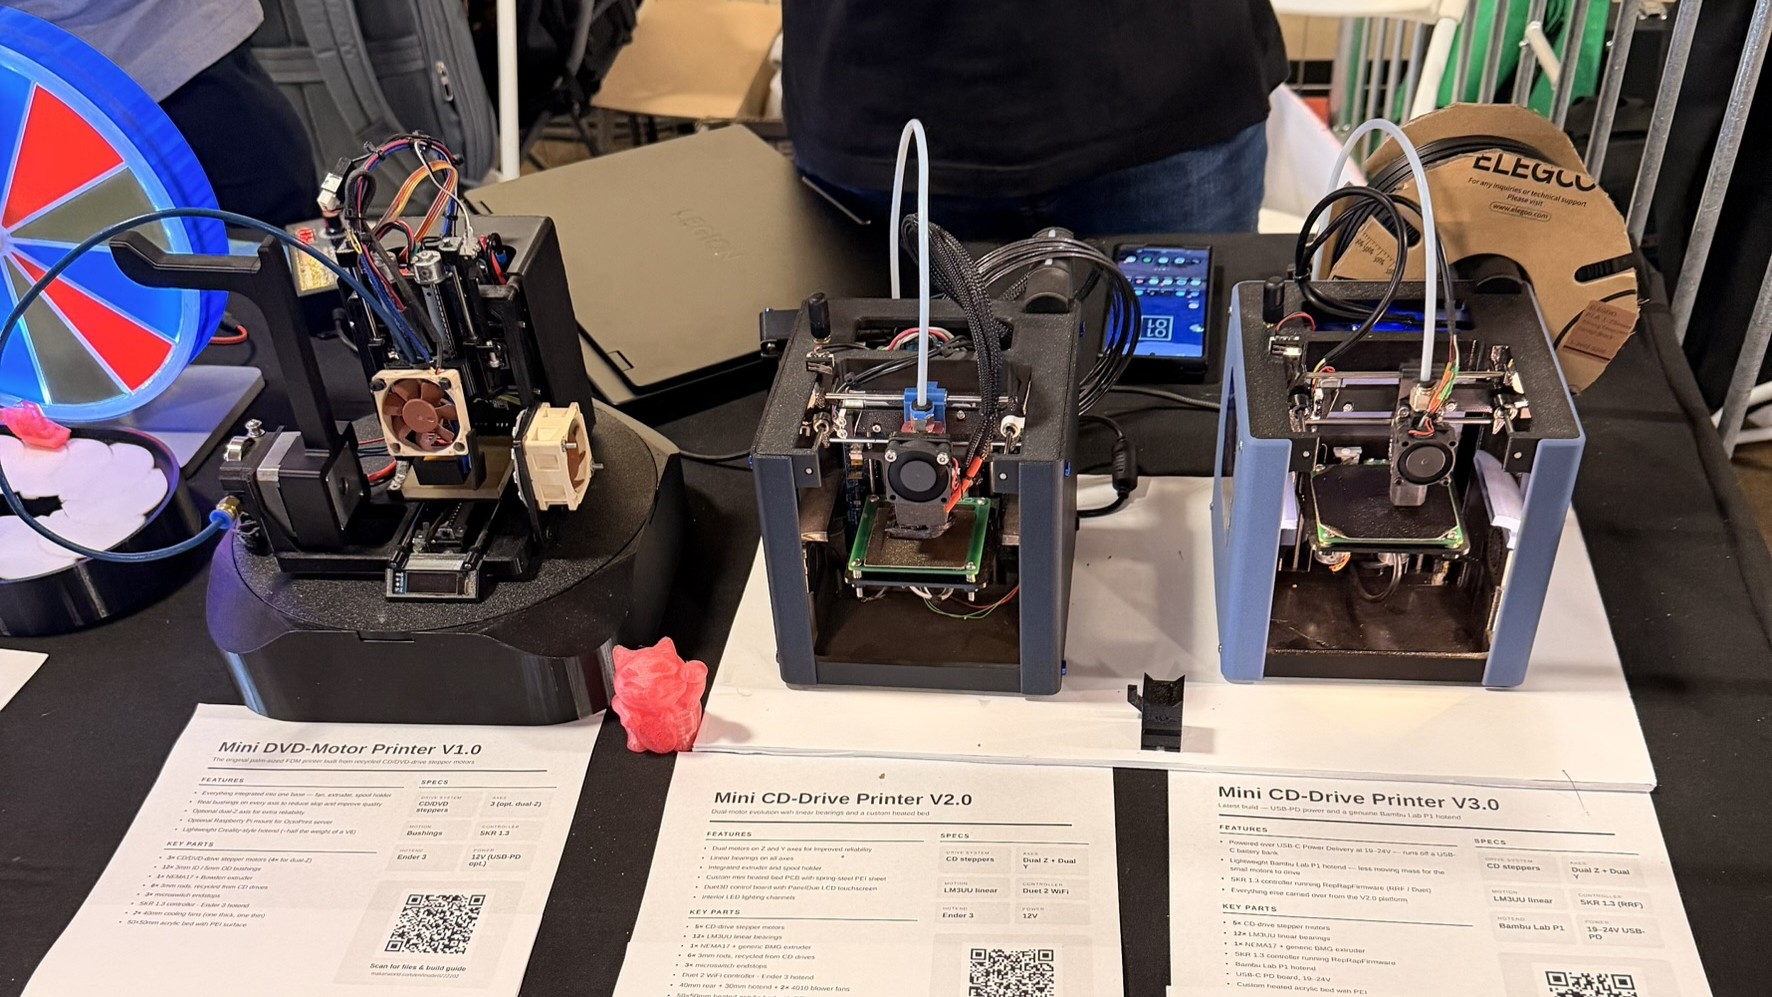
@TheBasedDoge's mini 3D printersTom's Hardware@TheBasedDoge's mini 3D printersTom's Hardware
@TheBasedDoge came out with an array of mini 3D printers he designed, from an Encore Mini Core XY 3D printer with a 3D-printed chassis to miniature 3D printers made with DVD motors and CD drives.
A Different Kind of Engineering
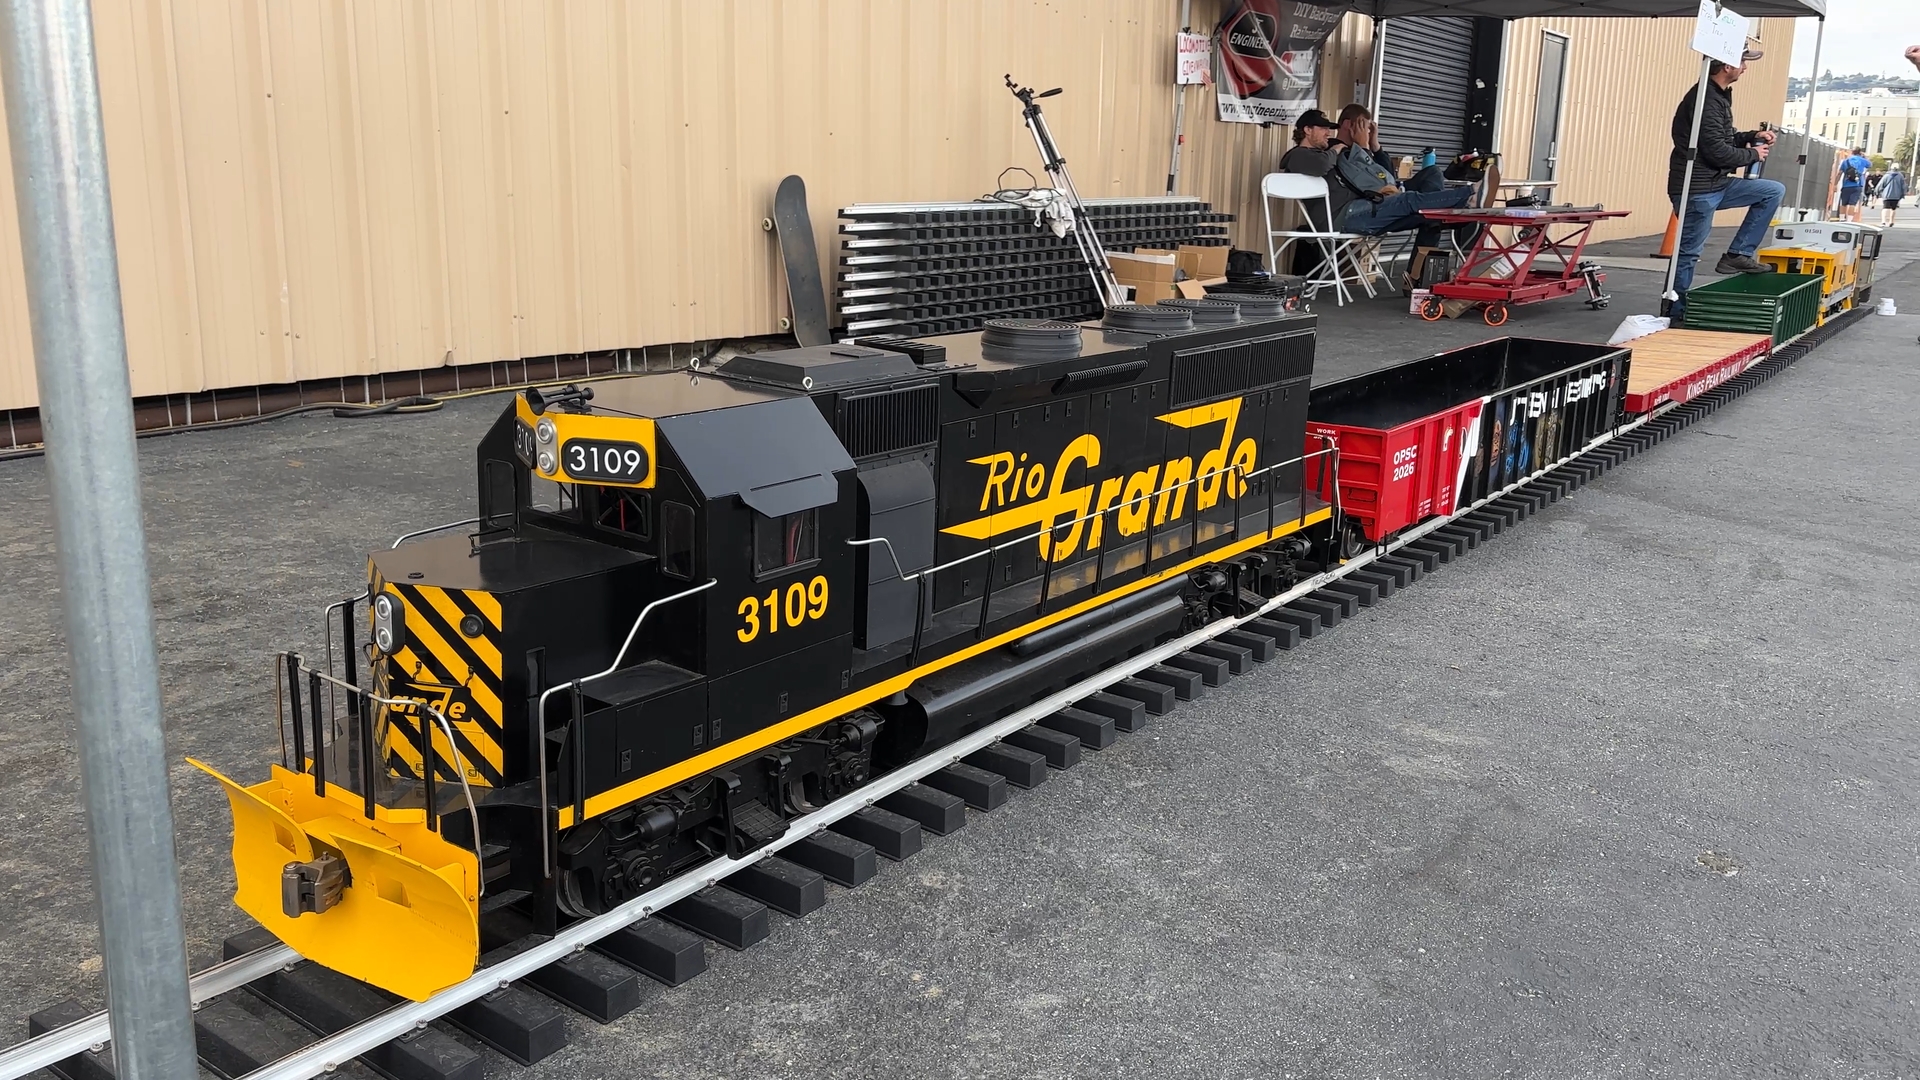
JT Engineering’s Backyard Railroad(Image credit: Tom's Hardware)
Sometimes it's not even obvious which projects were 3D printed, like this giant 1/8th scale model train, large enough to take twenty adults for a ride. This built-from-scratch train had tons of 3D-printed parts to give the steel body detail for a cheaper price: the lights, the numbers, the latches, air tanks, suspension, and more. If you want to see how it’s done, you can watch a video here that shows how the train is painted and detailed.
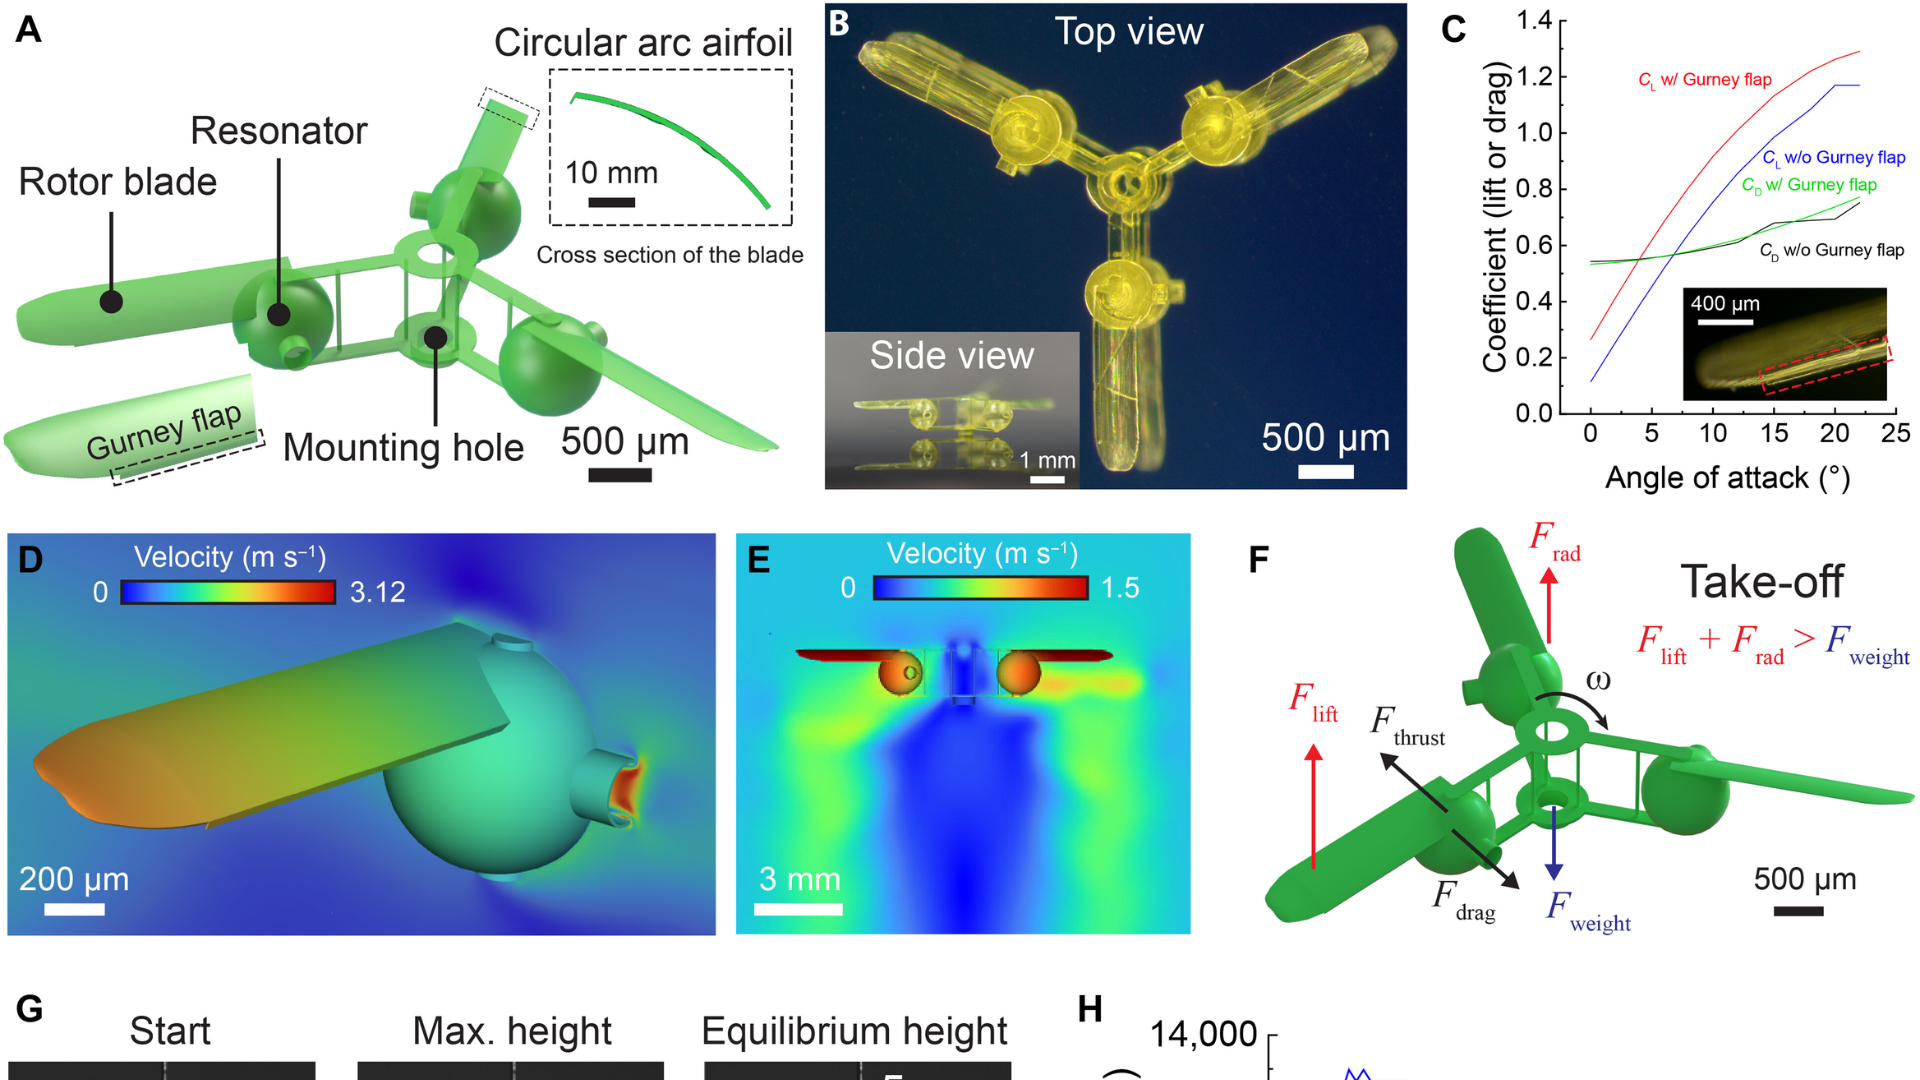
A research team from Switzerland’s École Polytechnique Fédérale de Lausanne (EPFL) Microbiorobotic Systems Laboratory (MICROBS) has developed a “sound-powered engine” that uses the resonant frequency of a specially shaped 3D-printed cavity to “energize” the air inside it and use it for thrust. The researchers then 3D-printed two small drones that were propelled by sound.
Sound waves at specific frequencies made the air molecules in these objects oscillate much more strongly and are then pushed out a specially designed nozzle as a concentrated jet.
“Instead of pushing devices around with sound waves, we have created acoustic resonators that are tuned to harness sound at specific frequencies to generate directional thrust and controlled motion,” MICROBS head Selman Sakar told the publication. “Our work shows the feasibility of transforming a simple, cleverly designed mechanical piece into robot matter.”
The team has created three practical applications of the “engine.” One is a boat that used three resonators — one placed at the rear of the boat and tuned to 540 Hz for propulsion and two on either side for navigation — while the other two are microfliers or tiny flying machines powered by ultrasonic frequencies.
The first microflier has three cavities, all facing downward, allowing it to lift off the ground like a rocket. The second flier has three blades connected at a central point, like the rotor of a helicopter, with the base of each blade equipped with a resonator pointing backward. When the resonators are hit with the exact frequency that drives them, they deliver thrust that allows them to rotate at over 12,000 rpm and cause the entire thing to hover. Note that ultrasonic frequencies are inaudible to humans, meaning these devices can hover practically noiselessly.
While not exactly the same as xMEMS’ fan-on-a-chip cooling solution, it follows the same principle of using vibrating air molecules to cause airflow. The biggest difference here is that the fan-on-a-chip uses an ultrasonic piezoelectric membrane to excite the air and cause it to move to a desired direction, while the “sound-powered engine” uses a specific cavity shape and resonant frequencies to achieve the same effect.
Even though the team has successfully used it for experiments, the microfliers’ maximum altitude is less than 5mm while the boat weighed next to nothing. Nevertheless, now that they’ve proven that the concept works, the next step is to scale it up to carry payload. If they can make it work, it could potentially be used as propulsion for a micro-drone, like this mosquito-sized unit from China.
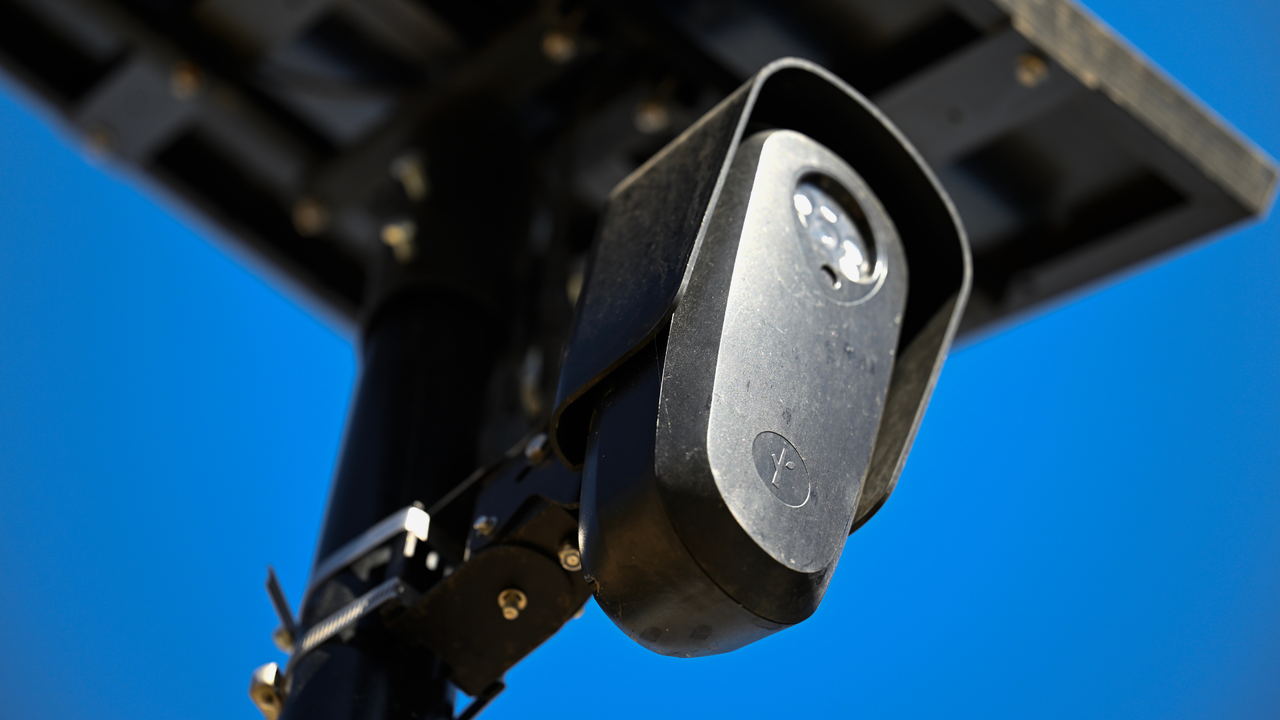
Privacy concerns and multiple incidents have led many citizens to take it upon themselves to block or disable Flock cameras. They often do this either by placing black trash bags over them or by spraying paint or insulating foam onto their lenses. Now, the former can be dangerous, especially if you don’t have equipment, as you need to reach high enough to cover the camera and secure the plastic bag over it. The latter can get you into deeper trouble, as paint or foam can damage the camera. So, 3D printing enthusiast SquidInk decided to create an easy-to-use model that would take seconds to install without damaging the camera and posted it onMaker World.
While the public was initially concerned about their privacy with Flock’s AI-powered cameras, this concern eventually turned into outrage after it was discovered thatsome police officers had been misusing the system. There were also a couple of high-profile incidents where procedural errors led to themistaken apprehension of innocent people. Because of these incidents, some jurisdictions have voted to remove these cameras, tothe chagrin of some of their most ardent supporters. As for towns and cities that voted to keep their Flock AI cameras operational, some citizens are taking matters into their own hands and deliberately blocking these cameras to prevent them from capturing video. Note that actions like these are probably illegal and will get anyone caught doing so in hot water. Possible charges include vandalism, criminal mischief, property damage, tampering with public infrastructure, obstruction, and more.
The Flock Sock itself doesn’t encourage anyone to commit a crime. Its description says, “The Flock Sock is a slip on cover designed to help protect a Flock camera from the harmful radiation of the sun. Your city spent their very own hard-earned tax dollars scattering these cameras everywhere to keep you safe, all it cost you was a little privacy. The very least you can do is help protect these valuable civil servants from getting a bad sunburn.”
The creator also said that Flock commonly uses three different models, and that they’re working on profiles for the other two so that there’s a 3D-printable Flock Sock for every Flock camera you may find in the wild.
Aside from being easy to print, it’s also easy to use and deploy. It slides onto Flock cameras in seconds, and you can easily lift it into position with a 1-inch broom handle through the built-in adapter. They also highlighted that it’s 100% non-permanent, saying, “No glue, no screws, and zero structural changes. Because it pops off instantly with absolutely no damage caused and costs exactly $0 to revert, it conveniently avoids some of the troublesome labels that Uncle Sam might stick to you. It's just a removable accessory.” While SquidInk recommended using ABS/ASA for its excellent heat and UV resistance, they also suggested using PLA “if you prefer your Flock Sock to develop a long term relationship with the summer heat.”
Again, tampering with Flock cameras in your city may get you in trouble, as it most likely constitutes a crime or misdemeanor. Nevertheless, public anger at Flock and its misuse has reached the point that a few are taking physical action against the cameras.
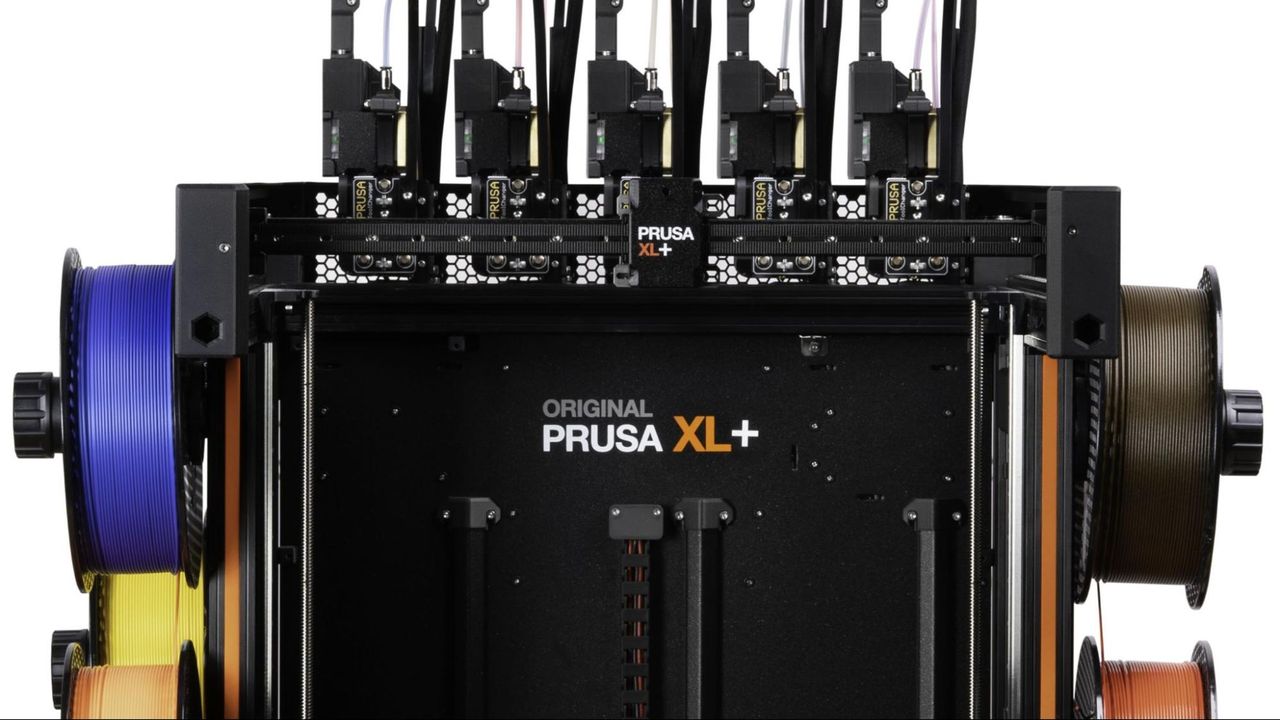
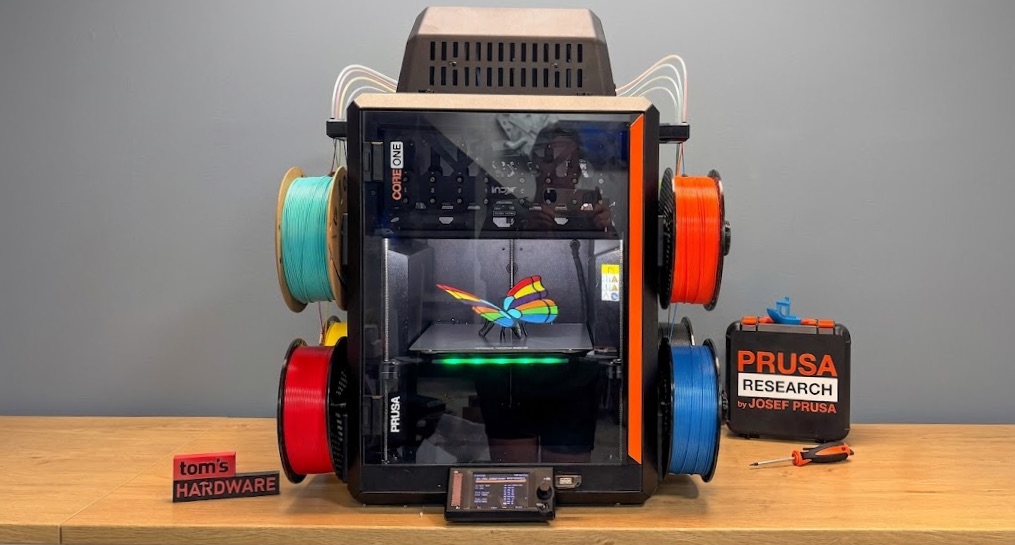
If you’re feeling sad that you can’t afford a new 3D printer this summer, perhaps you can swing an upgrade instead? Prusa Research just announced that its “entire lineup” of 3D printers is getting second-generation upgrades and a “+” designation. This includes the XL, Core One, and Core One L.
All “plus” upgrades will be automatically added to printers being sold today. If you have an order in progress, you will receive the plus version at no extra charge. Prusa Research is not increasing the price of any machine receiving a “plus” upgrade.
Upgrade kits will soon be made available for Prusa owners. The components can be purchased à la carte if you want to pick and choose your upgrade. Prusa Research said all upgrades will be available on its webstore by September.
The bedslinging MK4S was notably left off the list, but while the descendant of Josef Prusa’s original i3 printer may have hit the end of the upgrade line, the company has not pulled support for the machine. Prusa Research supports every machine they’ve made for years.
“If there’s one thing worth knowing about how we develop our printers, it’s this: we don’t expect you to replace a working machine just because we’ve come up with something new. Most tech becomes obsolete over time. Our printers keep getting better,” said Mikolau Zuza, the Head of Content at Prusa Research, in a recent blog post.
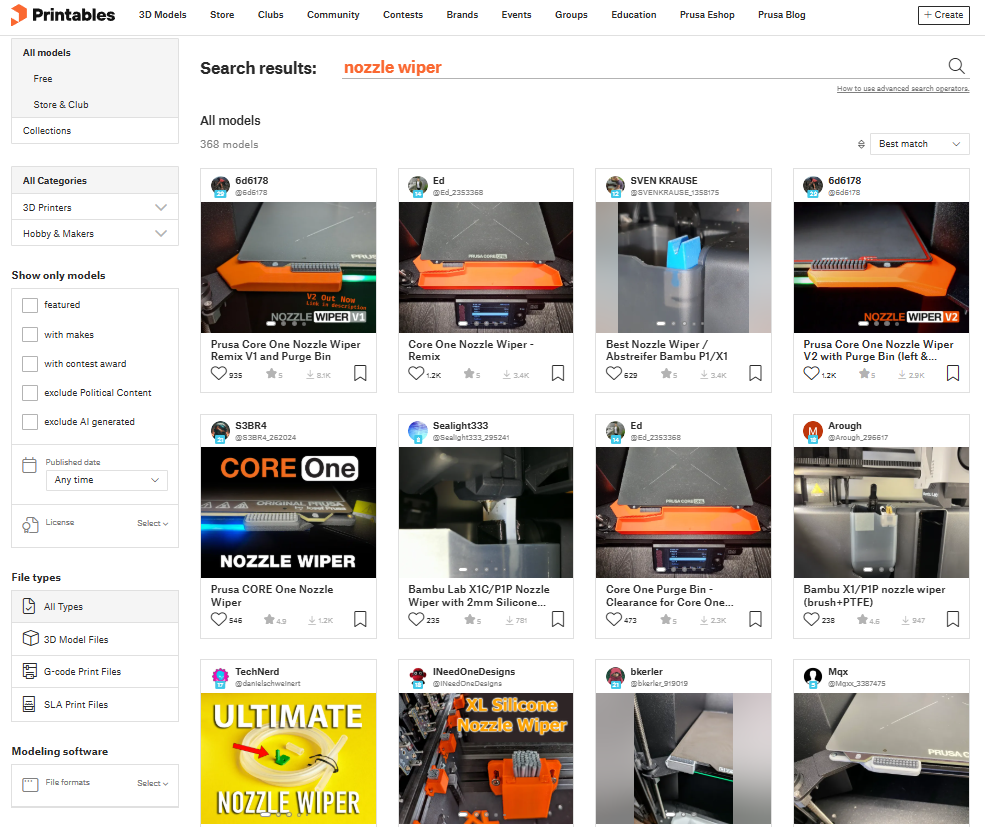
All three machines will now have a nozzle wiper, which Zuza says is the most requested upgrade. There have been several community mods to do just that, but these also require adjusting your slicer’s g-code to teach the printer to use it.
(Image credit: Printables)
The XL has received several small tweaks and firmware upgrades since its release in 2023, but this is the first major upgrade. Prusa’s original large-format toolchanger will get the same 360-degree cooling system introduced on the MK4S. It will also get the INDX’s Tool Offset Sensor for toolhead alignment to replace the cumbersome pin tapping. The eddy-current sensor is 20 times faster and will be permanently mounted to the machine. It is also compatible with the Silicone toolhead showcased last October during Prusa Day, which will be released this fall.
The XL will also get GT1.5 belts to improve surface areas, and new machines will ship with high-flow nozzles standard. Prusa is also upgrading the optional XL enclosure with a chamber heating and better seals.
The Core One+ (Gen 2) will receive the same nozzle wiper and GT1.5 belts as the XL+, plus improved heatbed mounting, and the same snap-on top panel as seen on the larger CORE One L.
The Core One L is Prusa’s most recent design and will get the new GT1.5 belts and integrated nozzle wiper.
An optional HT Hotend for the CORE One lineup will be available in September. This hotend is specifically designed for finicky engineering filaments, which are often brittle and require higher melting temperatures. The swappable hotend hits 400°C, which unlocks materials such as PEKK-CF and PPS-CF.
Zuza said Prusa Research has been working on upgrading the entire user experience for all of their 3D printers. This includes not only hardware, but firmware and slicer software as well. Prusa Slicer 3.0, also teased last October, will be released in a few weeks. Lastly, connecting your Prusa 3D printer over LAN will be easier with the introduction of Prusa Connect Local. This will replace the outdated PrusaLink.
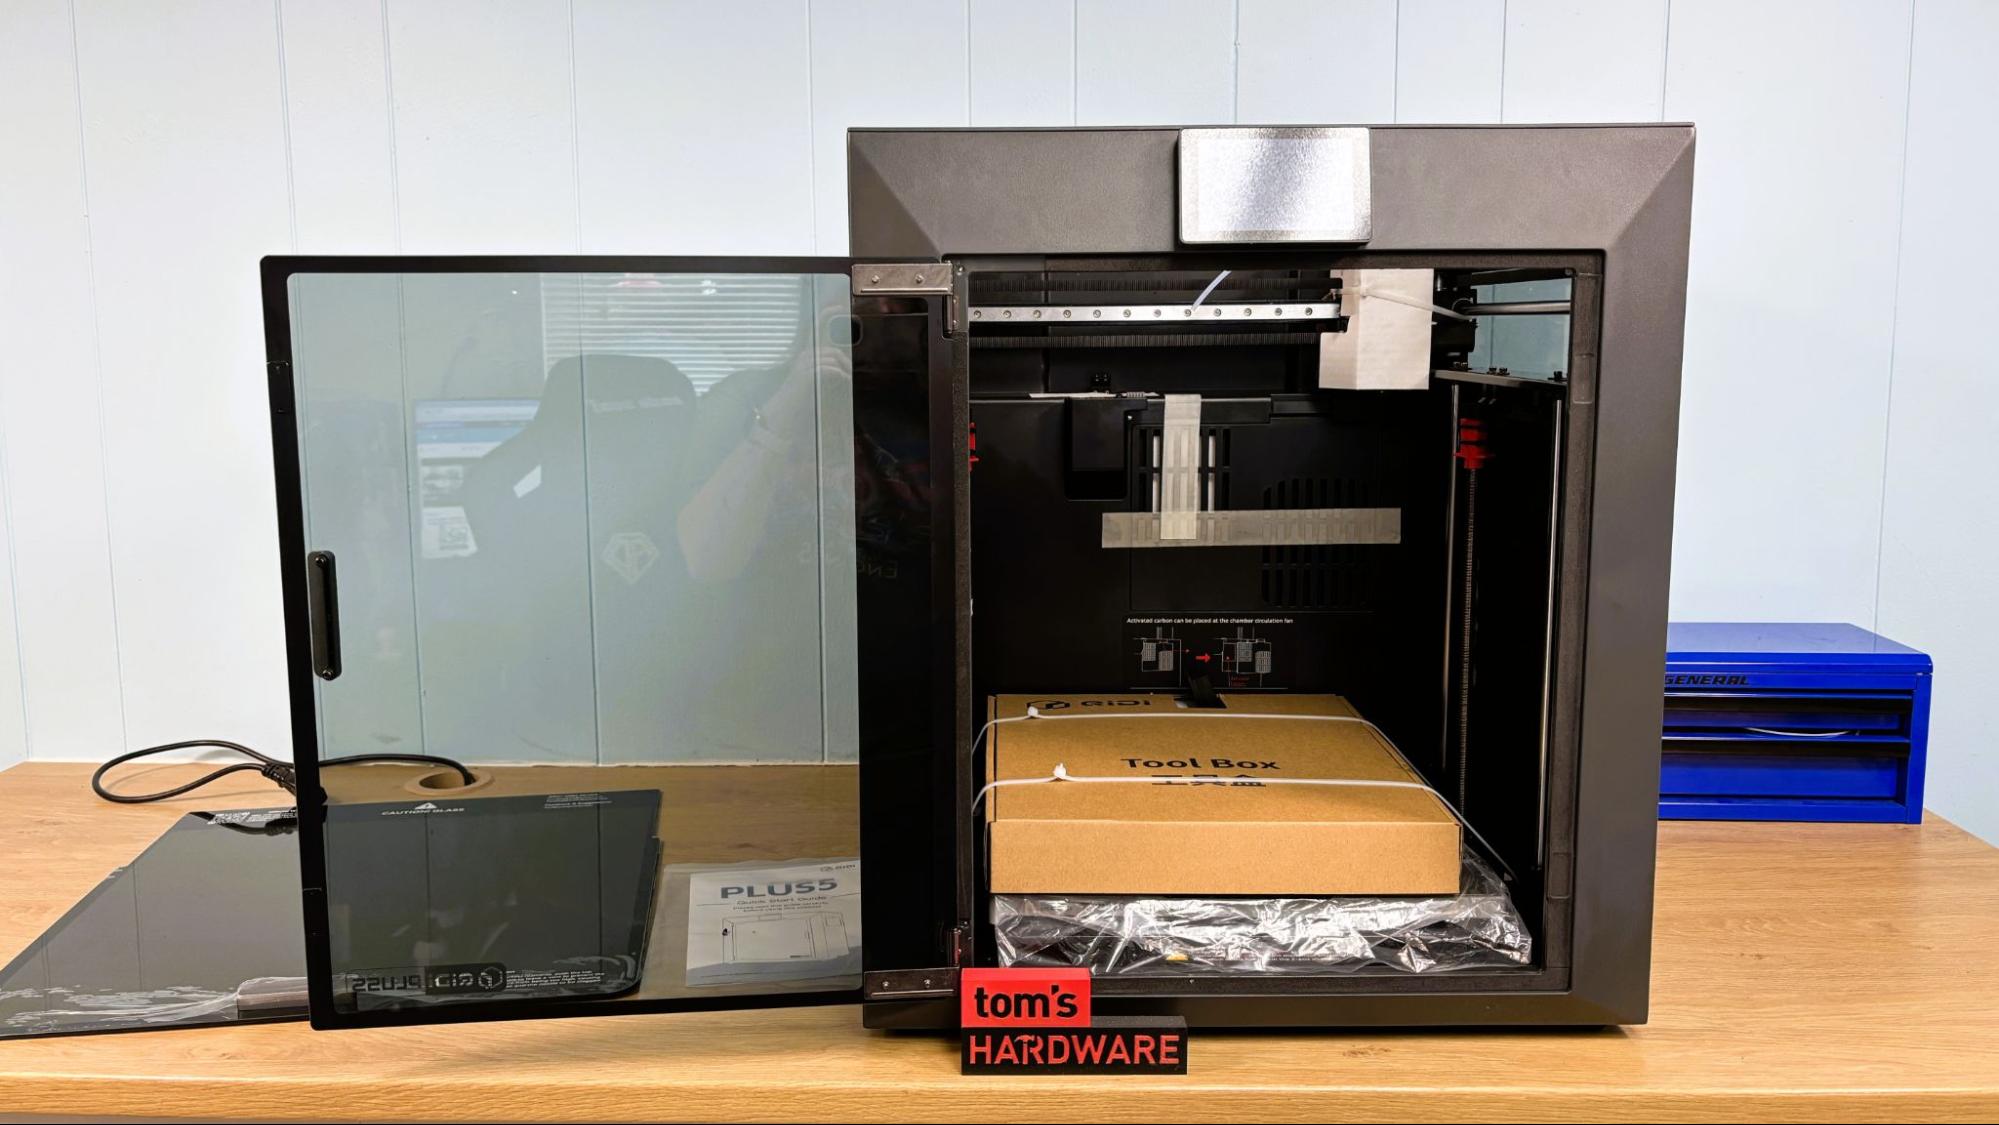
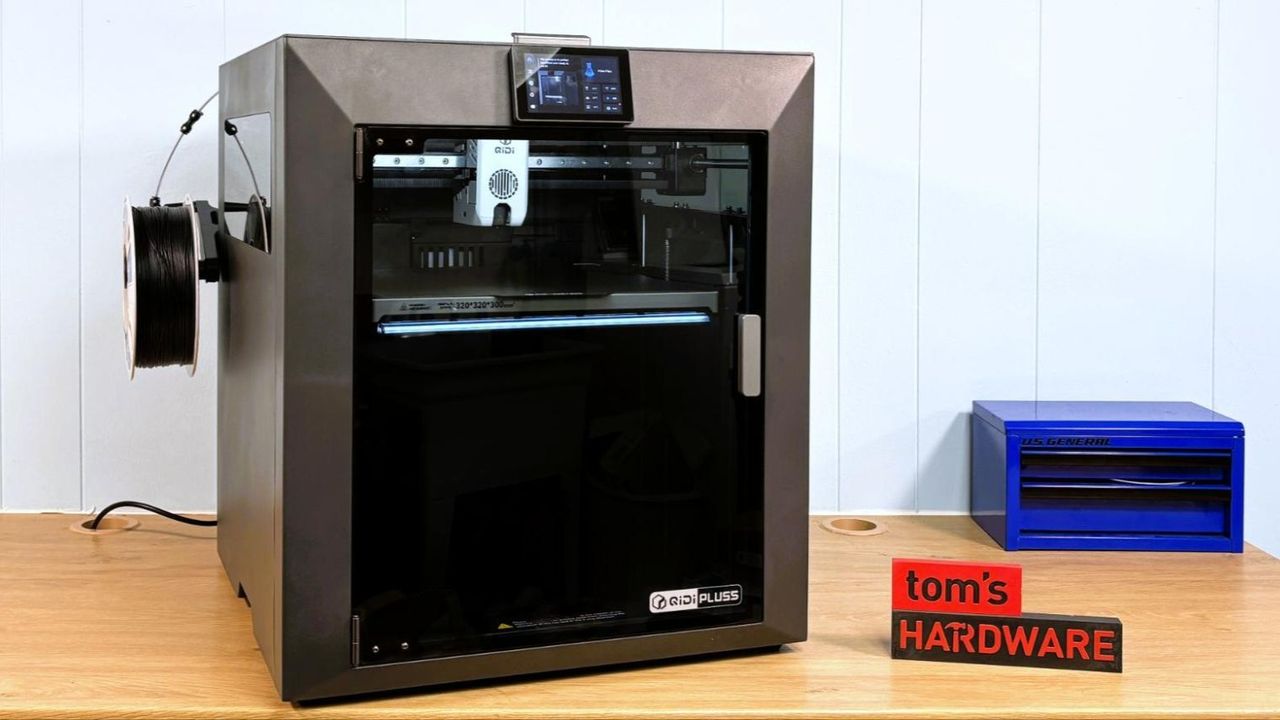
The QIDI Plus5 goes toe-to-toe with Bambu Lab’s H2 series for nearly half the price. At first glance, the QIDI Plus5 looks pretty much like the QIDI Plus4, but it’s so much more. With TARDIS-like engineering, the Plus5 has a smaller footprint, yet gains 18% more build volume than the previous model by comparison. The Plus5 can go a little hotter on the nozzle, up to 370 °C, which makes it great for tackling engineering-grade filaments.
The UI on the Plus5 is sleek and feels like a more expensive printer. It has a helpful status light on the bottom of the bed, which you guessed it, looks a lot like the Bambu H2 series. If QIDI could just get their QIDI Box to swap colors consistently, Bambu will have a serious fight on their hands.
The debut price of the QIDI Plus5 is $749, which is $50 less than the Plus4 was at launch, and is considerably less than a Bambu Lab H2S, which is currently $1399. This is definitely my favorite high-temp workhorse and one of the best 3D printers we’ve seen.
Specifications: QIDI Plus5
Build Volume
320 x 320 x 300 mm (12.59 x 12.59 x 11.81 in)
Material
PLA/PETG/TPU/ASA/PA/PC (up to 370 degrees)
Extruder Type
Direct drive
Nozzle
.4mm (Bimetal)
Build Platform
Double sided PEI flex plate
Bed Leveling
Automatic, Loadcell
Filament Runout Sensor
Yes
Connectivity
LAN, WiFi, USB Flash Drive
Interface
4-inch color touch screen
Machine Footprint
500 x 488 x 558 mm (19.68 x 19.21 x 21.96 in)
Machine Weight
29 kg (63.93 lbs)
MSRP
$749 (Stand alone) $899 (Combo)
Release Date
August 5, 2026
QIDI Plus5 : Included in the Box
(Image credit: Tom's Hardware)
The QIDI Plus5 comes with everything you need to get started. Included is a tool kit for assembly, a scraper, a glue stick, and a USB stick with a copy of QIDI Studio and a PDF copy of the quick start guide. A paper copy of the manual is also included.
Design of the QIDI Plus5
(Image credit: Tom's Hardware)
The QIDI Plus5 is a nice upgrade to the QIDI Plus4 with an extra 20mm of print area in all dimensions, with nearly the same footprint. The Plus5 is a hefty 64lbs, so you may need some help to get it in the door.
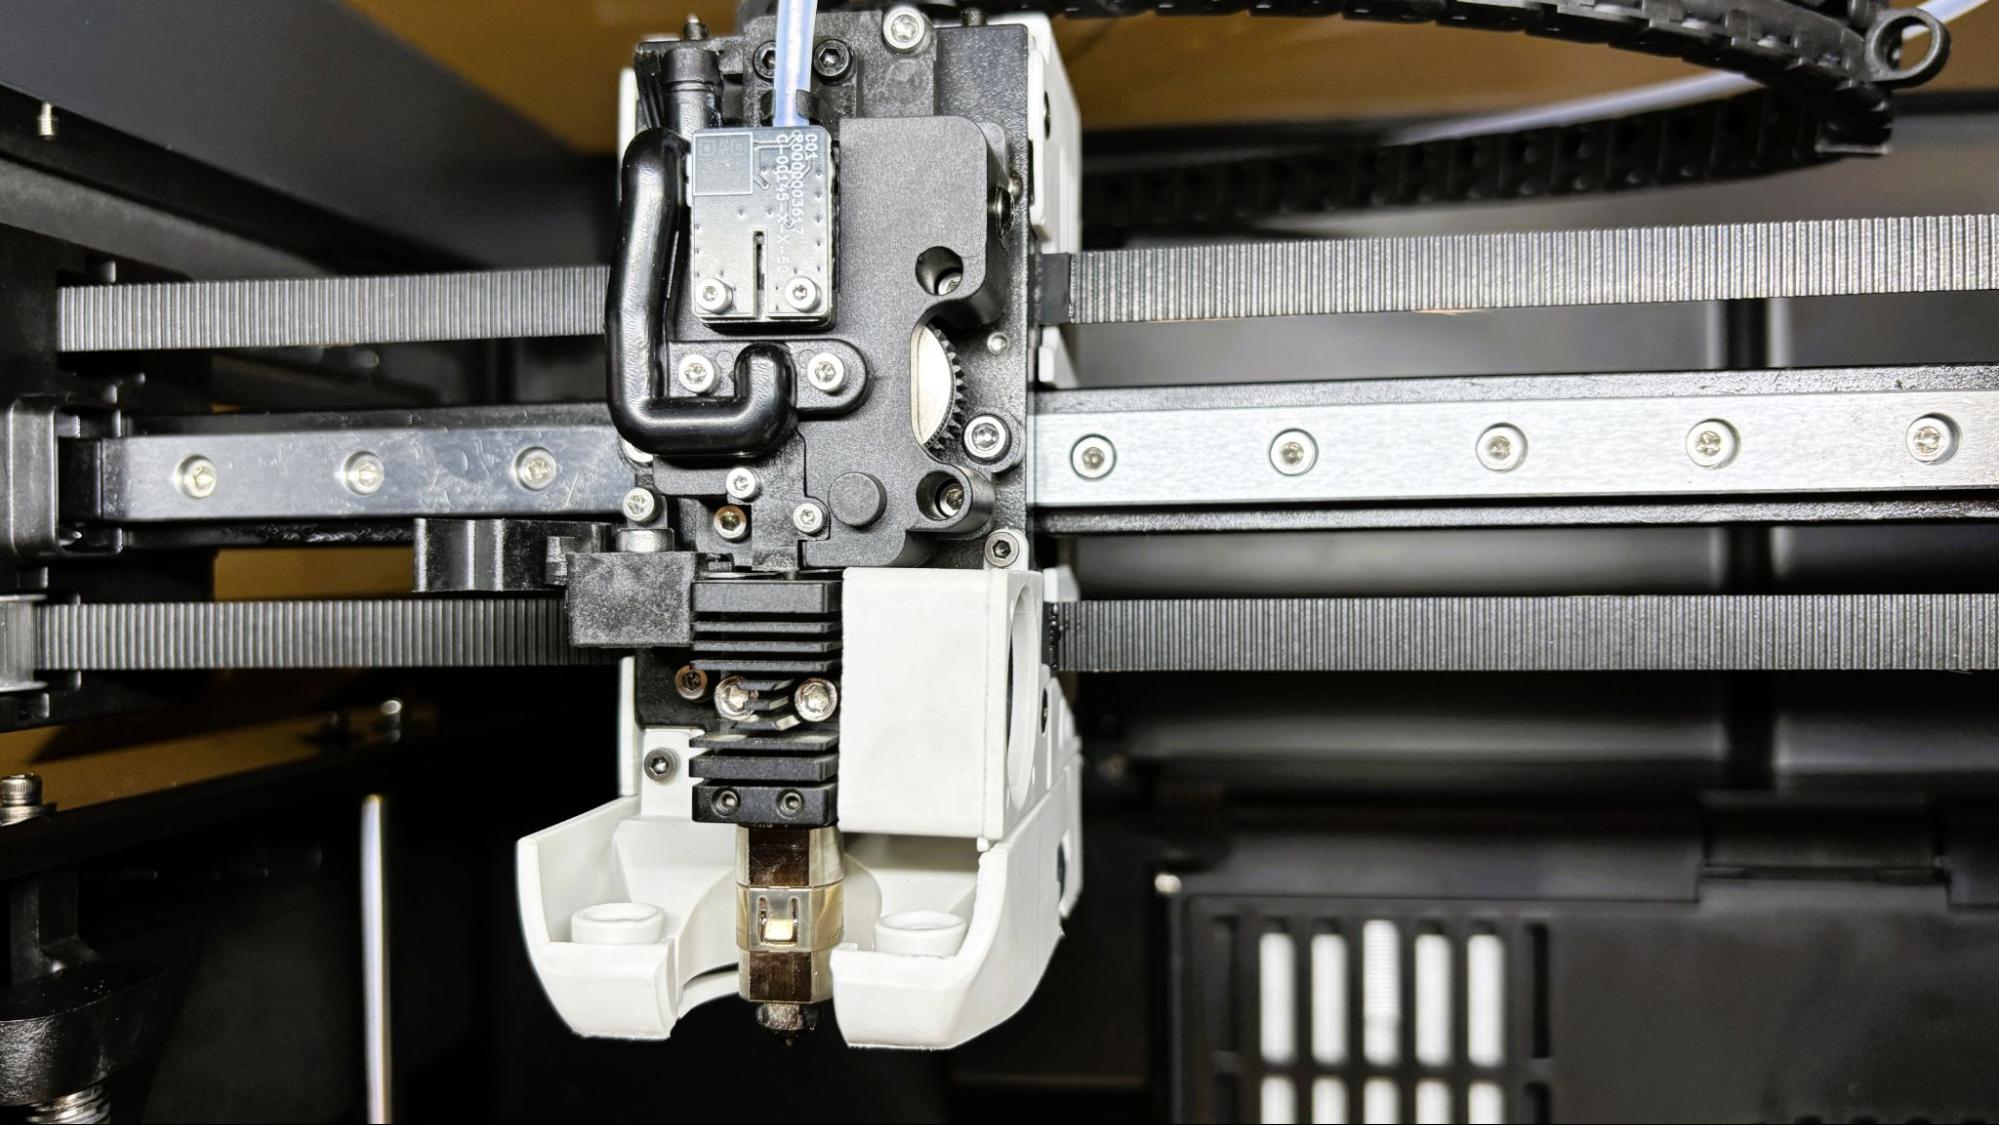
The Plus5 has a Core XY motion system, driven by a beefy 9mm 1.5GT belt, riding on a linear rail for the x-axis and linear rods for the y-axis. The z-axis runs on 4 linear rods and is driven by stepper motors turning two independent lead screws. The Plus5’s tool head is compact with an all-metal nozzle, which is shared by the QIDI Q2.
(Image credit: Tom's Hardware)
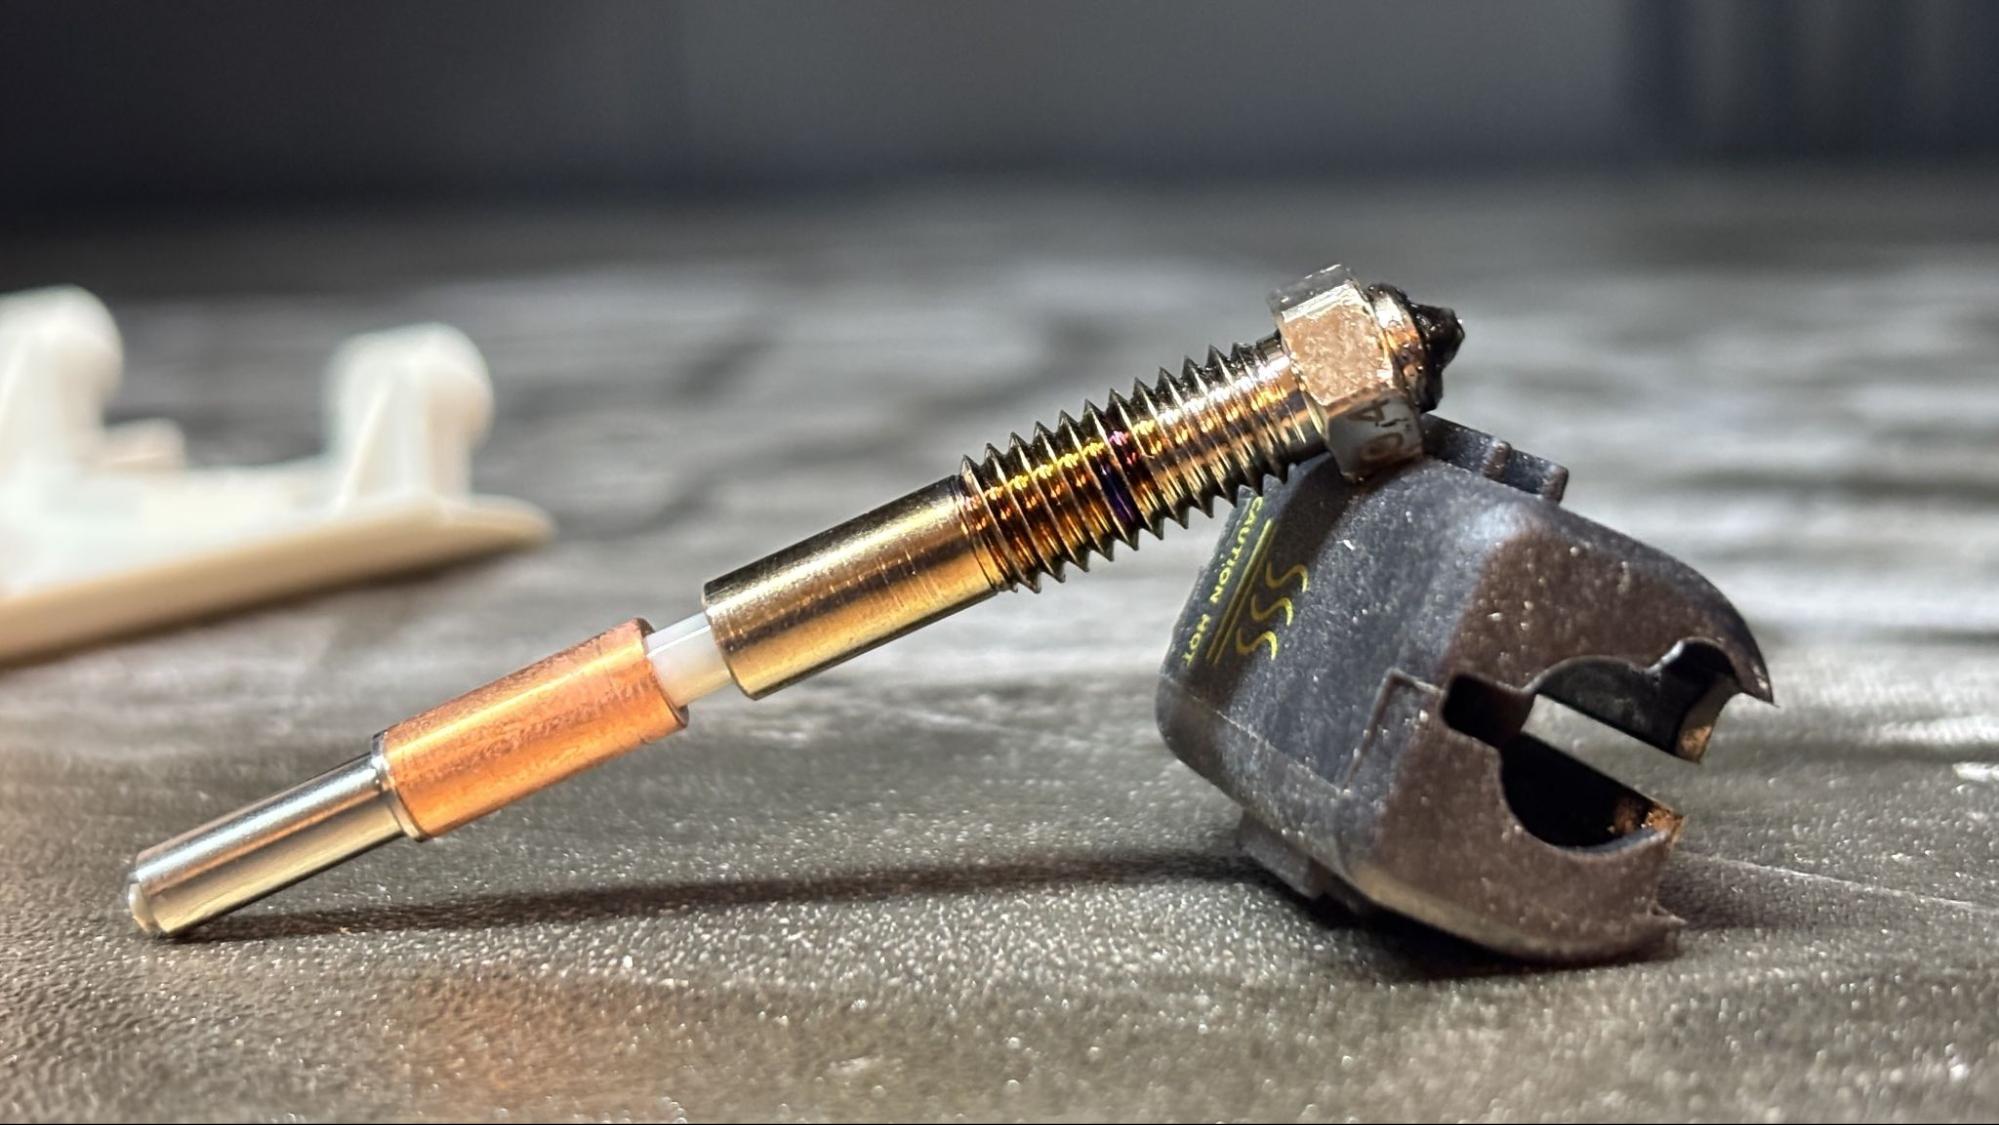
The nozzle includes the heat throat and features a hardened steel insert. The filament path is accessible in multiple locations, which should make clearing jams easy. The toolhead includes a cutter with a nearby waste chute and nozzle wiper, in case you want to try your luck with a QIDI Box for multimaterial printing. We were not provided one for this review, but we did test it out on the QIDI Q2 and found it lacking.
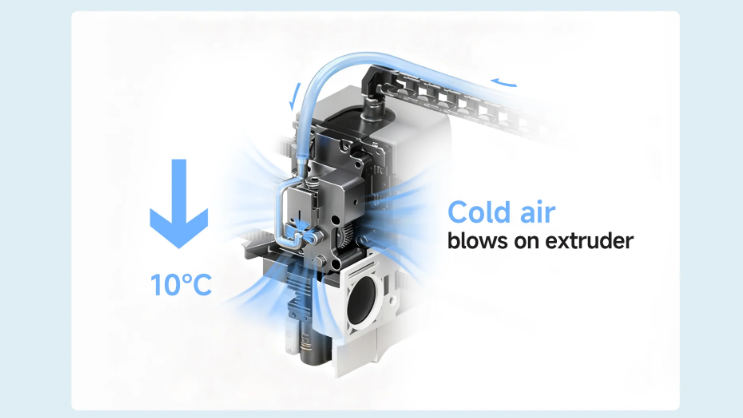
A black plastic tube is attached to the toolhead for an optional active cooling system dubbed the QIDI Polar Cooler. This is a little AC box which can be strapped to the side of the printer and pump cooler than room temperature air directly on the extruder. This is meant to prevent heat creep when you need to keep the rest of the chamber toasty. We didn’t get to test this add-on, but it sounds intriguing.
(Image credit: QIDI)
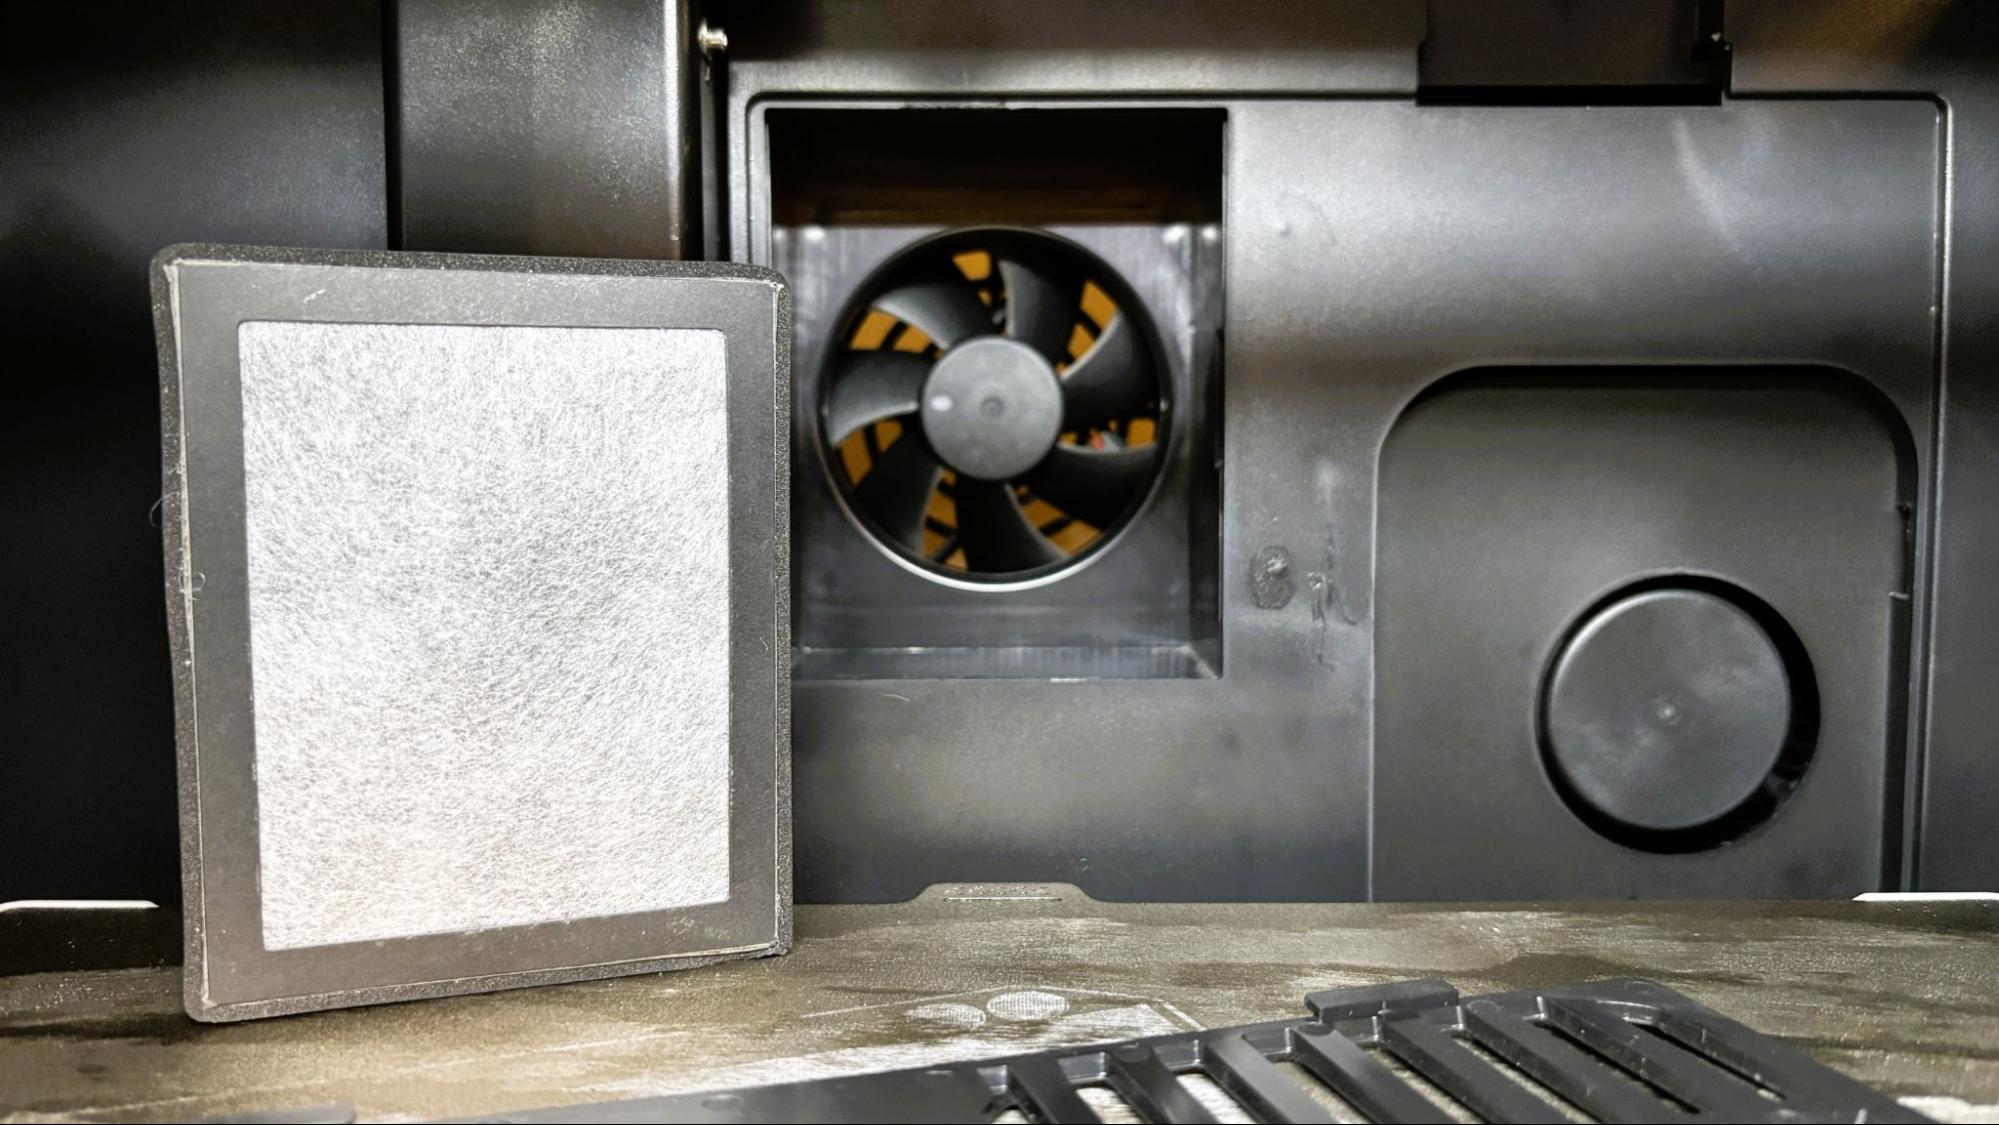
The chamber heater and the air circulation fan, with an activated carbon and HEPA filter, are located at the rear of the printer. The HEPA filter keeps the fumes from ABS and ASA trapped inside the machine. A large parts cooling fan on the left side augments the fan on the toolhead.
(Image credit: Tom's Hardware)
The QIDI Plus5 has an excellent 1080p chamber camera, which is accessible for monitoring the printer from the device page in QIDI Studio and from the QIDI Maker app. It can be used to make time-lapse videos and is for AI anomaly detection (aka the dreaded spaghetti monster).
The printer has a glass top that is designed to slide back for ventilation while printing lower temperature filaments like PLA and PETG, and the glass front door opens a full 180 degrees. This is a simple feature that I wish more companies would adopt.
Running lower temperature filaments in the PLUS5 seems like taking a race car on a shopping trip. With a bed that heats to 120 °C, an active chamber heating to 65C and a hotend capable of 370 °C, the PLUS5 was made for PPS, PA, and PC.
Assembling the QIDI Plus5
(Image credit: Tom's Hardware)
The QIDI Plus5 is almost completely assembled. The only thing you need to do is attach the spool holder to the rear, then attach the bowden tubes to the spool holder and tool head. If you are assembling the printer in low light conditions, take care to avoid attaching the filament line to the inlet for the optional cooling system – they’re the same size.
(Image credit: Tom's Hardware)
The UI on the QIDI Plus5 does a great job of walking you through the removal of the packing screws and the shipping material, so you don’t forget anything.
Leveling the QIDI Plus5
(Image credit: Tom's Hardware)
The QIDI Plus5 auto levels as part of the initial calibration and offers to relevel at the start of every print. The system worked perfectly.
Loading Filament on the QIDI Plus5
(Image credit: Tom's Hardware)
Loading filament on the QIDI Plus5 is both simple and frustrating. QIDI really took pains to make the UI on the PLUS5 intuitive and simple. Two clicks from the touch screen, and loading is right there. The annoying part is reaching around this behemoth to load filament into the Bowden tube located at the back. The filament will almost always catch on the coupler, which needs to be uncoupled to allow the filament to pass through it. Then if you are using a full spool, it’s super awkward to push a few centimeters of filament at a time toward the tool head.
(Image credit: Tom's Hardware)
Preparing Files / Software for QIDI Plus5
(Image credit: Tom's Hardware)
QIDI included a copy of QIDIStudio, which is based on BambuStudio, which is based on PrusaSlicer. If you are familiar with Bambu Studio or ORCA Slicer, you will feel right at home.
(Image credit: Tom's Hardware)
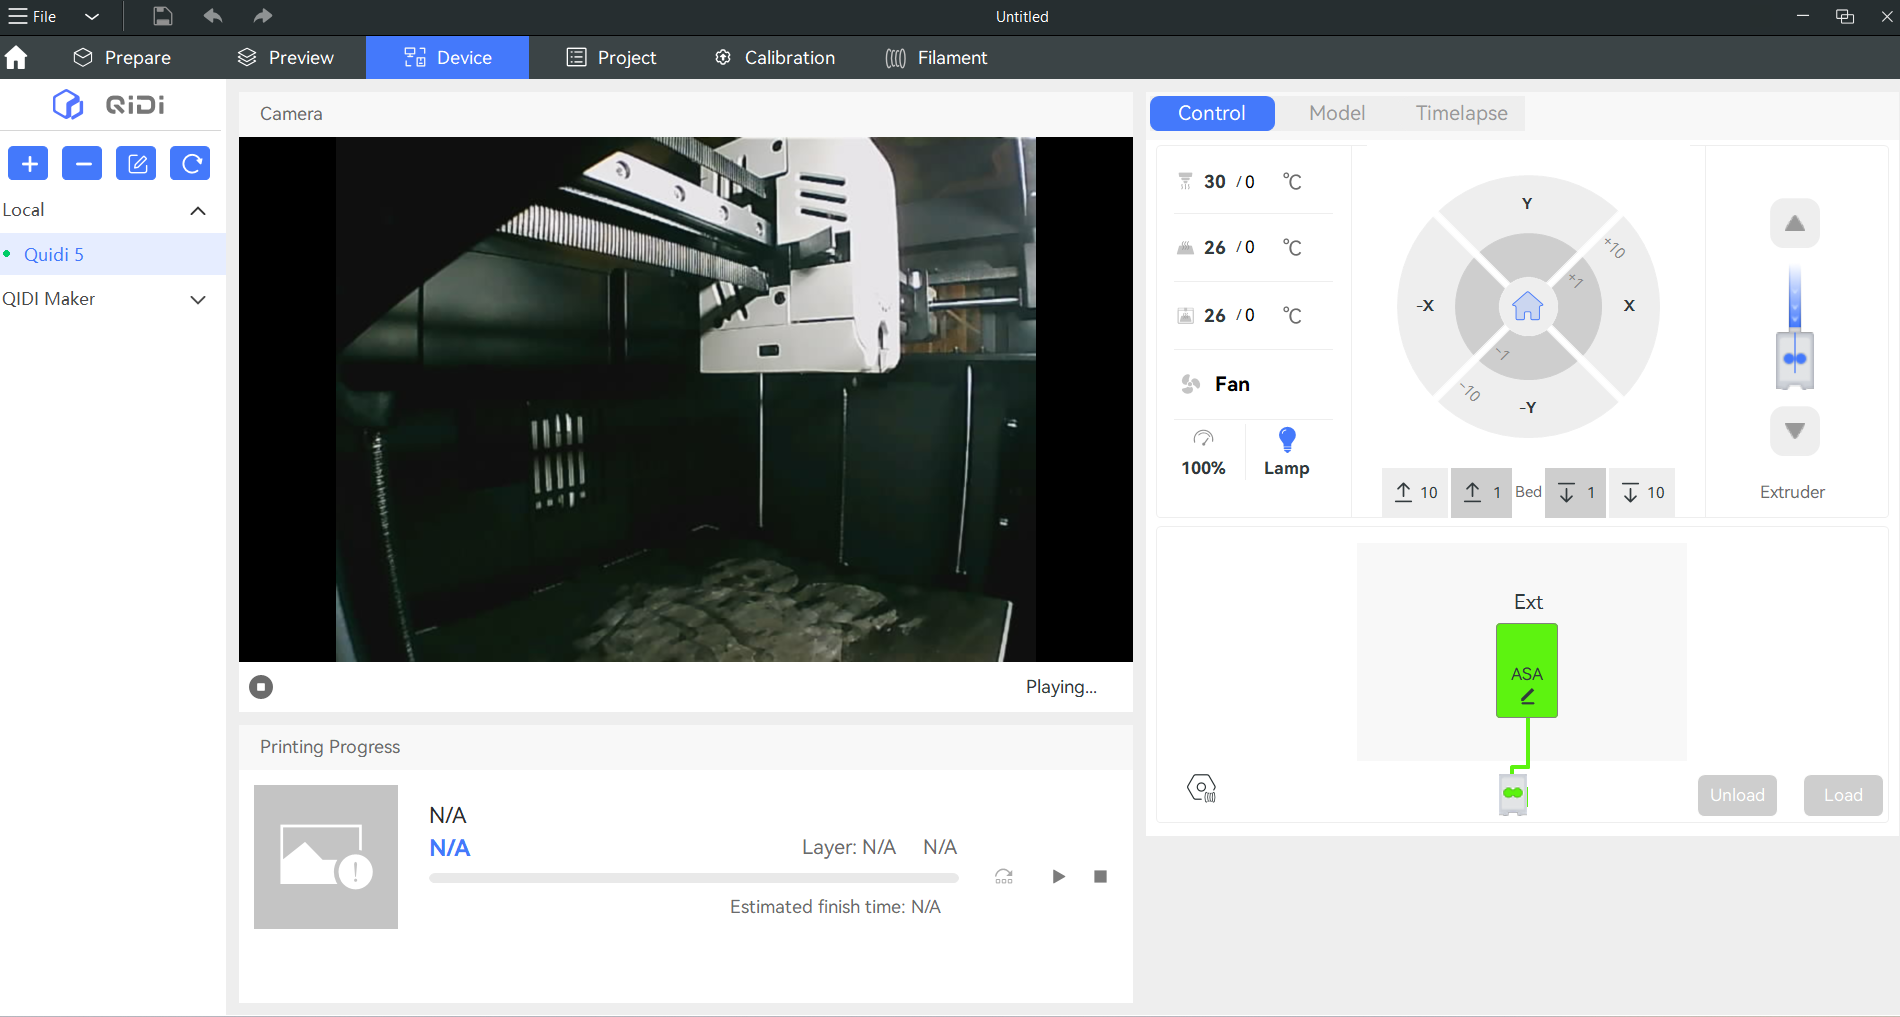
The device tab in QIDI Studio allows you to control the printer and monitor printing through the camera. It also allows you to skip parts of your print that might have failed. The QIDI Maker App offers the same functionality on your mobile device.
Printing on the QIDI Plus5
The QIDI Plus5 does not come with a sample coil of filament, which is just as well. You’ll want to pick out a spool of filament from our guide to the best filaments for 3D printing for suggestions.
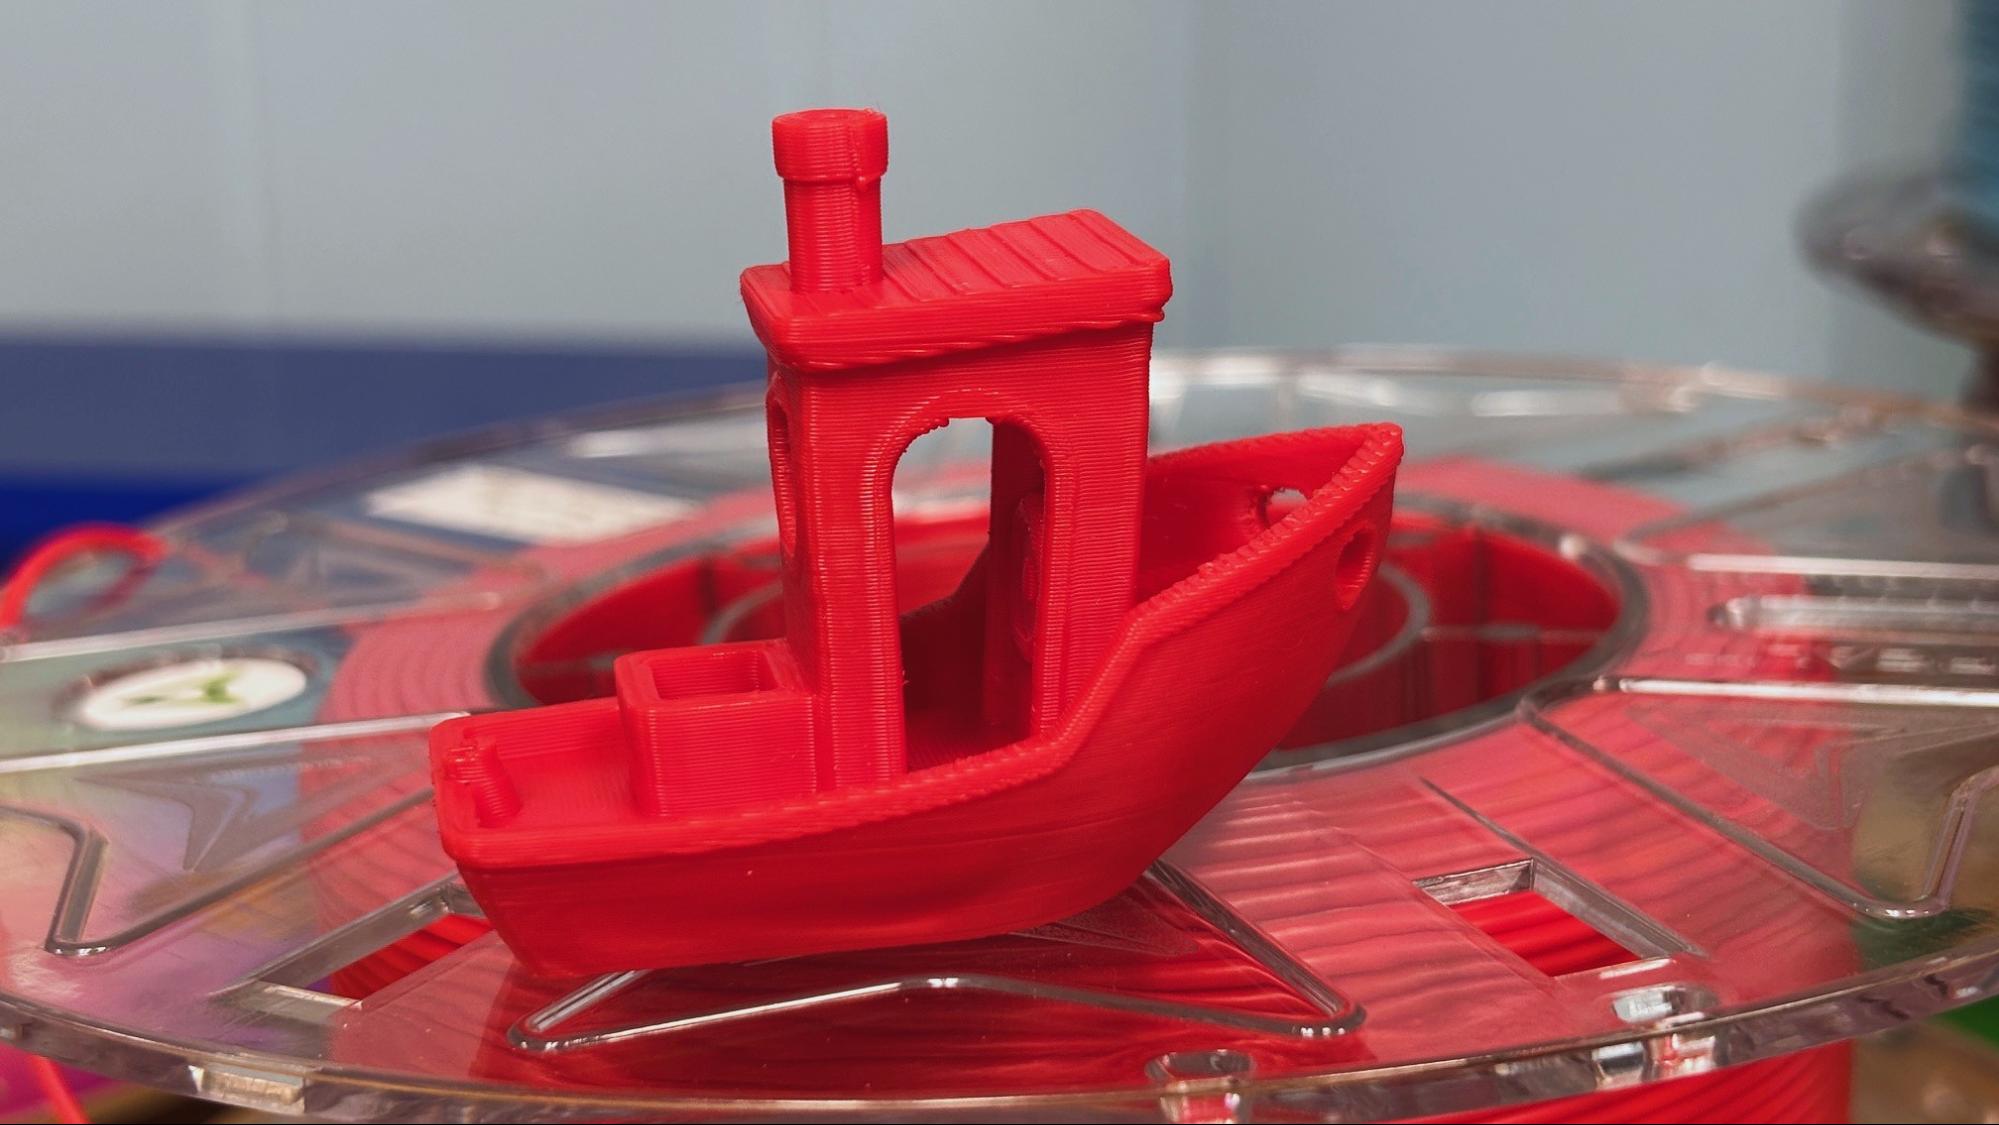
To get warmed up, I printed the pre-sliced Benchy provided by QIDI using red Creality Hyper PLA. The print completed in 32 minutes and was technically flawless, with just a little stringing.
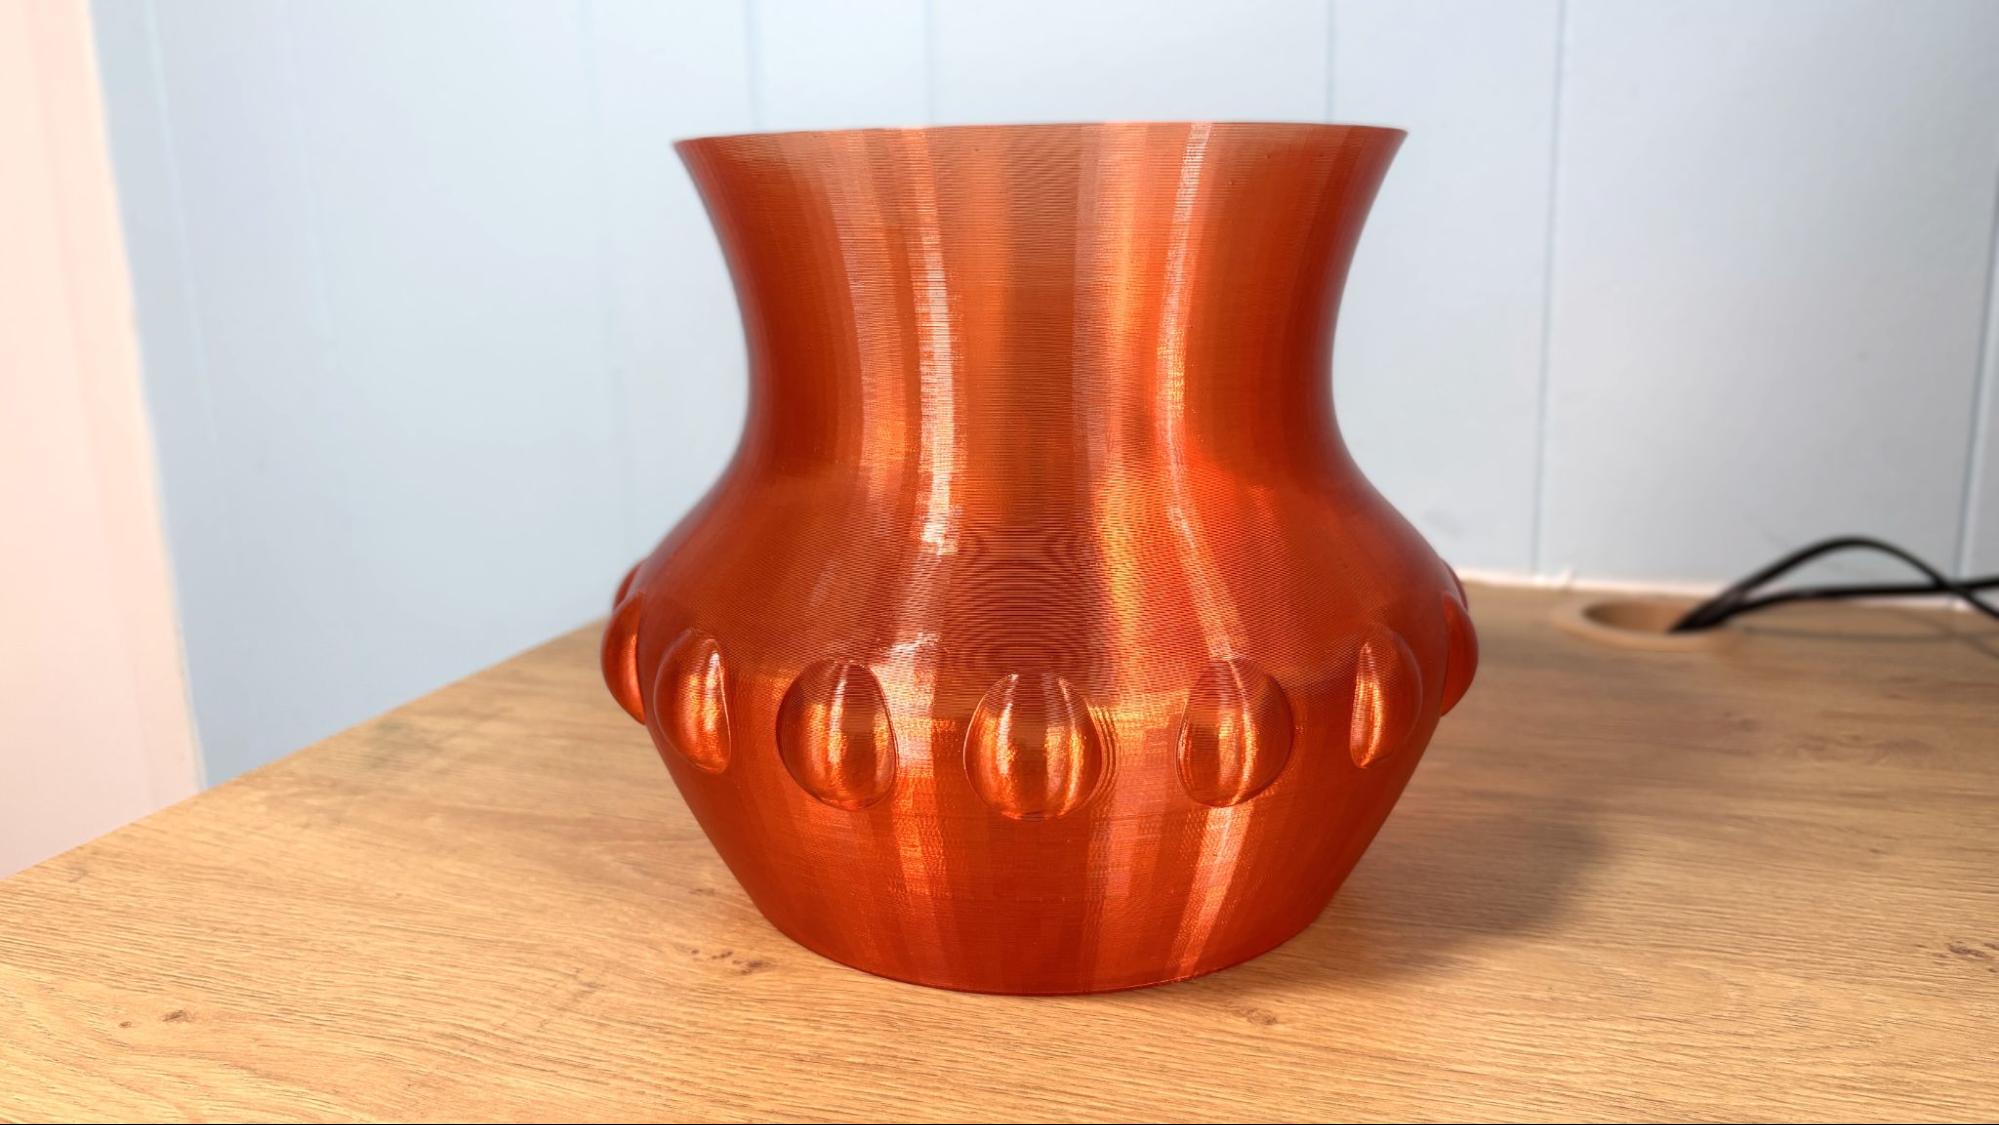
Next, I printed a vase I whipped up in Tinkercad, using a mystery spool of Fusion Filament PCTG. If you like the color, too bad, Fusion mystery spools are created when they change colors on their filament lines and thus are unique. It’s worth the gamble because these spools are also about $10 off, dropping the price from $26.99 to $16.99. This is printed in vase mode, with a .28 layer height and a chunky .65 line width. At an average speed of 65 mm/s, the print completed in 3 hours and 11 minutes. The quality of the print is excellent, and the PCTG makes it flexible enough to withstand use.
Tinkercad(Image credit: Tom's Hardware)
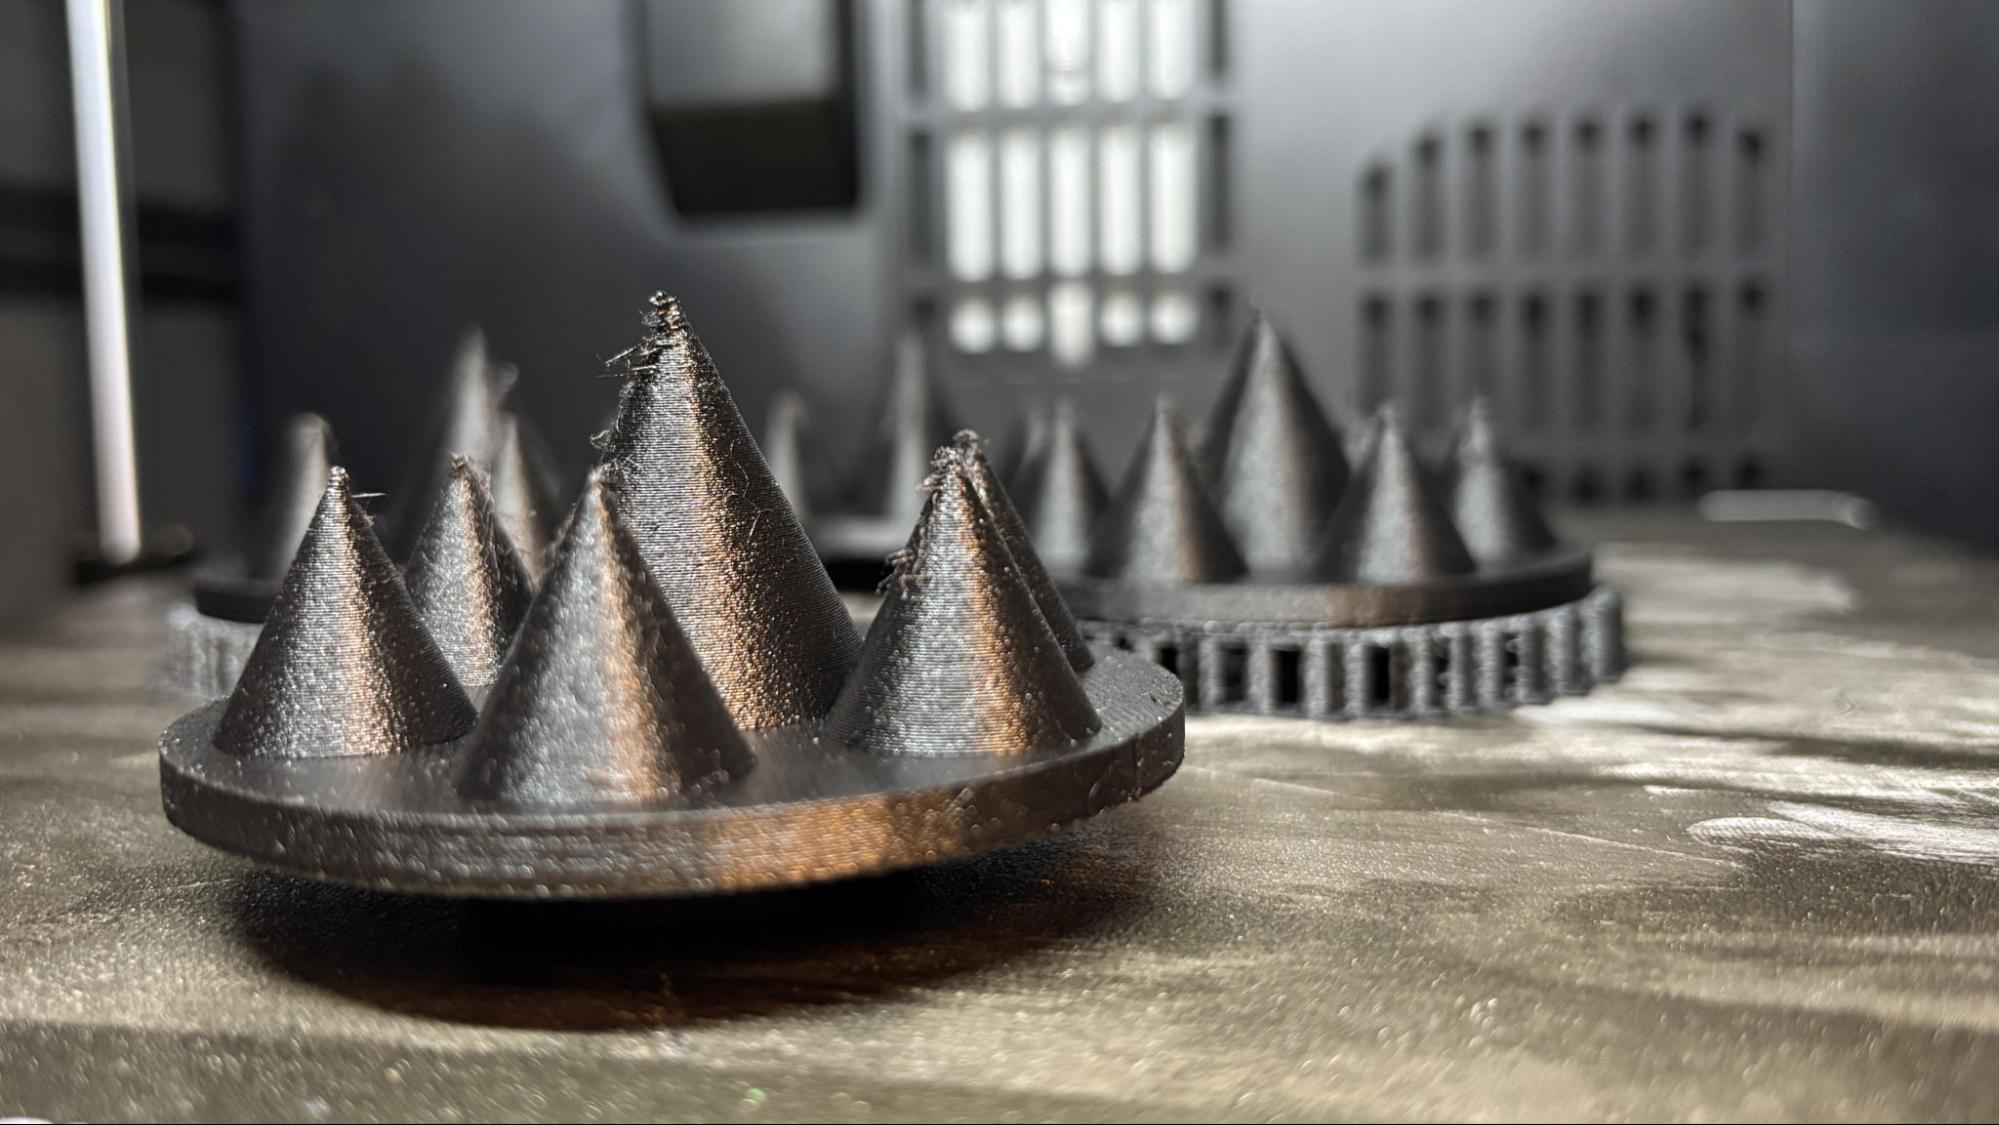
QIDI sent us a spool of their TPU GF 67D for the review, and I used it to print a plate of parts for my RC Death Racer. Using a .2 layer height and running at an average speed of 50 mm/s, the parts took 4 hours and 25 minutes to print. Using only 2 walls, the parts are light, yet very hard and darn near indestructible. These parts are, by their nature, a stringing test, and despite this, the quality is really good. I was pleasantly surprised when the supports popped right off, a blessing from the glass fiber.
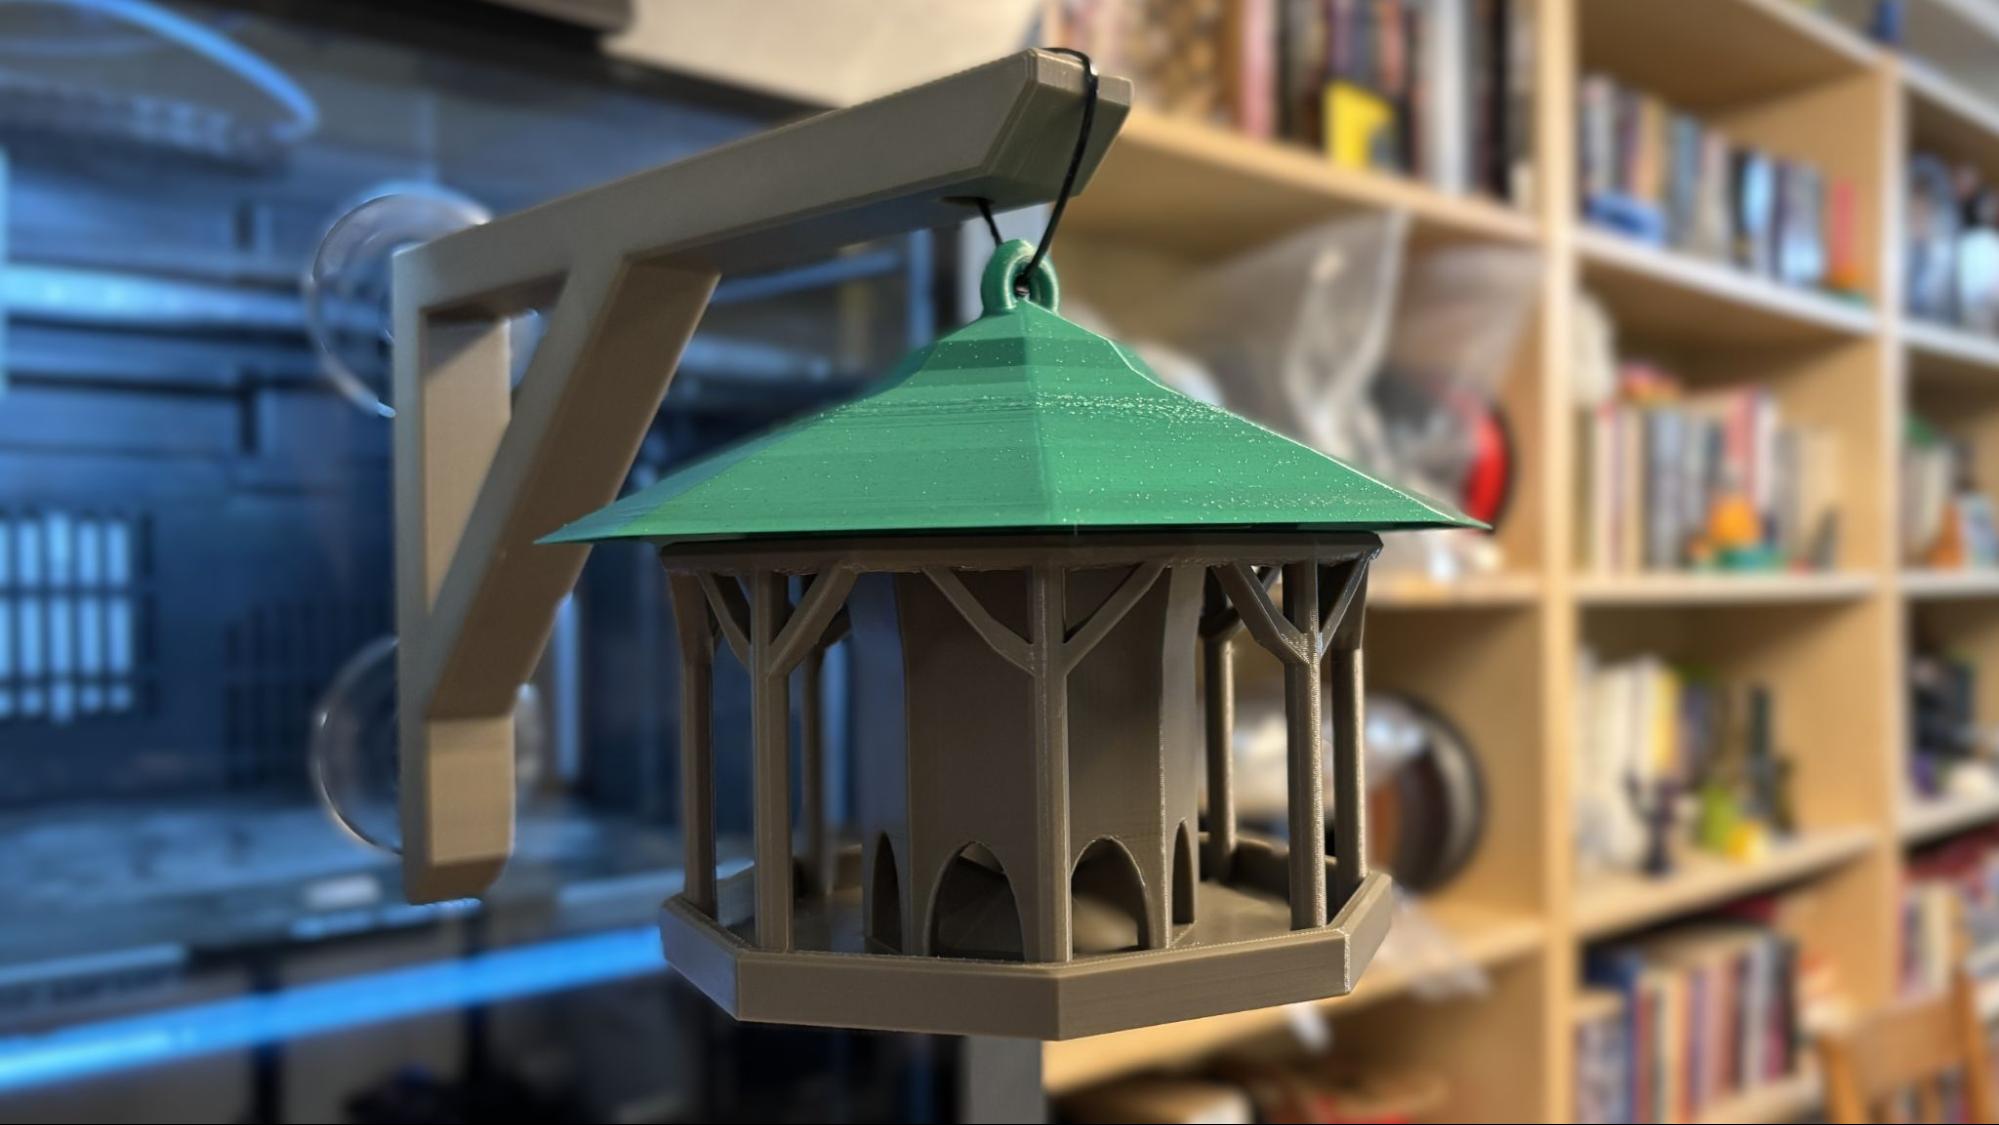
I printed this bird feeder I found on Printables using faded desert brown and armored turtle green ASA from Ambrosia. I whipped up the hanger in Tinkercad. Using a .2 layer height and running at an average of 120 mm/s, the base of the bird feeder was completed in a little over 7 hours. The top took 5 hours 30 minutes running at an average of 100 mm/s. The hanger took only 2 hours running at an average speed of 180 mm/s. The print quality is really good, with just a little rough patch on the top where better supports could have helped. It’s currently hanging outside my office window, so I can see how well ASA holds up to the sun…and squirrels.
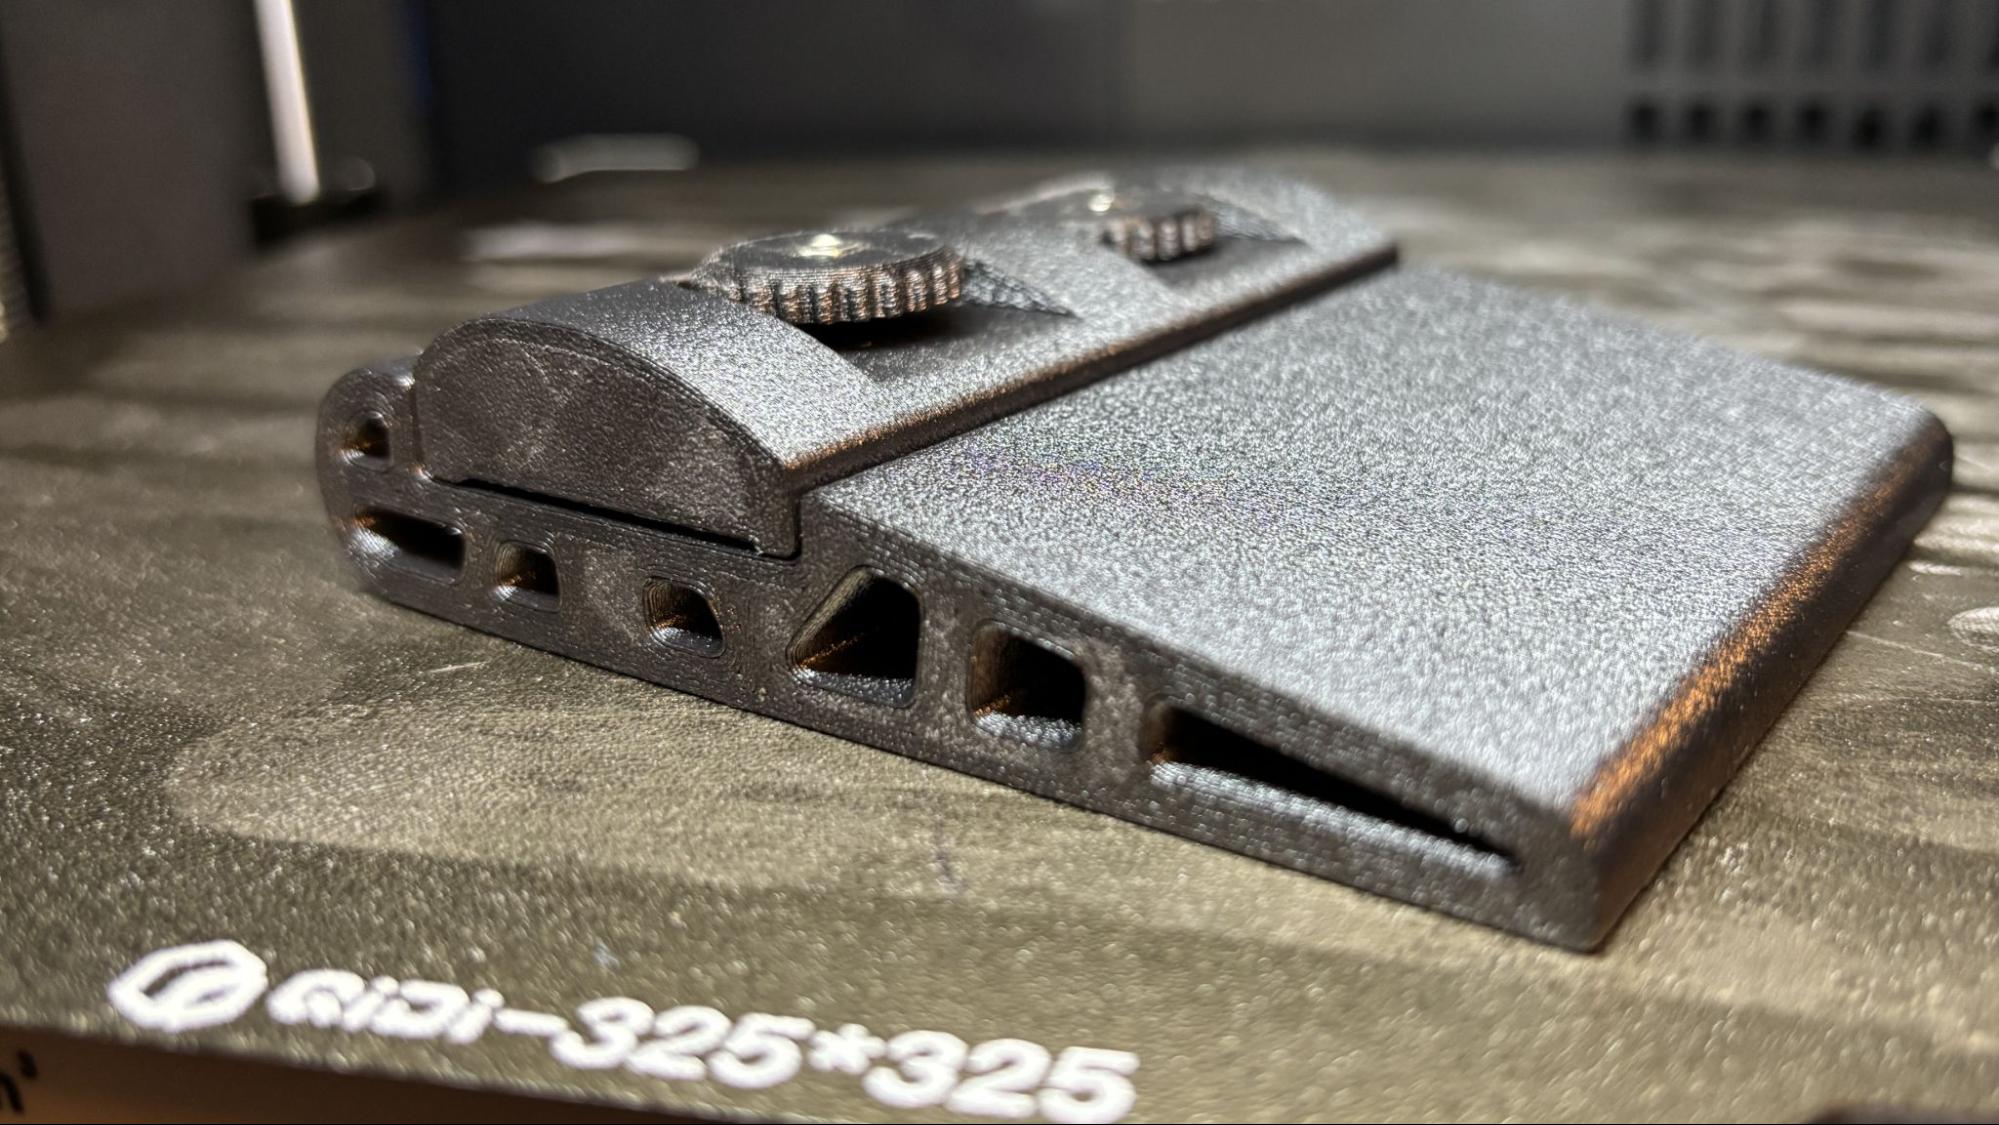
Jumping into the deep end of the pool, I printed this sanding block I found on Printables using QIDI’s PPS-CF filament. The Plus5 takes a while to heat up to 350 °C on the nozzle, 100 °C on the bed, and 65 °C on the chamber. I got out an infrared thermometer to read the temp on the printer’s top glass and decided not to store PLA there while the machine ran. It read 56C. I should point out that I did not get good results with the QIDI Plus4 when I tried to run this filament. The Plus5 printed this just perfectly, with a glorious surface finish and without a hint of a warp. The texture is from the carbon fiber, which also helps the PPS stay flat on the bed.
The QIDI Plus5 printed everything we threw at it and is the best 3D printer we’ve seen from QIDI. This hits the sweet spot for makers and engineers who need a serious high-temp 3D printer without breaking the bank. The lack of color capability won’t disappoint you when all your filament only comes in black anyway.
At its current price of $749, it’s an attractive addition to the large-format printer market. Filament loading could be better, but it’s a trade-off we’re willing to deal with for a machine that’s otherwise very pleasant to use.
If you like what you see in the QIDI Plus5 and you want to compare notes, then check out the Bambu Lab H2S, which is pretty similar but with a more robust ecosystem and a functional AMS system. It’s $1,399 for a Combo and $1199 as a standalone printer. If you need a printer that’s just plain big, the Sovol SV08 Max with an enclosure can handle practical prints the size of a hubcap (500x500mm) for $1,298. And if you just want a bit of elbow room at an affordable price, then you should check out the Bambu Lab A2L, which can do four colors on a 330 x 320 build plate for $569.
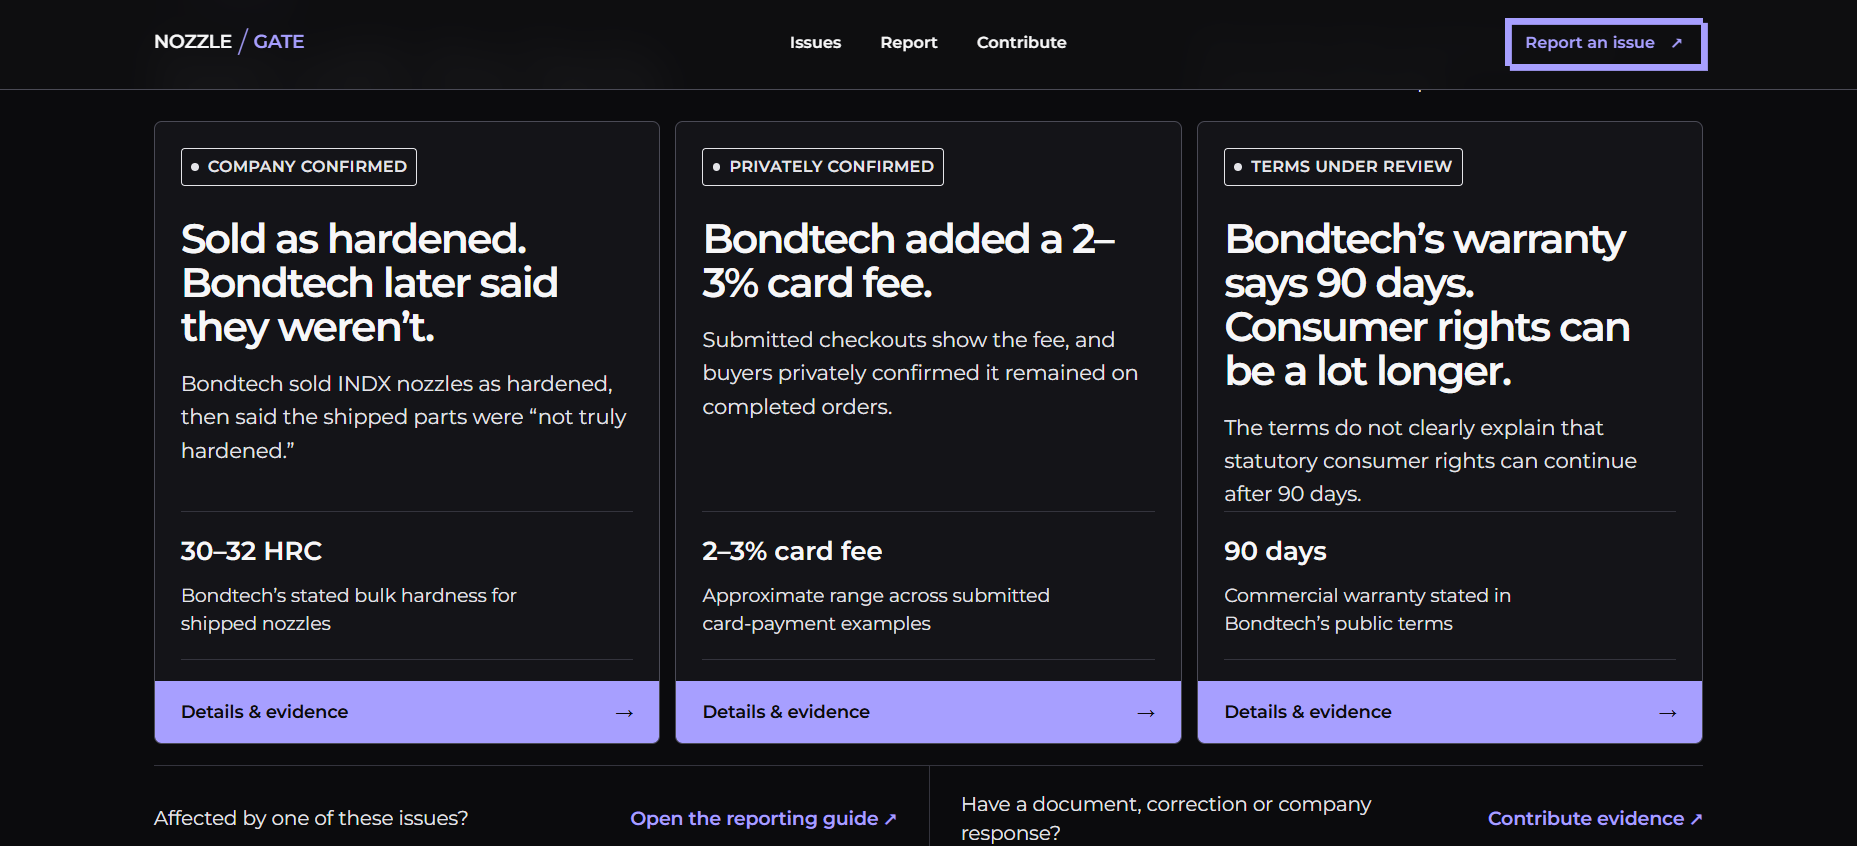
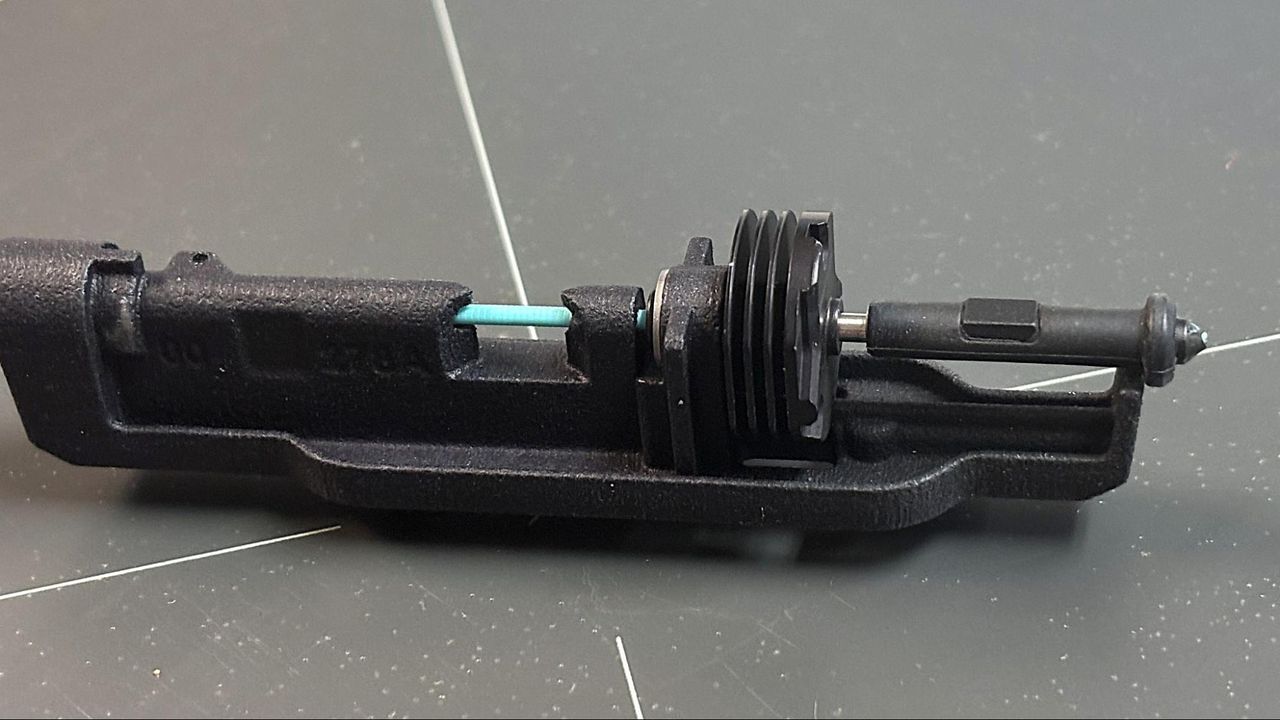
Bondtech, the inventor of the INDX toolchanger system used to create the highly anticipated Prusa CORE One+ INDX, admitted to a significant mistake. The nozzles, which are nitrocarburized steel, do not meet industry standards for “hardened steel” as advertised.
Prusa Research has pumped the brakes on the INDX project, and has delayed shipping INDX conversion kits until mid-August. They issued a statement on Reddit:
“Bondtech has recently confirmed that the nozzles currently supplied with the INDX system are surface-hardened rather than fully hardened as originally planned, and has not yet finalized the compensation plan for affected customers. We believe it is better to wait until both we and you have clearer information, rather than ship the kits while this important question remains unresolved.”
The statement was also emailed directly to everyone with an active INDX order in the system. The company said this delay will also give customers a chance to cancel their orders if they wish. As an olive branch, Prusa Research INDX conversion kits will included extra hardware free of charge. The statement didn’t say what the gift would be, but that specifics would be shared before shipping.
Prusa engineers immediately began testing the INDX nozzles and determined that little wear could be seen after running five kilograms of carbon fiber PETG through the nozzles. However, after just 100g of super-abrasive Ultraglow filament, the protective coating began to fail.
Nitrocarburized steel is tougher than the standard brass nozzles that come with a stock Prusa CORE One+, but not as durable as hardened steel. The real problem is not that they went with a lesser nozzle, but that they kept the “hardened steel” wording in promotional materials. If Bondtech said from the beginning (or before customers locked in their pre-orders) that the INDX shipped with ordinary steel nozzles, no one would have blinked.
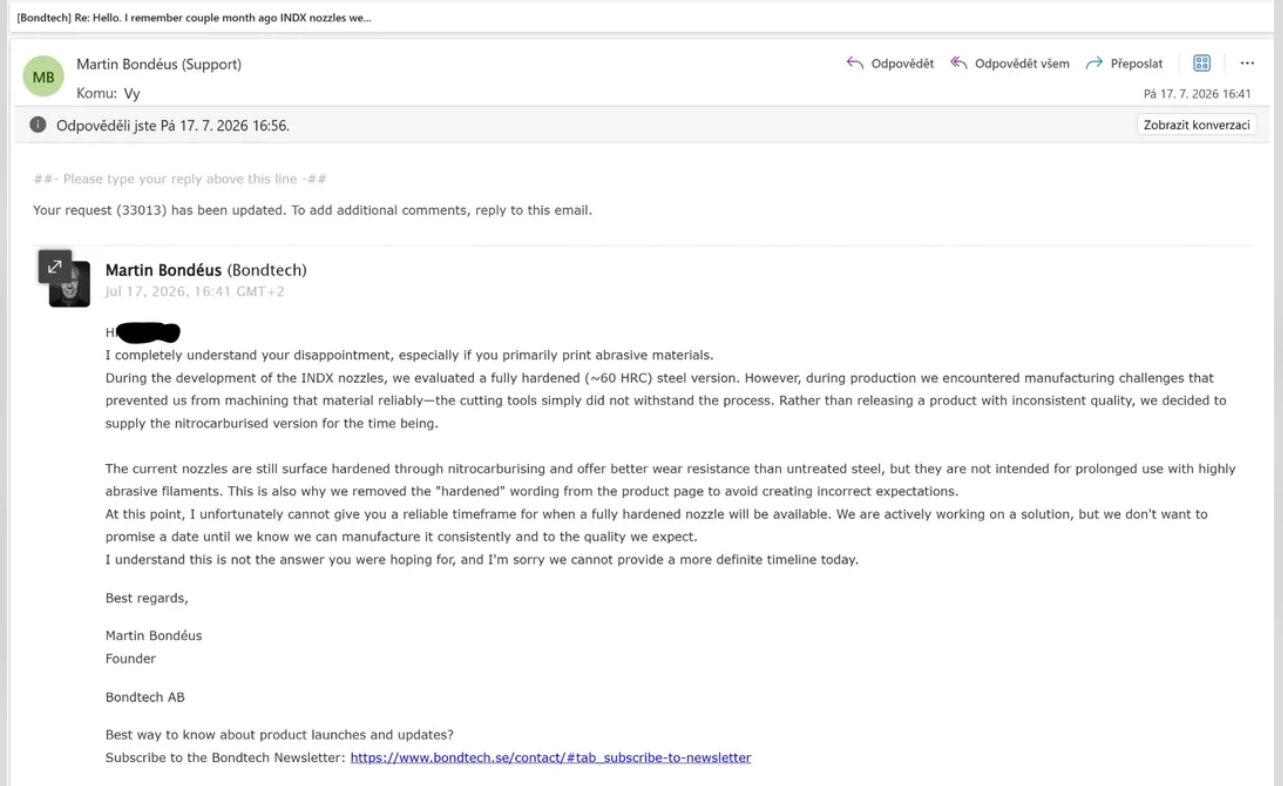
Information on the nozzle quality began to surface after a Reddit user posted a support email from Bondtech founder, Martin Bondeus. The email stated that “during production, we encountered manufacturing challenges that prevented us from machining that material reliably – the cutting tools simply did not withstand the process. Rather than releasing a product with inconsistent quality, we decided to supply the nitrocarburized version for the time being.”
Reddit (Image credit: Reddit)
These nozzles are not of poor quality, but they fall short of the standards set for hardened steel. According to a statement by Bondtech, the Founders Edition shipped with nitrocarburized steel, which is steel treated to obtain a hard shell. They’ve batch tested the nozzles and found them to be around 30-32 on the Hardness Rockwell C scale (HRC). For comparison, true hardened steel lands at 55-60 while an everyday brass nozzle comes in under 10 HRC.
For most users, and most materials, these mid-tier steel nozzles work exceptionally well and will last for an extremely long time. But once you start to feed your INDX abrasive filaments like glass-fiber, carbon-fiber, glow in the dark and metal filled filaments, things get dicey. The treated steel nozzles will last longer than brass, but Bondtech said they will experience “accelerated wear” when printing abrasives.
Bondtech has stated on its website that a “concrete solution” to the problem is not ready and that manufacturing truly hardened INDX nozzles could take months. They are also not offering any form of compensation before knowing the cost of the replacements. They are requesting that customers hold off on returning the kits and simply enjoy using non-abrasive materials until a solution is found.
The INDX takes a bespoke induction heated nozzle that has no off the shelf replacement at this time.
The news has hit the Founders Edition buyers quite hard, as many have already found difficulty with the kits they so eagerly purchased months ago. Some assembly problems can be expected with such a product, as they are being mounted on CORE One printers already in service. The INDX is a separate upgrade kit, and it requires stripping down a CORE One, removing the Nextruder and replacing it with the INDX carriage, then mounting a rack to hold the eight tool heads.
One “founder” was so upset he vibe coded an entire website in protest: Nozzlegate.com. The website outlines what the perceived problems are with Bondtech, and what consumers can do about it. We contacted the website owner, who asked to go by his handle “Daddie0.”
He told me that, like others who purchased Founder Edition kits, he’s disappointed in the quality of the product. He said his INDX was suffering from multiple mid-print crashes and layer shifts, and after two weeks of troubleshooting, it was finally fixed with a firmware update from Prusa. “Then nozzlegate hits. My EU right-given two-week return window ends a day after the news breaks.”
Realizing that his window for a standard, hassle-free return had closed on a machine he felt was a lemon, he shifted strategies. He began digging into Bondtech’s official documentation to see what recourse he had for a defective product.
What he found sparked a new battle. Disagreeing with Bondtech’s listed 90-day warranty policy, which he claims misleads consumers by failing to mention Sweden's mandatory multi-year consumer protections, he channeled his frustration into the NozzleGate website.
The INDX kit is a collaboration between Prusa Research and Bondtech, with the first wave of Founders Edition kits a limited edition run going to early adopters.
Tom’s Hardware received a Founders Edition INDX kit, which we installed on a Prusa CORE One we previously reviewed. Though the build took over the kitchen table for an entire weekend, our resulting INDX is printing non-abrasive filaments with excellent quality.
We're quite familiar with Sovol 3D printers around these parts, having reviewed several models over the years and finding that pretty much all of them produce high-quality prints. The company is now stepping up its game with the Sovol M1D, an open-source, independent dual-extruder (IDEX) printer with two nozzles and seven toolheads, a maximum print volume of 300 x 300 x 350 mm (11.81" x 11.81" x 13.78").
This bit o' kit can operate its nozzles in true independent mode (rather than alternating between them), letting users copy prints for easily printing duplicates and mirror them for doing left-right versions. In multi-head mode, each nozzle can output a different material. The first nozzle has a fixed toolhead, while the second can swap between heads independently. The open-source nature of the printer ought to let it be easy to mod, and as expected, it relies on the OrcaSlicer software by default rather than proprietary software such as Bambu's offerings.
The M1D comes in two variants, Essential and Advanced, with the higher-end model having the same basic specs but coming in a heated enclosure that keep inside air at 60°C (140°F). Sovol says each nozzle can print at up to 600 mm/s, and accelerate at 10,000 mm/s². The nozzle-and-toolhead interface seems quite nifty, as the M1D ought to swap toolheads in just five seconds, and keeps the standby heads warm so they're ready for printing the second they attach to the nozzle. One of the heads is fixed, and the other six are interchangeable.
The combination of the speed and tool-swapping technology has Sovol claiming the M1D can perform multi-colored prints five times faster than "others," displaying what appears to be a Bambu P1S in the comparison pictures. Likewise, said multi-color or multi-material prints supposedly produce "almost zero waste."
The M1D has a number of measures to prevent failed prints, including automatic bed leveling with nozzle Z-axis compensation thanks to an eddy current sensor, X/Y nozzle cameras, vibration compensation, and a 720p chamber camera that will have AI obstruction and spaghetti detection in a future firmware update.
The seven toolheads allow for easily integrating water-soluble materials for printing sacrificial supports and molds, movable mechanisms, and hollow parts, while the enclosure of the Advanced version lets the M1D print particularly resistant materials like ASA (acrylonitrile styrene acrylate), PA (polyamide), and PC (polycarbonate).
The Sovol M1D is available through a Kickstarter project that's already pulled in over $2.8 million — many times over the initial $191,254 goal. Buying into a crowdfunded project frequently elicits concern, but Sovol's track record has historically been pretty good. With early bird pricing and not accounting for shipping costs, the M1D Essential goes for $1,299, while the Advanced version with the heated enclosure costs $1,599. The printers are expected to start shipping in November.
In the 3D printing community, there’s a common saying: buying a 3D printer is easy—learning modeling, mesh repair, and slicer settings is the real challenge.
While AI-powered 3D generation has made it possible to create detailed models in minutes, turning those models into successful prints still requires significant technical work. From mesh repair and model splitting to print optimization and multi-color workflow management, many AI-generated models never make it beyond the screen.
Hi3D was built to close that gap between AI creation and physical manufacturing. Over the past year, the company has expanded beyond AI model generation, developing an end-to-end workflow designed specifically for 3D printing.
Today, Hi3D has established partnerships across the digital fabrication ecosystem, including Creality, MakerWorld within the Bambu Lab ecosystem, and xTool. These collaborations enable deeper integrations for printable model generation, AMS multi-color workflows, enhanced 3MF output, and broader digital manufacturing applications.
(Image credit: Hi3D)
With its anniversary release, Hi3D takes another step forward. Automated part separation, multi-color optimization, color cleanup, material-saving algorithms, intelligent model orientation, and print parameter generation are now unified into a single AI-driven workflow.
The result is simple: tasks that once required multiple software tools and hours of manual work can now be completed automatically—helping creators move from image to printable object faster than ever before.
Hours to 2 Minutes: Auto Character Split with Built-In Print-Ready Tolerances
For makers printing large models—or working with smaller build volumes such as the A1 mini—model splitting is often one of the most time-consuming steps. Traditional workflows require manually cutting meshes, creating connection structures, and adjusting tolerances, often resulting in assembly issues after printing.
Hi3D’s Auto Character Split automates the entire process:
Intelligent Topology Recognition – Automatically identifies heads, torsos, limbs, and other structural components, generating optimized printable segments.
Watertight Mesh Generation – Every separated part is exported as a closed, watertight mesh ready for slicing and printing.
One-Click Joint Creation – Users can instantly add snap-fit connectors, mortise-and-tenon structures, or articulated ball joints for movable figures.
AI-Optimized Assembly Tolerances – Mechanical clearances are automatically calibrated for FDM printing, enabling reliable assembly directly off the build plate with minimal post-processing.
Tasks that previously required hours of manual modeling and adjustment can now be completed in just a few minutes.
(Image credit: Hi3D)
Deep Integration with the Bambu/AMS Ecosystem: From AI Model to Print-Ready 3MF
Multi-color printing often requires extensive manual color painting and parameter adjustments, especially for complex AI-generated models. Color data can be lost during export, and preparing a print-ready file typically involves multiple software steps.
Hi3D streamlines this process through deep integration with the Bambu Lab ecosystem, featuring an official filament library, automatic color mapping, and enhanced 3MF generation.
Once a model is created, Hi3D automatically maps on-screen colors to official Bambu Lab filament profiles and exports an optimized 3MF file containing print settings such as temperatures, layer heights, infill density, wall parameters, and support configurations.
(Image credit: Hi3D)
Instead of manually preparing files in a slicer, users can send the generated 3MF directly to Bambu Studio or OrcaSlicer and start printing immediately.
Reduce Multi-Color Waste by Up to 50% with AI Color Cleanup
For users of Bambu AMS and other multi-material systems, excessive filament purging remains one of the biggest challenges in multi-color printing. AI-generated textures often contain tiny color fragments and gradient noise, triggering unnecessary filament swaps that increase print time and material waste.
Hi3D addresses this with its Color Cleanup algorithm:
Noise-Aware Color Merging – Automatically detects and removes insignificant color fragments generated by AI textures.
Reduced Filament Swaps – Minimizes unnecessary color changes during slicing.
Lower Cost, Faster Prints – Reduces purge waste by up to 50% while improving print efficiency by 30–50%.
Smart Build Plate Layout for Higher Print Success Rates
Model orientation is often the deciding factor in print quality and reliability. Hi3D’s Smart Build Plate Layout system automatically analyzes geometry, center of gravity, and support requirements to optimize model placement.
Surface-First Mode – Prioritizes visible surfaces to reduce support marks and post-processing.
Eco-Support Mode – Minimizes support usage while maximizing bed adhesion and print stability.
By automating decisions that traditionally rely on maker experience, Hi3D helps users achieve better print quality with less trial and error.
Hi3DHi3D
Bridging the Gap: From Beginner-Friendly Creation to Advanced Manufacturing
Beyond advanced tools for model splitting, multi-color optimization, and print preparation, Hi3D also lowers the barrier to entry through its Maker Templates. Users can upload a photo to generate printable figurines, pet models, or custom keycaps that are automatically optimized for 3D printing.
With its anniversary release, Hi3D is expanding beyond AI model generation into a complete AI-powered workflow built specifically for physical manufacturing. By combining AI creation, print optimization, and hardware-aware automation in a single platform, Hi3D helps creators move from idea to finished object with significantly less manual work.
As AI 3D technology continues to mature, the industry is shifting from simply generating models to generating manufacturing-ready models. Hi3D’s latest update represents another step toward that future, making 3D printing more accessible for beginners while providing greater efficiency for experienced makers.
Ready to experience a smoother workflow from AI-generated models to successful 3D prints? VisitHi3D.ai and see how AI-powered creation, optimization, and printing come together in a single platform.
New users can receive 300 free Hi3D credits through the link below and experience the complete AI-to-3D-print workflow for themselves—from concept generation to printable 3MF files.
3D printing is a fantastic hobby to have. The amount of creativity you can explore is only confined to your imagination, and of course, the amount of filament you have. Once you are the owner of a 3D printer, the main ongoing cost of enjoying it is the expense of constantly refilling your printer's spool with a roll of filament. Today's deal is here to help you continue to bring your printed creations to life, but highlighting an almost too good to be true deal on 10 spools of Creality's Hyper PLA filament for just $86.32. That's just $8.63 a spool, which is insane, considering they cost $17.99 each from eBay and $19.99 each, direct from the Creality store.
If you click on one of our links to this fantastic deal, you will find that you can mix and match a selection of colors to complete this deal. The colors available are white, black, red, blue, gray, skin, yellow, green, orange, brown, gold, purple, multicolor, multicolor-short gradient, multicolor-long gradient, strawberry red, peach powder, and peri blue. It doesn't change the price if you select different colors, but you must pick 10 spools in total.
Creality's Hyper PLA filament is designed to be used with 3D printers that have high printing speeds up to 600mm/s. The filament will be less likely to warp, will have better fluidity at higher temps, and will also cool faster. Giving you a better overall finish on your 3D-printed creations. Each spool contains 1KG of 1.75mm Hyper PLA filament.
Grab 10 spools of Creality's Hyper PLA filament. Each spool contains 1KG of 1.75 mm filament in a color of your choice. Designed for use in fast 3D printers with a print speed of up to 600mm/s. Buy 6 spools and get 4 free.
Now, to be able to buy these 10 spools of Creality Hyper PLA filament for just $86.32, you first have to choose 10 spools of filament and add them to your eBay cart. This will automatically enable a "buy 6, get 4 free" deal, bringing the initial $179.90 total down to $107.90. Now go to the checkout and add code NEWFINDS20 in the coupon box, and watch the price drop a further 20% to just $86.32. This is the perfect deal for stacking up on your filament stockpile, or for filling up a multicolor feeder system on your printer.
If you're looking for a new hobby to get into, you can't go far wrong with some 3D printing. It's no longer a small fringe hobby, as the barrier to entry has all but disappeared. You can find many brands and different models of printers to suit a wide variety of hobbyists, varying widely in price and size. You can even pick up multicolor printers at reasonable prices as the new tech becomes more mainstream. Today's deal highlights a great bargain in Creality's Summer Mega Sale, where you can grab the K2 Combo 3D Printer and the included CFS multicolor system can be bought directly from Creality's online store for $499; that's the cheapest we've ever seen for this combo, and $48.99 cheaper than the same deal on Amazon.
The Creality K2 Combo is the smaller printer in Creality's K2 Plus and K2 Pro lineup of 3D printers. It still manages to provide a fully enclosed 260 x 260 x 260 mm print bed, which is an ample size for 3D printing, especially if you're a beginner and want to have the K2 placed on a nearby desktop. Further enhancing its in-office appeal are quiet step-servo motors on the X and Y axis, and dynamically balanced fans that keep the K2 running in a "Silent Mode" with noise levels around 45 dB. Meaning you can have this machine printing away in the same room as you without it causing a distraction.
This K2 3D printer comes in a Combo and includes Creality's CFS system, a 4-way multicolor filament-switching component. The CFS module is a powerful add-on that makes the K2 printer a much more enticing option for 3D printing hobbyists and professionals, and it can be combined together with up to four other CFS units for 16-color print projects if you're a professional working on larger 3D printing creations.
Creality's K2 Combo is a formidable 3D printer. The smallest of the K2 family of printers, the K2 Combo still has a 260 x 260 x 260 mm print size, allowing users to print large objects inside its enclosed frame without worrying about having to glue together multiple prints. The ultra-sturdy frame holds an auto-leveling print bed and three step-servo motors for fast, consistent prints.View Deal
We haven't had the chance to review the Creality K2 Combo 3D printer, but we have reviewed its slightly bigger brother, the K2 Pro, back in December of 2025. With the K2 Pro commanding a high price, we were happy to see that the launch of the K2 Combo made the K2 lineup much more accessible for beginners to jump on board the 3D printing hobby train. With several price reductions since, and the current summer sales event happening on the Creality store, this $200 discount on the K2 Combo makes this 3D printer a very attractive prospect.
 登录
登录